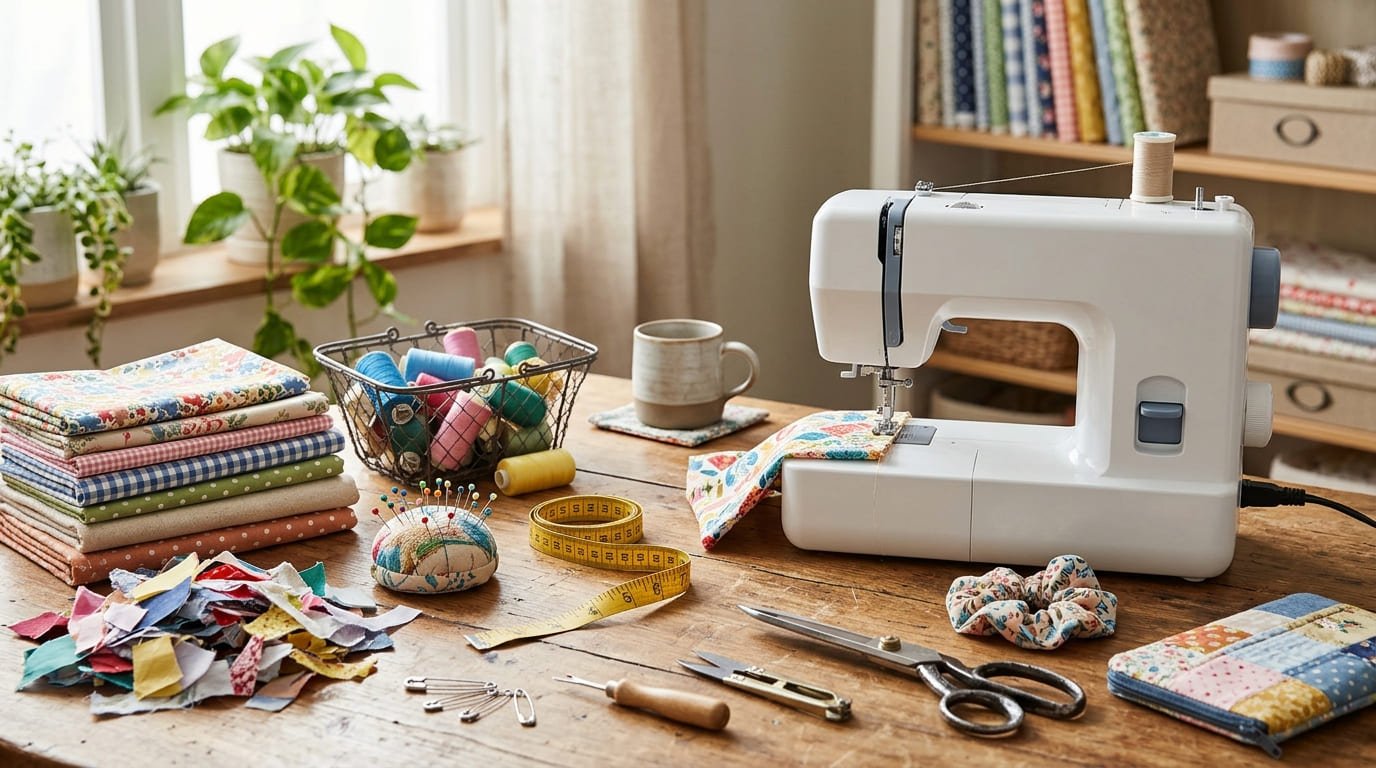
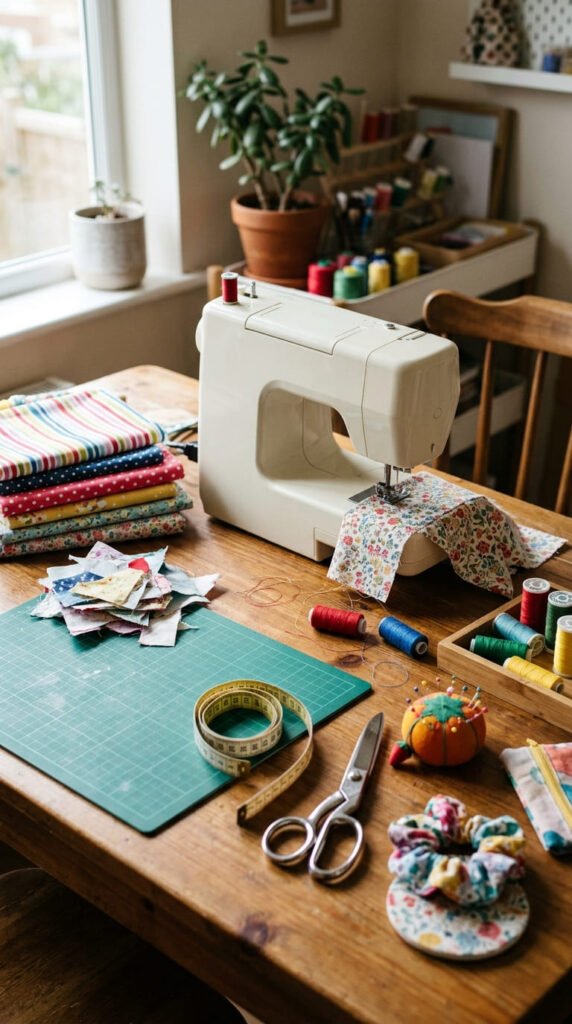
Simple sewing projects are a wonderful way to turn ordinary fabric into useful accessories, thoughtful gifts, and charming home decorations. You do not need years of sewing experience or expensive equipment to get started. A basic sewing machine, needle, thread, and a few fabric pieces are enough for many beginner-friendly crafts.
These simple sewing ideas include everyday accessories, handmade gifts, home décor, fabric organizers, and creative ways to reuse old clothes. Some projects require only straight stitches, while others introduce techniques such as adding elastic, sewing zippers, making hems, and joining fabric pieces.
Whether you are learning to sew for the first time or searching for creative ways to use leftover fabric, these 23 projects offer plenty of inspiration. Pick a design that matches your skill level and enjoy making something useful with your own hands.
1. Colorful Fabric Scrunchies for Everyday Hairstyles
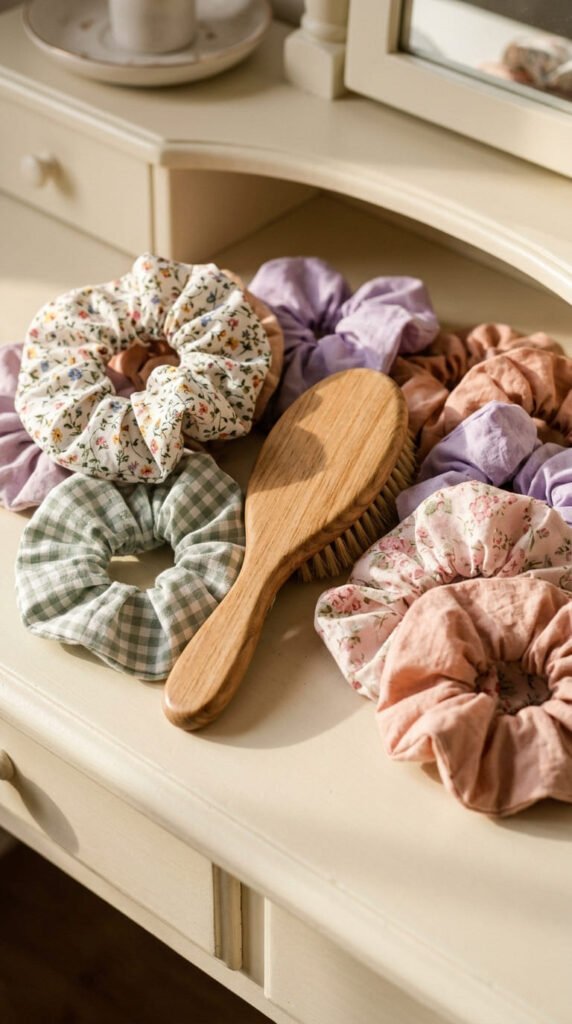
Fabric scrunchies are an excellent first sewing project because they require very little fabric and only a basic straight stitch. They are useful for everyday hairstyles and make lovely handmade gifts for friends, sisters, and teenagers.
Choose cotton, satin, or lightweight linen. Cut a fabric strip approximately 4 inches wide and 20 inches long. Adjust the length if you prefer a fuller scrunchie.
How to make one:
- Fold the fabric lengthwise with the printed sides facing each other.
- Sew along the long edge to create a tube.
- Turn the tube right side out.
- Attach a safety pin to a piece of elastic and guide it through the tube.
- Join the elastic ends securely.
- Fold the raw fabric edges inward and stitch the opening closed.
Choose different prints to create a matching collection. Small pieces of leftover fabric work particularly well for this project.
Skill learned: Straight stitching, turning fabric tubes, and attaching elastic.
2. Reusable Fabric Gift Bags for Special Occasions
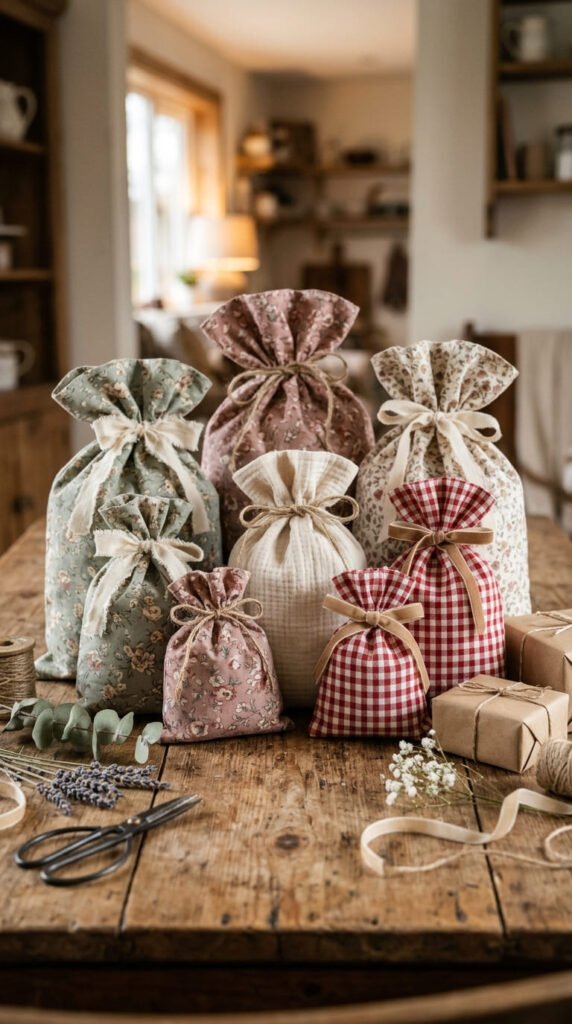
Reusable fabric gift bags offer a charming alternative to disposable wrapping paper. You can make different sizes for birthdays, holidays, baby showers, and small celebrations.
Cotton fabric is a practical choice because it is easy to cut, sew, and wash. You can also reuse old pillowcases or leftover quilting fabric.
Cut two matching rectangles according to the size of your intended gift. Place them together with the printed sides facing inward. Sew along both sides and the bottom, leaving the top open.
Fold the top edge inward twice to create a neat hem. For a drawstring version, create a fabric channel near the opening and pass a ribbon or cotton cord through it.
Creative variations:
- Use seasonal prints for Christmas gifts.
- Add contrasting fabric strips around the top.
- Make tiny bags for jewelry or homemade soaps.
- Use larger rectangles for clothing gifts.
Skill learned: Straight seams, hemming, and basic drawstring construction.
3. A Simple Zipper Pouch for Small Everyday Items
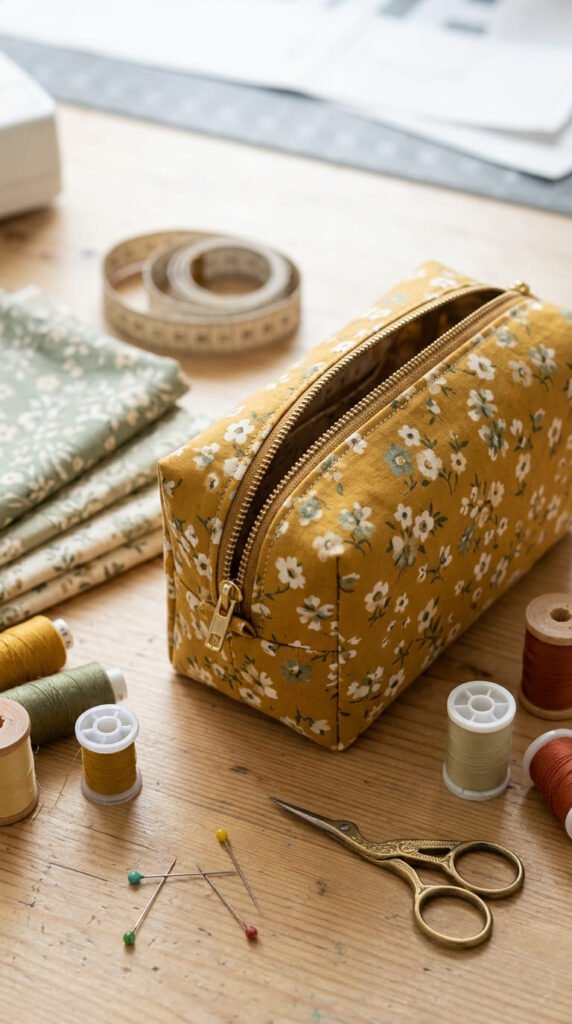
A zipper pouch is a practical sewing project for storing makeup, stationery, charging cables, or travel accessories. It also introduces a useful technique that can help you progress toward more advanced sewing projects.
Start with two outer fabric rectangles and two matching lining pieces. Choose medium-weight cotton so the pouch holds its shape without becoming difficult to sew.
Place the zipper between one outer piece and one lining piece, keeping the fabric faces aligned with the zipper tape. Stitch carefully along the edge using a zipper foot if your sewing machine has one. Repeat for the opposite side.
Open the zipper halfway before joining the remaining fabric edges. Sew around the pouch, leaving a small opening in the lining for turning.
Turn everything right side out and close the lining opening.
Helpful tip: Practice attaching a zipper to fabric scraps before sewing your finished pouch.
You can add a small wrist strap, decorative pull, or contrasting lining to give each pouch a different look.
Skill learned: Zipper installation and lined construction.
4. A Reusable Cotton Tote Bag for Shopping
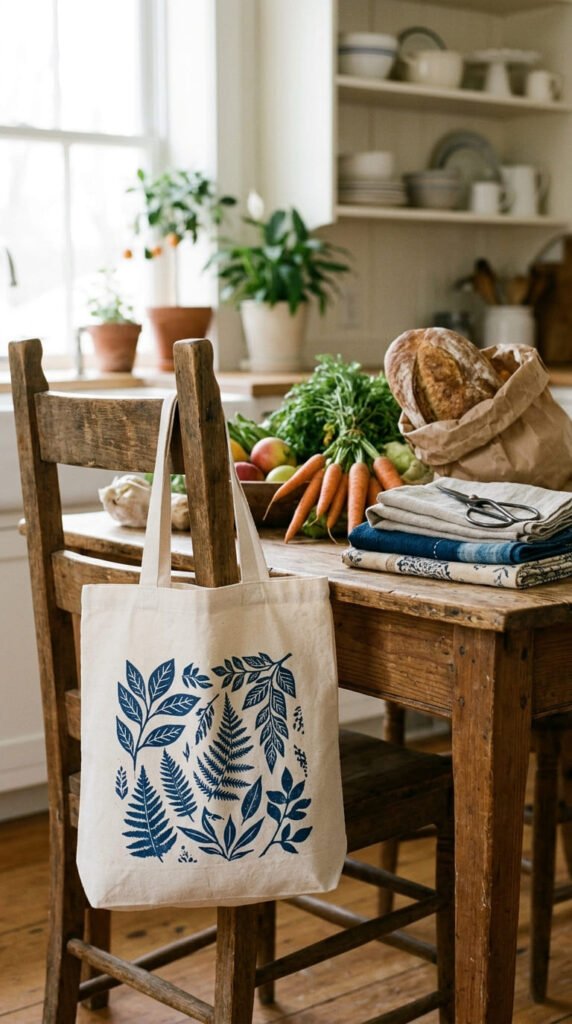
A cotton tote bag is useful for grocery shopping, library visits, craft supplies, and everyday errands. Its simple construction makes it a suitable project for someone who has already practiced sewing straight lines.
Cut two equal rectangles from sturdy cotton or canvas. Place them together with the printed sides facing inward. Sew the side edges and bottom, leaving the top open.
For a stronger base, create boxed corners by flattening each bottom corner into a triangle and stitching across it. Fold the top edge inward twice and stitch around it.
Make two long fabric strips for the handles, fold their raw edges inward, and stitch them securely to the bag.
Ways to customize your tote:
- Use old curtains or denim for the main fabric.
- Add an inside pocket for keys.
- Combine two coordinating cotton prints.
- Make shorter handles for a lunch bag.
Reinforce the handle attachment points with additional stitching, especially if you plan to carry heavier items.
Skill learned: Bag construction, boxed corners, and reinforced seams.
5. Handmade Fabric Bookmarks for Book Lovers
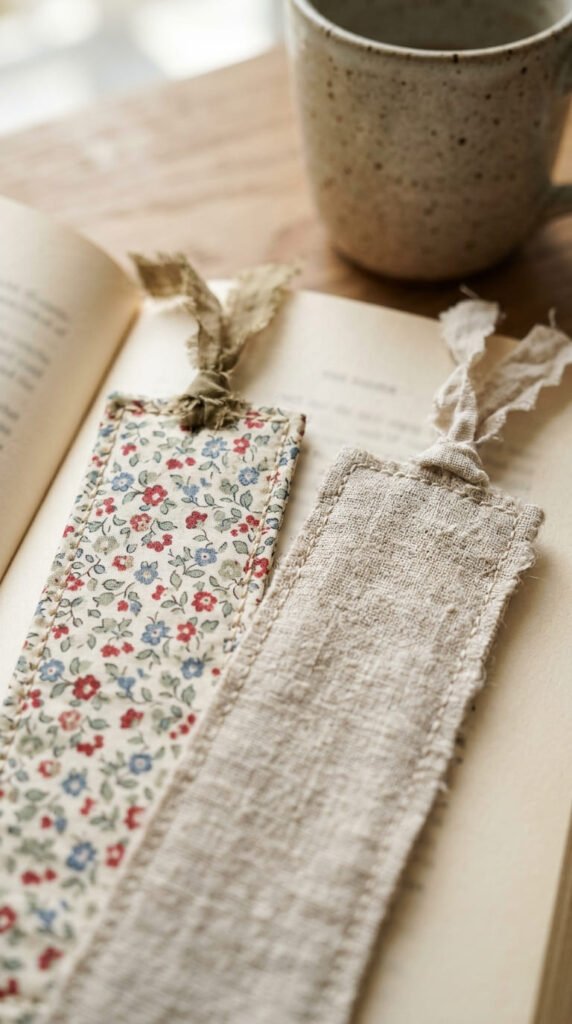
Fabric bookmarks are small handmade gifts that can be completed without using much material. They are especially useful for readers who enjoy keeping a bookmark in their favorite novels, journals, or planners.
Cut two narrow fabric rectangles, each approximately 2.5 inches wide and 7 inches long. Place them together with their printed sides facing inward. Add a thin piece of interfacing between them if you want a firmer finish.
Sew around the edges, leaving a small opening. Turn the fabric right side out, gently push out the corners, and close the opening with a neat topstitch.
You can attach a short ribbon to one end or add decorative embroidery along the border.
Try these designs:
- Tiny floral patterns for a romantic look.
- Striped cotton for a simple modern style.
- Felt shapes for children’s reading accessories.
- Patchwork designs made from fabric scraps.
Skill learned: Sewing small shapes, turning corners, and topstitching.
6. A Soft Fabric Headband for Everyday Wear
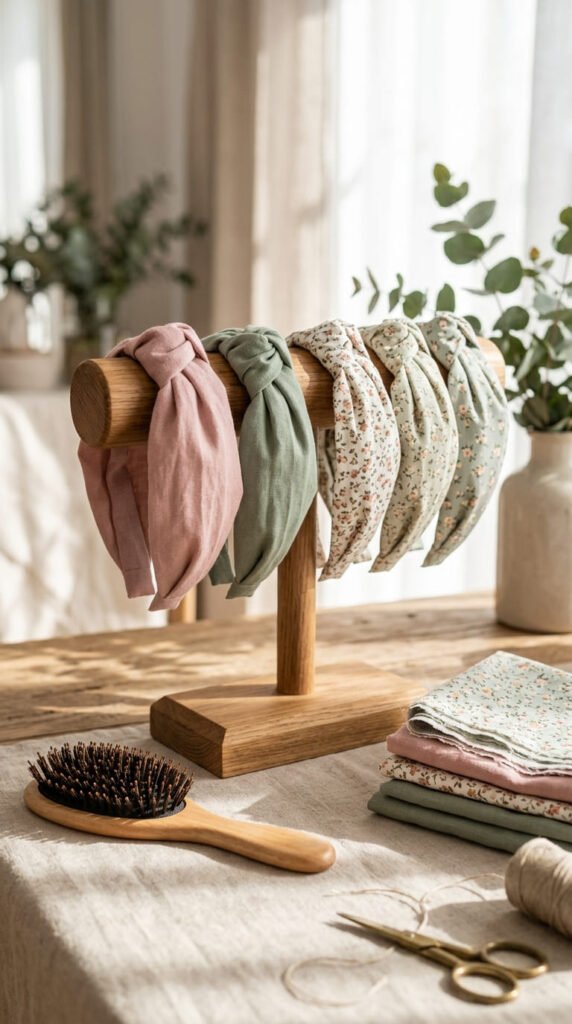
A handmade fabric headband is a lovely accessory for everyday outfits. You can create different styles using cotton, jersey, or lightweight printed fabric. It is also a useful way to practice sewing long fabric strips.
For a basic headband, cut a fabric strip approximately 5 inches wide and long enough to fit comfortably around your head. The exact length depends on the fabric stretch and your preferred fit.
Fold the strip lengthwise with the printed sides facing inward. Sew along the long edge, leaving the ends open. Turn the fabric right side out and press it gently with an iron.
Join the ends to form a loop, making sure the headband fits comfortably without being too tight.
Creative variations:
- Make a twisted front for a decorative look.
- Use stretchy jersey for a comfortable fit.
- Add a small fabric bow.
- Combine two coordinating patterns.
If you use non-stretch cotton, measure your head before cutting so the finished band does not feel restrictive.
Skill learned: Sewing fabric tubes and joining fabric ends.
7. A Cute Drawstring Pouch for Jewelry and Travel
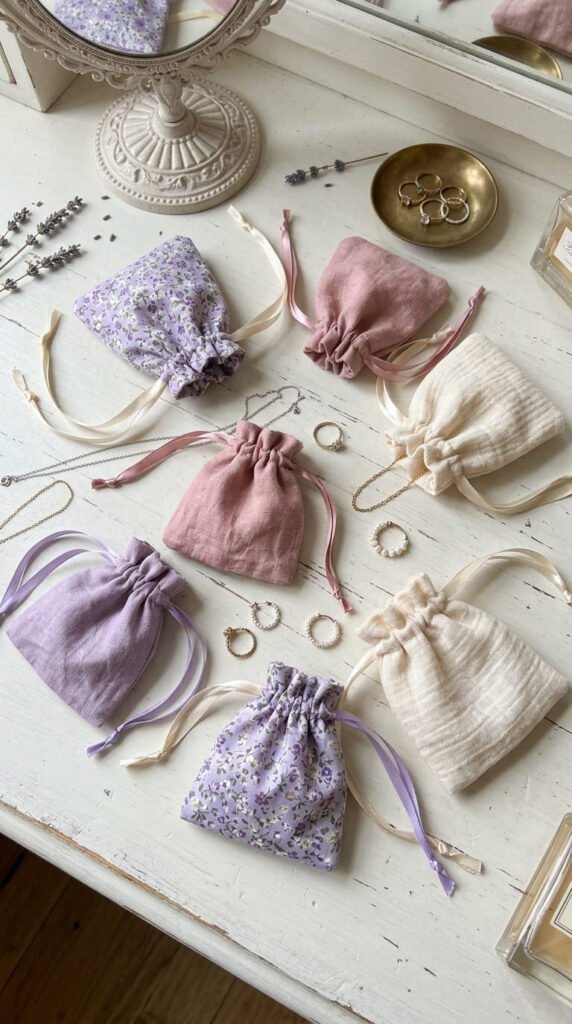
A drawstring pouch is a practical little organizer for jewelry, hair accessories, coins, and travel essentials. Its compact size makes it suitable for beginners who want to practice making small fabric bags.
Cut two matching rectangles from cotton fabric. Place them together with the printed sides facing inward and sew along the sides and bottom.
At the top, fold the fabric inward to create a channel for the drawstring. Leave small openings near the side seams so the cord can pass through. Turn the bag right side out and thread a ribbon or cotton cord through the channel using a safety pin.
Tie the ends securely and test the opening to make sure it closes smoothly.
Ideas for customization:
- Use velvet for a jewelry pouch.
- Choose cotton prints for travel storage.
- Add a contrasting lining.
- Sew small embroidered flowers onto the front.
These pouches are also useful for wrapping handmade soaps or small birthday presents.
Skill learned: Creating fabric channels and threading drawstrings.
8. A Pretty Envelope Pillow Cover for Home Décor
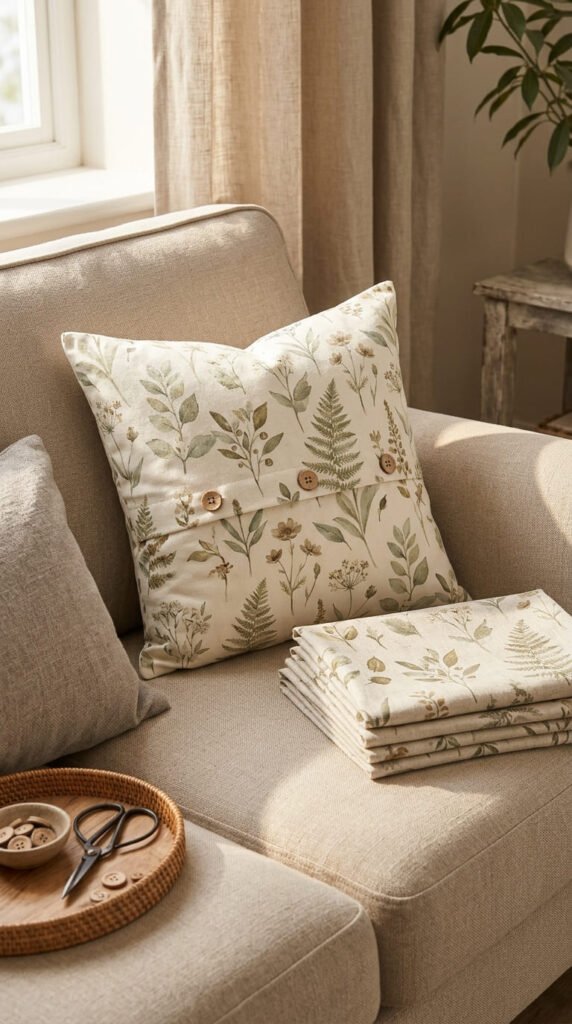
An envelope pillow cover is an easy way to change the appearance of a living room or bedroom without buying new cushions. Its overlapping back panels eliminate the need for a zipper or buttons.
Start by measuring your existing pillow insert. Cut one fabric rectangle for the front panel and two overlapping rectangles for the back. The back pieces should overlap enough to keep the pillow securely inside.
Hem one long edge of each back panel. Place the front panel flat with the printed side facing upward. Position the back panels over it with their printed sides facing downward and their hemmed edges overlapping.
Pin around the edges and sew all four sides using a consistent seam allowance.
Turn the cover right side out, push the corners into shape, and insert your pillow.
Design ideas:
- Choose floral cotton for a cottage-style room.
- Use neutral linen for minimalist décor.
- Combine contrasting front and back fabrics.
- Add decorative piping after gaining more experience.
Skill learned: Measuring, hemming, and constructing overlapping fabric panels.
9. A Fabric Pencil Case for School and Office Supplies
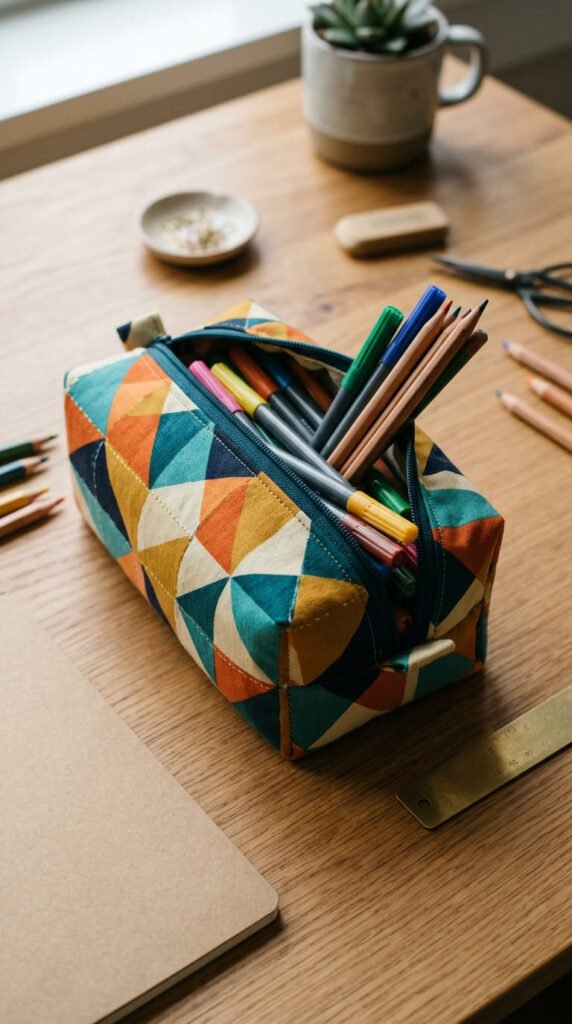
A fabric pencil case keeps pens, pencils, markers, and small stationery items together. It is useful for school students, office workers, and anyone who enjoys keeping craft supplies organized.
Choose cotton canvas or medium-weight cotton for the outer fabric. Cut two matching rectangles for the exterior and two for the lining.
Place the zipper between one outer fabric piece and one lining piece. Stitch close to the zipper teeth using a zipper foot. Repeat with the second side.
Open the zipper before sewing the remaining edges. Place the exterior pieces together and the lining pieces together, keeping their printed sides facing inward. Sew around the shape while leaving a small opening in the lining.
Turn the pencil case through the opening and close the lining seam.
For a wider pencil case, add small fabric tabs at the zipper ends. You can also create a flat version for a slim stationery collection.
Skill learned: Installing zippers and sewing lined accessories.
10. A Reusable Fabric Bowl Cover for the Kitchen
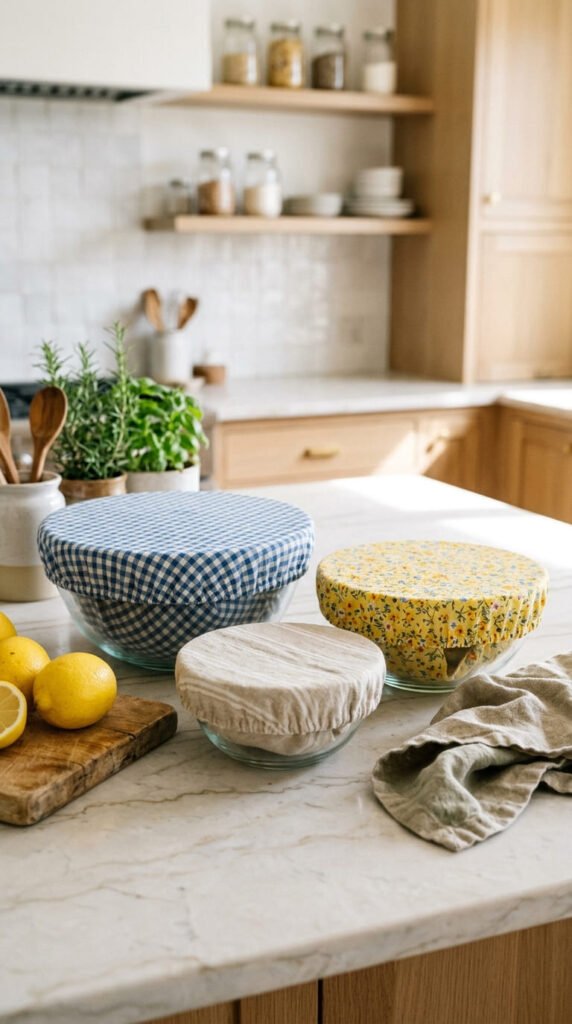
Reusable fabric bowl covers can be used to cover bowls during food preparation or storage. They are a decorative alternative to disposable covers when made with suitable washable materials.
Measure the bowl opening and add enough extra fabric for the sides and elastic casing. Cut a circle from tightly woven cotton.
Fold the fabric edge inward to create a narrow channel. Leave a small gap for inserting elastic. Thread the elastic through the channel using a safety pin, then test the cover against the bowl.
Pull the elastic until the cover fits securely, join the elastic ends, and stitch the opening closed.
Material suggestions:
- Use washable cotton for the outer layer.
- Choose food-contact-appropriate materials for any lining.
- Wash the covers regularly.
- Allow them to dry fully before storing.
Avoid using ordinary craft fabric covers as a substitute for airtight food-storage containers. These covers are best for suitable short-term covering applications.
Skill learned: Sewing curved edges, making elastic casings, and gathering fabric.
11. A Simple Fabric Apron for Cooking and Crafting
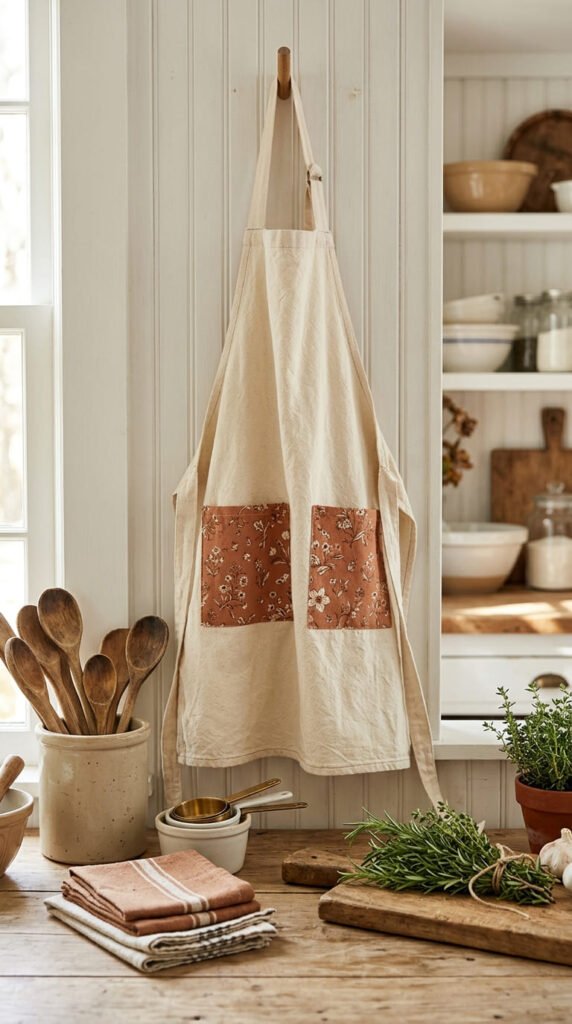
A fabric apron is a useful project for anyone who enjoys cooking, baking, gardening, or crafting. It offers more sewing practice than a small accessory but can still be made with basic straight seams.
Choose a medium-weight cotton or cotton canvas. Cut a large rectangle for the apron body and two long strips for the waist ties. You can create a simple curved top by trimming the upper corners.
Fold the edges inward twice and stitch them to create clean hems. Make two matching straps and attach them securely to the upper corners.
For extra storage, cut a rectangular pocket, fold its edges, and stitch it onto the front of the apron. Divide the pocket into smaller sections if you want separate spaces for kitchen tools or craft supplies.
Personalization ideas:
- Add a contrasting pocket.
- Use a striped waistband.
- Sew decorative trim along the top.
- Choose a floral print for a handmade gift.
Skill learned: Hemming larger fabric pieces, attaching straps, and sewing pockets.
12. Soft Felt Keychains for Handmade Gifts
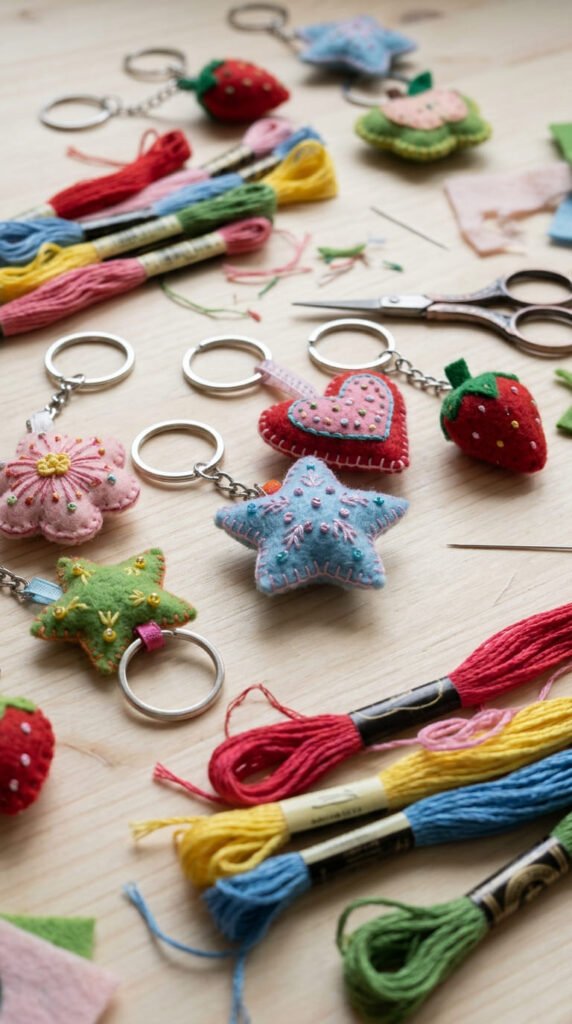
Felt keychains are small, cheerful accessories that can be made with simple hand stitches. They are a suitable choice for beginners who do not have a sewing machine.
Draw a simple shape on paper, such as a heart, star, flower, or animal. Use the paper design as a cutting guide and cut two matching felt pieces.
Place the pieces together and sew around the edge using a blanket stitch or running stitch. Leave a small opening before filling the shape with a little polyester stuffing.
Insert a short ribbon or keychain tab near the top and sew it securely between the felt layers. Finish closing the opening.
Fun design options:
- Make fruit-shaped keychains in bright colors.
- Add tiny felt flowers.
- Use contrasting embroidery thread.
- Personalize gifts with decorative initials.
Avoid making the shapes too large or adding heavy decorations that could pull on the key ring.
Skill learned: Hand stitching, blanket stitches, and sewing small curved shapes.
13. A Handmade Fabric Tissue Holder
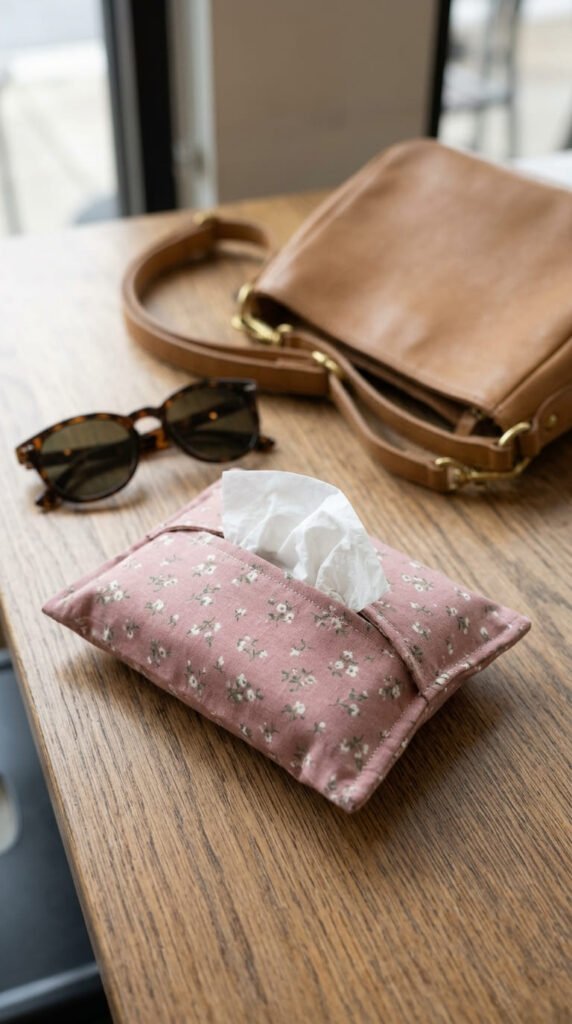
A fabric tissue holder is a practical little accessory for handbags, backpacks, and car storage. It uses a small amount of fabric and is an excellent way to practice accurate folding.
Cut one rectangular fabric piece approximately 6.5 by 7 inches, adjusting the dimensions to suit your tissue packet.
Fold the two shorter edges toward the center so they overlap slightly. Press the folds with an iron to keep them neat.
Sew along the two remaining sides using a small seam allowance. Trim excess fabric near the corners and turn the holder right side out.
Push the corners into shape and place a small tissue packet inside.
Ways to make it attractive:
- Choose tiny floral prints.
- Use contrasting fabric for the inside.
- Add a small decorative button.
- Make matching holders for family members.
Check the dimensions against the actual tissue packet before cutting, as packet sizes can vary.
Skill learned: Accurate folding, small seams, and neat finishing.
14. A Patchwork Cushion Made from Fabric Scraps
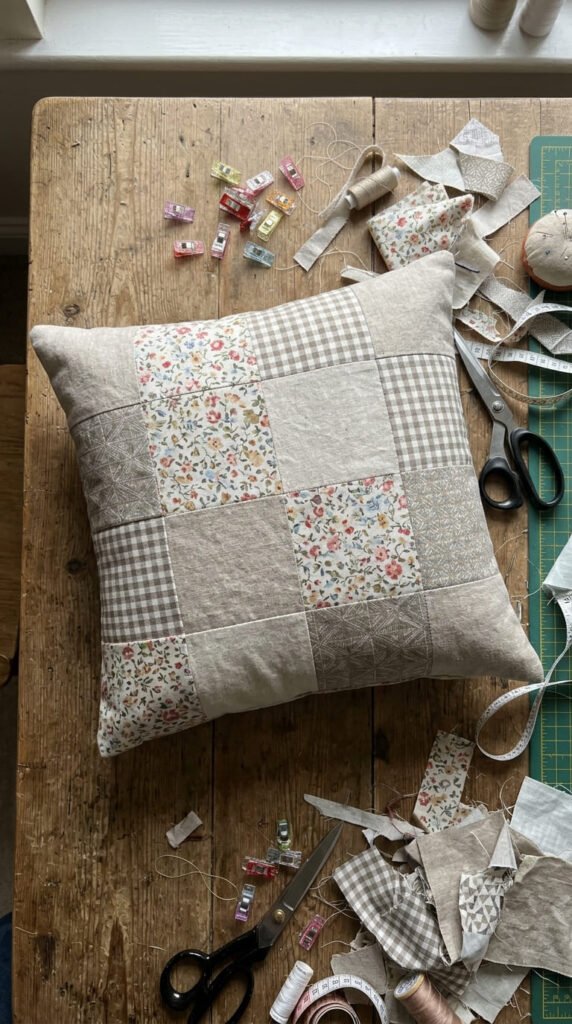
Patchwork sewing is a creative way to use fabric scraps that are too small for larger projects. By joining different pieces together, you can make a decorative cushion with a personal design.
Start by collecting fabric pieces in coordinating colors. Cut them into equal-sized squares using a ruler and rotary cutter. Arrange the squares on a table before sewing so you can adjust the pattern.
Join the squares into rows, keeping the seam allowances consistent. Press the seams flat after each row. Sew the completed rows together to create the front panel.
Cut a matching backing panel and construct the cushion using a simple envelope closure.
Design approaches:
- Combine three shades of the same color.
- Mix small floral prints with plain cotton.
- Create a checkerboard pattern.
- Arrange fabric pieces by light and dark shades.
Prewash fabrics if they may shrink or bleed color. This helps the finished cushion keep a more even shape after washing.
Skill learned: Accurate cutting, joining multiple seams, and basic patchwork.
15. A Handmade Fabric Bookmark with an Elastic Band
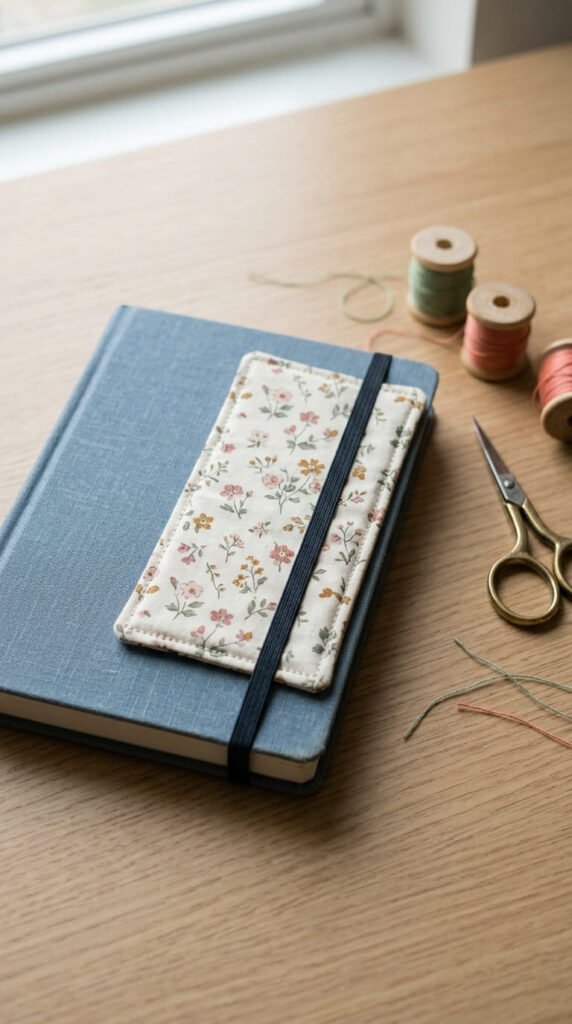
An elastic fabric bookmark is a useful accessory for notebooks, planners, journals, and textbooks. Unlike a loose bookmark, its elastic band helps it stay attached to the book.
Choose a small cotton rectangle and a piece of thin elastic. Cut the fabric into two equal pieces, allowing enough room for seam allowances.
Place the fabric pieces together with their printed sides facing inward. Sew around the edges, leaving a small opening. Turn the fabric right side out and press it gently.
Measure the elastic around your notebook cover so it fits comfortably. Join the elastic ends and position the joint inside the fabric opening. Stitch the opening closed while securing the elastic.
Creative options:
- Use a floral print for a journal accessory.
- Add a small fabric bow.
- Make matching bookmarks for a reading group.
- Choose seasonal prints for handmade gifts.
Make sure the elastic is not too tight, as excessive tension can damage a soft notebook cover.
Skill learned: Working with elastic, small fabric pieces, and secure finishing.
16. Reusable Cotton Produce Bags for Grocery Shopping
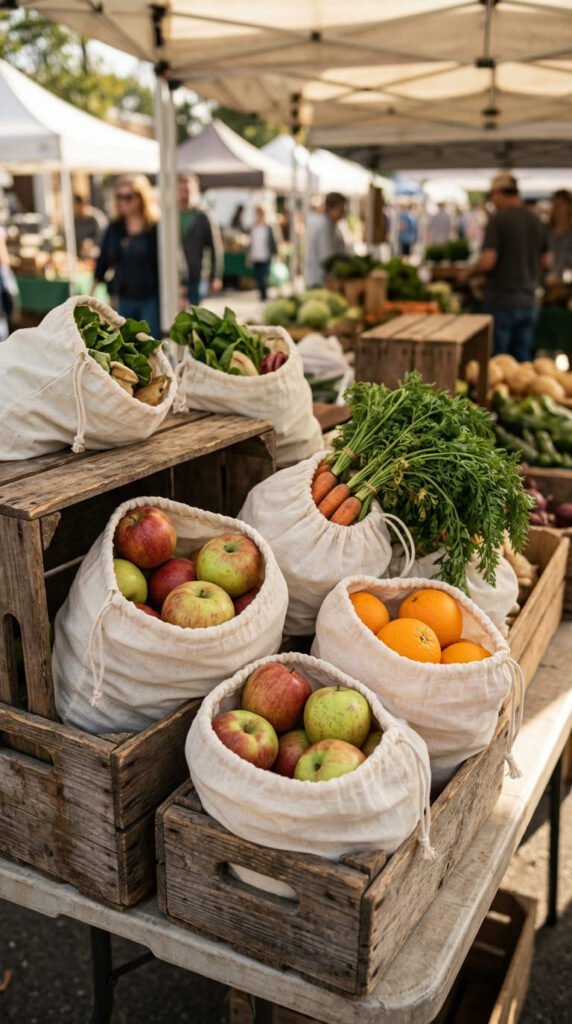
Reusable produce bags are practical for carrying fruits and vegetables from grocery stores or farmers markets. They can also help you make use of lightweight cotton fabric already in your sewing collection.
Choose breathable cotton or suitable mesh fabric. Cut two matching rectangles and place them together with their printed sides facing inward.
Sew the side edges and bottom. If your fabric frays easily, finish the seams with a zigzag stitch or another suitable seam finish.
Fold the top edge inward to create a channel for a drawstring. Thread cotton cord through the opening and tie the ends securely.
Useful variations:
- Make small bags for berries.
- Create medium bags for apples and oranges.
- Use larger bags for leafy vegetables.
- Add a fabric loop for hanging during storage.
Choose materials that can be washed regularly. Allow the bags to dry fully before putting them away.
Skill learned: Straight seams, drawstring channels, and basic bag construction.
17. A Fabric Scissors Holder for Your Sewing Kit
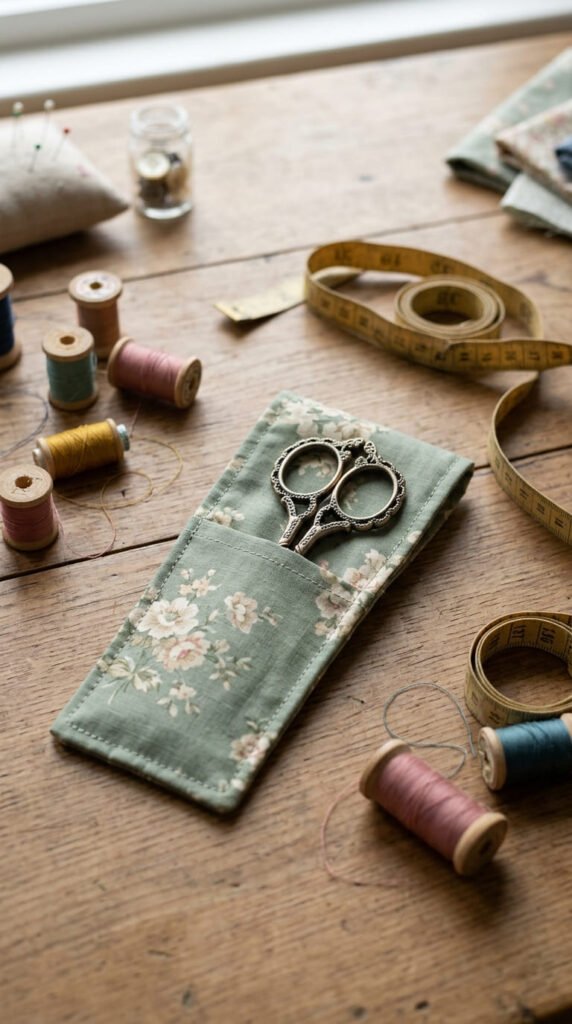
A fabric scissors holder keeps your sewing scissors protected and easy to find. It is a useful addition to a home sewing kit and can be made with a small piece of sturdy cotton.
Start by tracing the shape of your scissors onto paper. Add extra space around the outline for seam allowances and a little room for removing the scissors easily.
Cut two fabric pieces and one layer of interfacing. Place the fabric pieces together with their printed sides facing inward, adding the interfacing as directed by its manufacturer.
Sew around the shape, leaving the top open. Turn the holder right side out and press the edges carefully.
You can add a small hanging loop or a snap closure if you want extra storage security.
Design suggestions:
- Use canvas for additional firmness.
- Add a contrasting lining.
- Decorate the front with embroidery.
- Make matching holders for smaller scissors.
Always store sharp scissors with their blades covered and away from children.
Skill learned: Sewing shaped accessories, adding interfacing, and finishing curved edges.
18. A Simple Elastic-Waist Skirt for Beginners
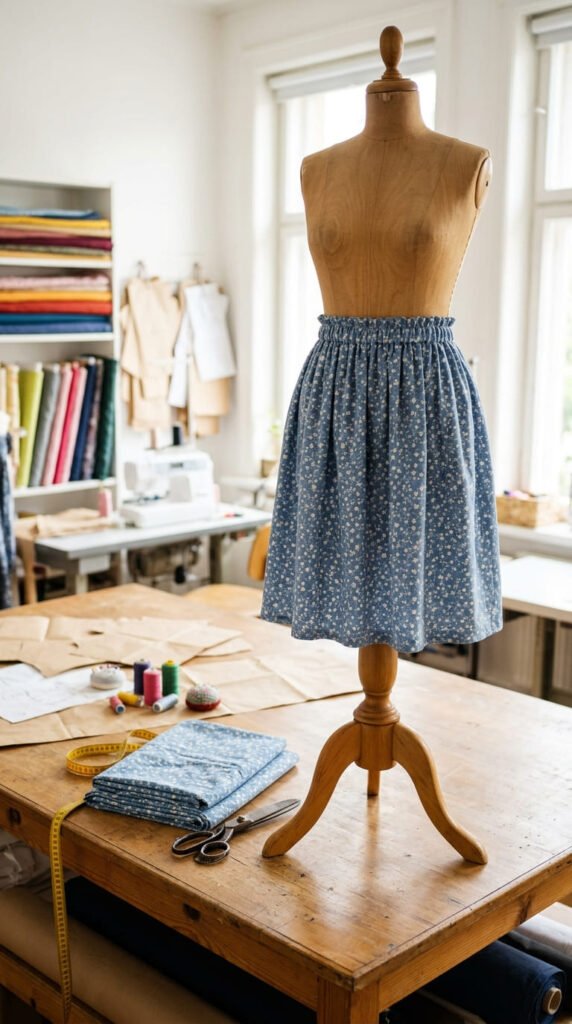
An elastic-waist skirt is a good introduction to making simple clothing. It uses basic rectangular fabric panels and does not require a complicated zipper or fitted waistband.
Choose lightweight woven cotton or another fabric suitable for the desired style. Measure your waist and the preferred skirt length. Decide how much gathering you want before calculating the fabric width.
Cut the fabric panel, join the side seam, and finish the raw edges. Fold the top edge inward to create a casing wide enough for your elastic.
Sew around the casing while leaving a small opening. Thread the elastic through using a safety pin, try the skirt on, and adjust the length for a comfortable fit. Join the elastic ends securely and close the opening.
Finish the bottom edge with a narrow hem.
Style ideas:
- Use small floral cotton for a casual skirt.
- Choose solid linen for a simple summer look.
- Add side pockets after practicing basic construction.
Skill learned: Measuring, gathering, elastic casings, and garment hemming.
19. A Soft Fabric Eye Mask for Relaxing at Home
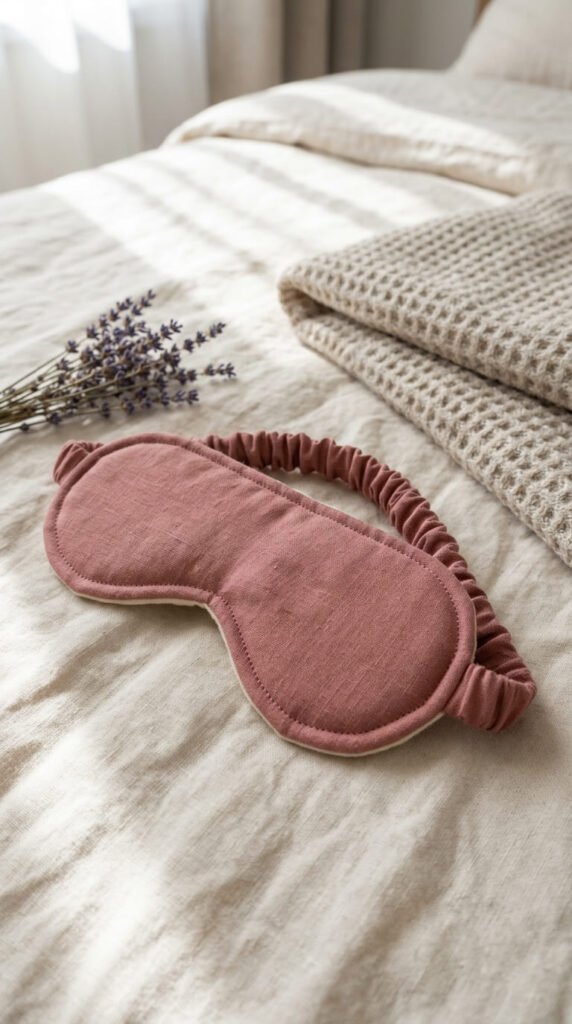
A fabric eye mask is a small comfort accessory that can be made with cotton, soft lining fabric, and a little padding. It also introduces sewing curved edges, which are useful in many other projects.
Draw an eye-mask shape on paper and use it as a cutting template. Cut two matching fabric pieces and one thin layer of soft batting.
Place the fabric pieces together with their printed sides facing inward. Add the batting and position an elastic strap between the fabric layers at both ends.
Sew around the curved edge, leaving a small opening for turning. Trim excess fabric around the curves without cutting through the stitching.
Turn the mask right side out and close the opening with small stitches.
Customization ideas:
- Use soft cotton for the face side.
- Add a contrasting outer fabric.
- Choose a comfortable, washable elastic.
- Add a decorative fabric border.
Use clean, skin-friendly materials and avoid rough decorations around the eyes.
Skill learned: Sewing curves, attaching elastic, and working with padded fabric.
20. A Handmade Fabric Basket for Small Storage
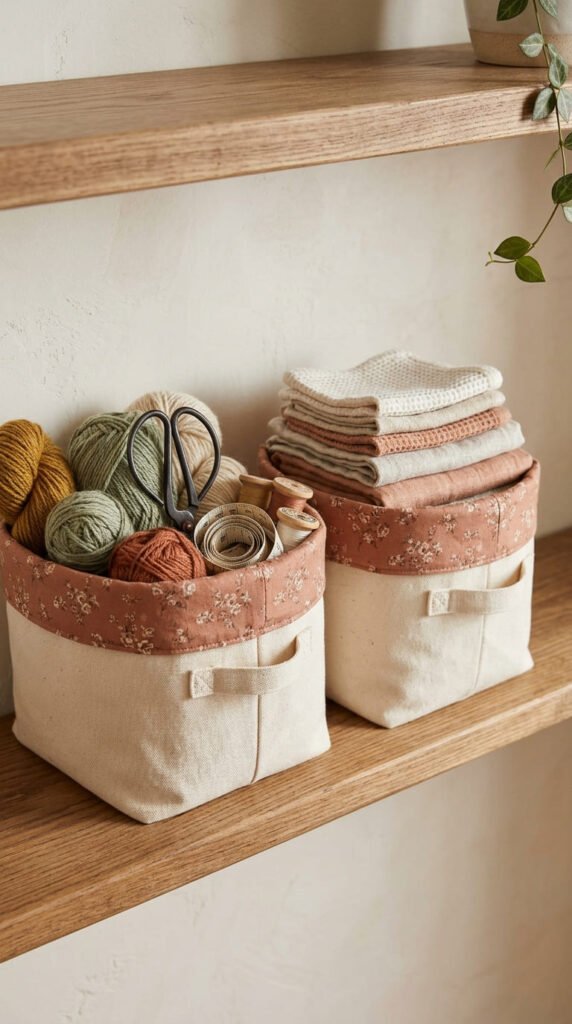
A fabric storage basket is a useful project for organizing sewing supplies, toys, cosmetics, or small household items. Unlike a simple pouch, it has a structured shape that helps it stand upright.
Choose medium-weight cotton or canvas for the exterior. Cut four rectangular side panels and one square or rectangular base. Cut matching lining pieces.
Add interfacing to the outer fabric if you want a firmer basket. Join the side panels to form a box, then attach the base carefully, matching the corners.
Repeat the process with the lining. Place the outer basket inside the lining with their printed sides facing each other and sew around the top edge.
Leave an opening for turning. Turn the basket right side out and close the opening.
Ways to customize it:
- Add small handles to the sides.
- Fold the top edge outward to show the lining.
- Use different sizes for shelf organization.
- Add a decorative fabric label.
Skill learned: Joining panels, sewing corners, and constructing lined items.
21. A Decorative Fabric Garland for Parties and Bedrooms
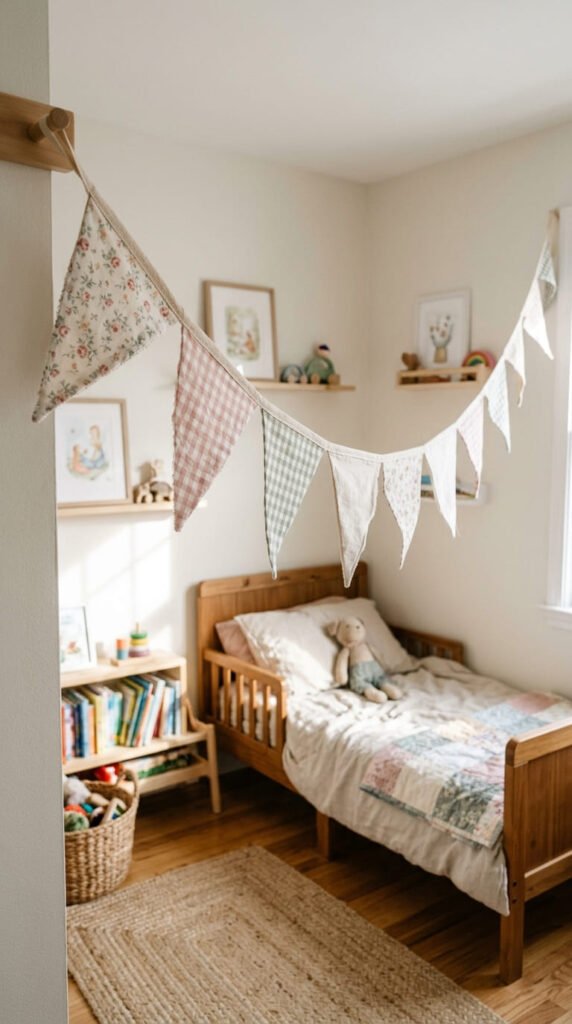
Fabric garlands add color to bedrooms, craft rooms, birthday celebrations, and seasonal decorations. They are also a wonderful way to use small fabric remnants.
Create a triangular paper template in your preferred size. Use it to cut matching pairs of fabric triangles. Place each pair together with the printed sides facing inward.
Sew along the two angled edges, leaving the top open. Turn each triangle right side out and press it flat.
Arrange the flags in your preferred order. Position them along a long piece of cotton tape or folded bias binding, leaving equal spaces between them.
Fold the tape over the top edge of each flag and stitch along the length to secure everything.
Decoration ideas:
- Use red and green prints for Christmas.
- Choose pastel colors for baby showers.
- Mix floral fabrics for a spring party.
- Make a neutral garland for a craft room.
If the garland will be used in a child’s room, hang it securely and out of reach.
Skill learned: Cutting repeated shapes, sewing angled edges, and attaching fabric pieces to binding.
22. A Reusable Fabric Cord Organizer for Chargers
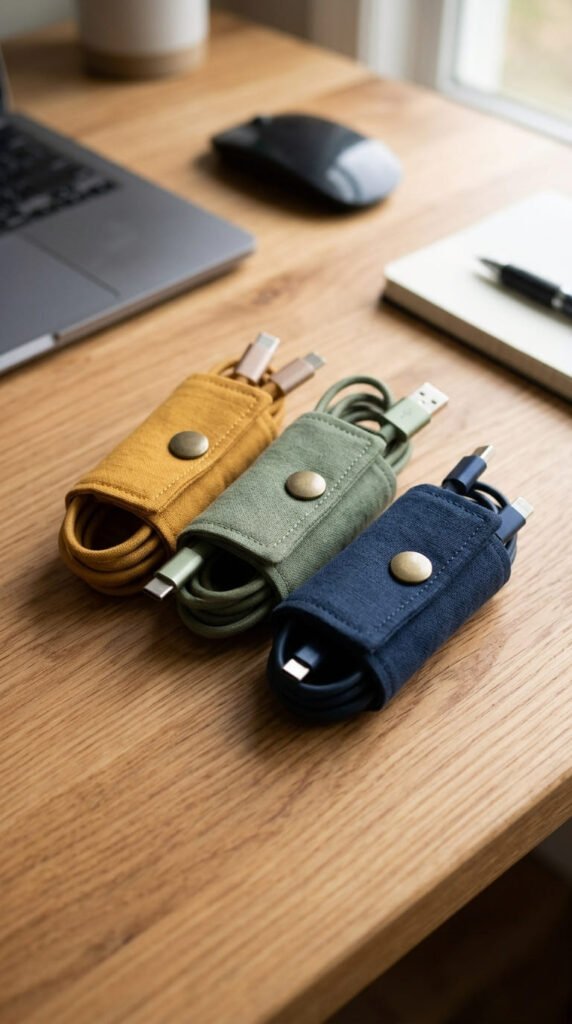
Loose charging cables and earphones can become tangled inside handbags, backpacks, and desk drawers. A small fabric cord organizer provides a simple way to keep them together.
Cut two small matching fabric rectangles, approximately 3 inches wide and 5 inches long. Adjust the dimensions to suit the cables you want to store.
Place the pieces together with their printed sides facing inward. Add a thin layer of interfacing if you want a firmer shape.
Sew around the edges, leaving a small opening. Turn the fabric right side out and close the opening with a topstitch.
Attach a suitable snap fastener or small hook-and-loop closure near the ends. Check that the closure holds the organizer without crushing the cable.
Creative options:
- Use bright prints to identify different chargers.
- Make narrow versions for earphones.
- Add a small hanging loop.
- Create matching sets for family members.
These organizers are also useful as inexpensive stocking stuffers or small handmade gifts.
Skill learned: Sewing small rectangles, attaching closures, and neat topstitching.
23. An Upcycled Denim Pouch from Old Jeans
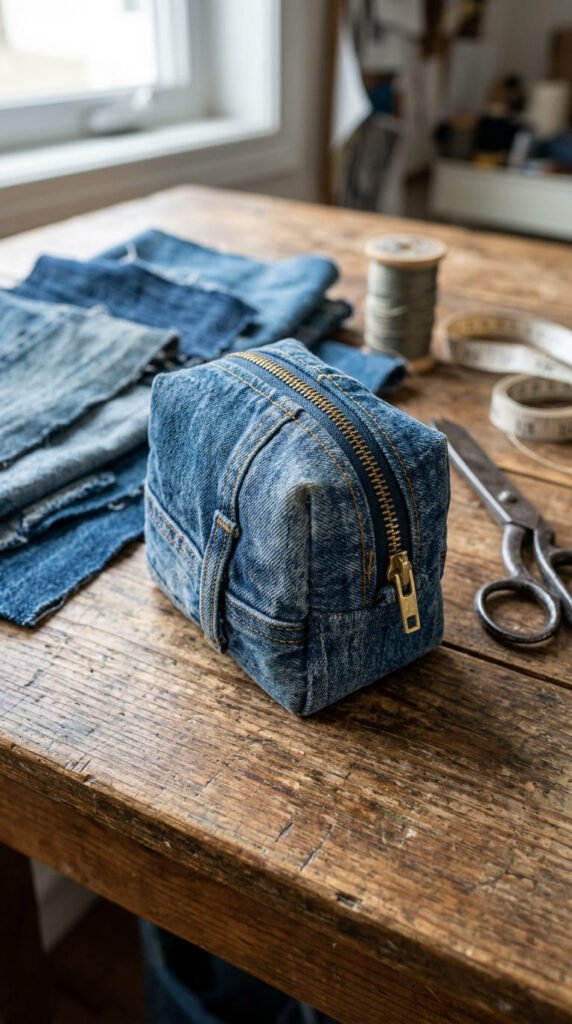
Old jeans often contain strong denim fabric that can be reused for smaller sewing projects. Instead of throwing away worn clothing, you can turn suitable sections into useful accessories.
Choose an area of the jeans that is still in good condition. The back pocket, lower leg, or unused denim sections can work well.
For a basic pouch, cut two matching rectangles from the denim. If you want to reuse an original pocket, position it on the front panel before joining the pouch.
Add a zipper along the top edge and attach a lining made from cotton fabric. Sew around the remaining edges, leaving an opening in the lining for turning.
Turn the pouch right side out and close the lining opening.
Other ways to reuse old denim:
- Make small coin purses.
- Create fabric key holders.
- Sew a pencil case.
- Add denim pockets to plain tote bags.
- Make patchwork cushion covers.
Denim can be thick, so use a suitable machine needle and avoid sewing through too many bulky layers at once.
Skill learned: Upcycling, sewing thicker fabric, and combining different materials.
Conclusion
Sewing is a rewarding way to turn simple fabric pieces into useful everyday items, handmade gifts, and beautiful decorations. From colorful scrunchies and zipper pouches to reusable shopping bags and upcycled denim accessories, these simple sewing ideas offer something for different skill levels.
If you are a beginner, start with a small project such as a scrunchie, bookmark, or fabric gift bag. Once you feel comfortable with straight stitches, try a zipper pouch, cushion cover, or simple skirt.
You can also save money by using leftover cotton, old jeans, unused pillowcases, and fabric remnants instead of purchasing new materials for every project.
Choose one idea, gather your supplies, and enjoy making something with your own hands. You might discover a new hobby and create lovely handmade items to share with family and friends.