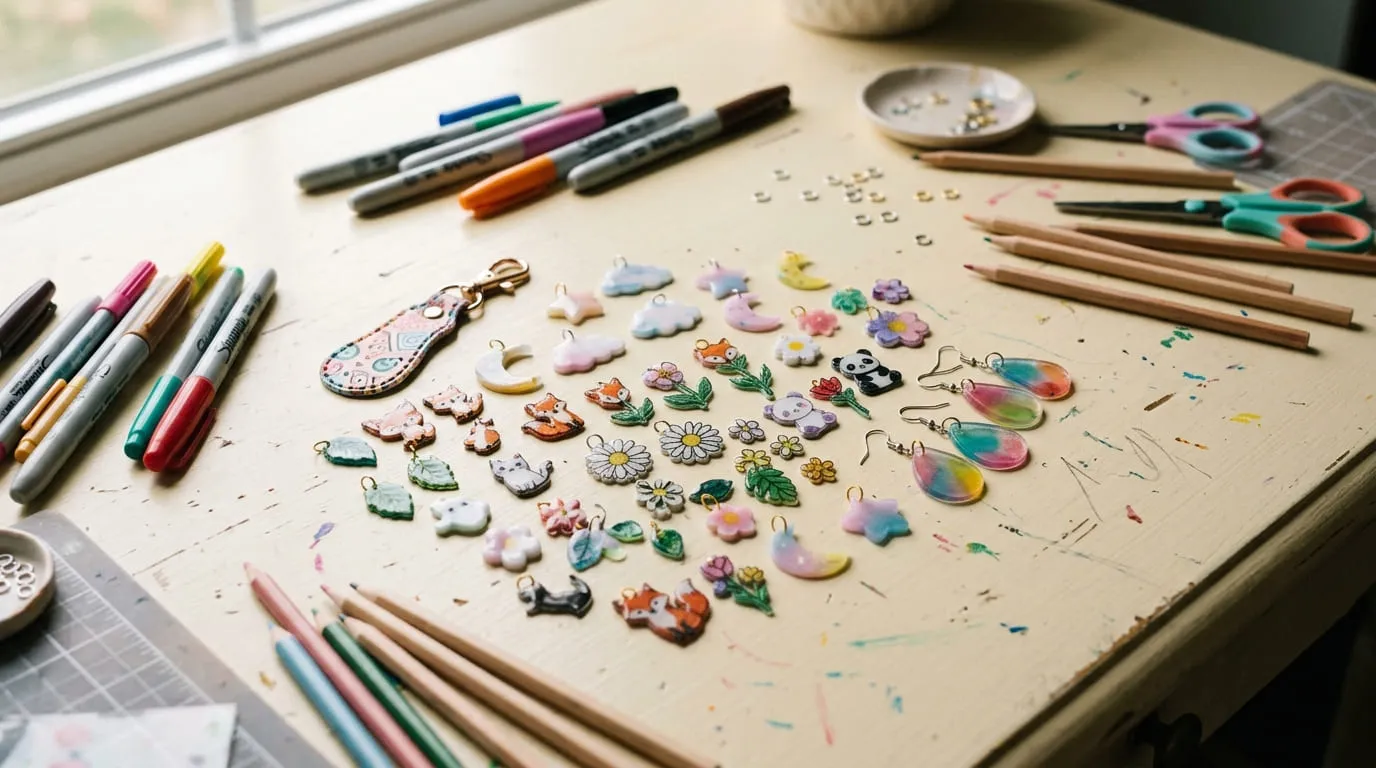
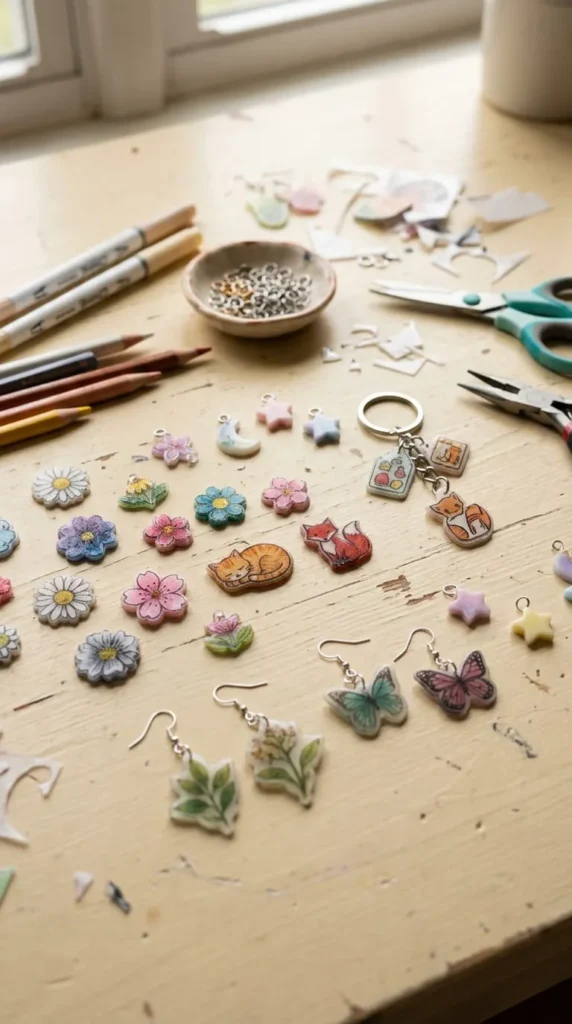
Shrinky Dink crafts turn simple drawings into small, durable-looking keepsakes that can be used for jewelry, keychains, gifts, accessories, and seasonal decorations. With shrink plastic sheets, permanent markers, colored pencils, and an oven, you can create colorful designs without buying expensive crafting equipment. These shrinky dink ideas range from easy projects for beginners to personalized gifts and artistic accessories for experienced makers. You can trace simple shapes, draw original illustrations, or use inkjet-compatible shrink film for photo-based designs. The fun comes from watching a large drawing shrink into a tiny piece with richer colors and a thicker feel. Before you start, remember that shrink plastic varies by brand, so follow the package directions for coloring, temperature, and baking time. Most designs also need to be drawn larger than their intended finished size. Here are 21 creative projects, with practical tips to help you choose materials, plan your designs, and turn your artwork into something you can wear, display, or give to someone special.
1. Personalized Shrinky Dink Keychains for Everyday Use
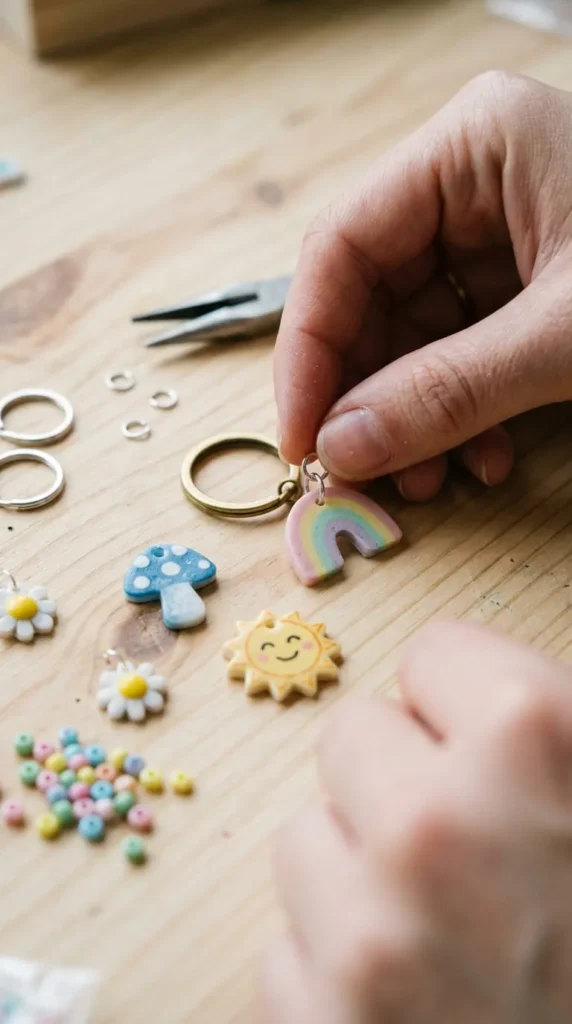
Custom keychains are a great starting point because they are small, practical, and easy to personalize. You can make one for your backpack, house keys, pencil case, or a friend’s birthday gift.
Start with shrink plastic sheets, a permanent marker, colored pencils if your sheet supports them, a hole punch, and a key ring. Draw a simple design such as a flower, tiny planet, favorite fruit, or smiling cloud. Keep the outline bold so the details remain visible after shrinking.
The biggest trick is getting the size right. Many shrink films finish at roughly one-third of their original dimensions, although the exact result depends on the product. If you want a charm around 1.5 inches wide, begin with a drawing about 4.5 inches wide and test your material first.
Before baking, punch a hole near the top of the design. Make it larger than the final opening you want because the hole will shrink, too.
Place the piece on parchment paper and bake according to the manufacturer’s instructions. Let it cool fully before attaching the metal ring.
For a coordinated set, make matching fruit, flower, or star charms in different colors. A small collection looks thoughtful without requiring costly supplies.
2. Handmade Shrinky Dink Earrings with Floral Designs
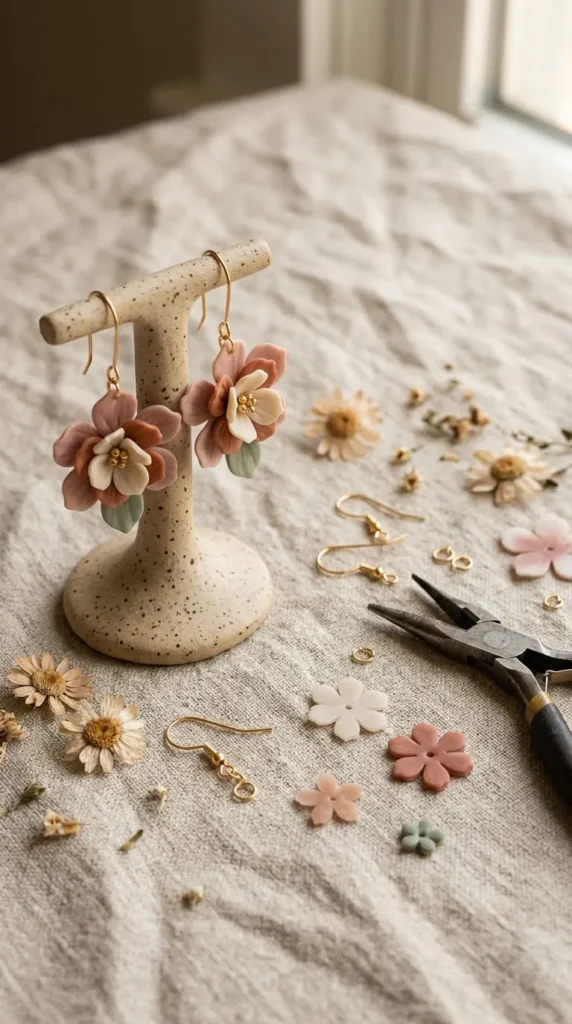
Floral earrings are ideal if you enjoy wearable crafts with a handmade look. Tiny tulips, simple daisies, leafy sprigs, and abstract petals can become lightweight accessories for everyday outfits or special occasions.
Choose a shrink film suitable for your coloring method. Draw two matching flowers, or create a pair that shares the same colors but has slightly different shapes. Symmetry matters more than tiny details when making earrings, so place the designs side by side before cutting them out.
Cut just outside the outlines and smooth any rough corners. Punch attachment holes before baking, keeping them in the same position on both pieces. The plastic shrinks during heating, so leave enough space between the hole and the edge to help reduce breakage.
After baking and cooling, connect the charms to earring hooks with jump rings. Use jewelry findings appropriate for pierced ears, and choose hypoallergenic materials if you have metal sensitivities.
For a modern look, try a single large petal shape instead of a complete flower. Another option is a pair of tiny leaf charms with gold-tone findings.
If you’re making your first pair, test one small sample before creating the final set. This helps you check color, shrinkage, and hole placement before using your best sheet of plastic.
3. Cute Animal Charms for Backpacks and Pencil Cases
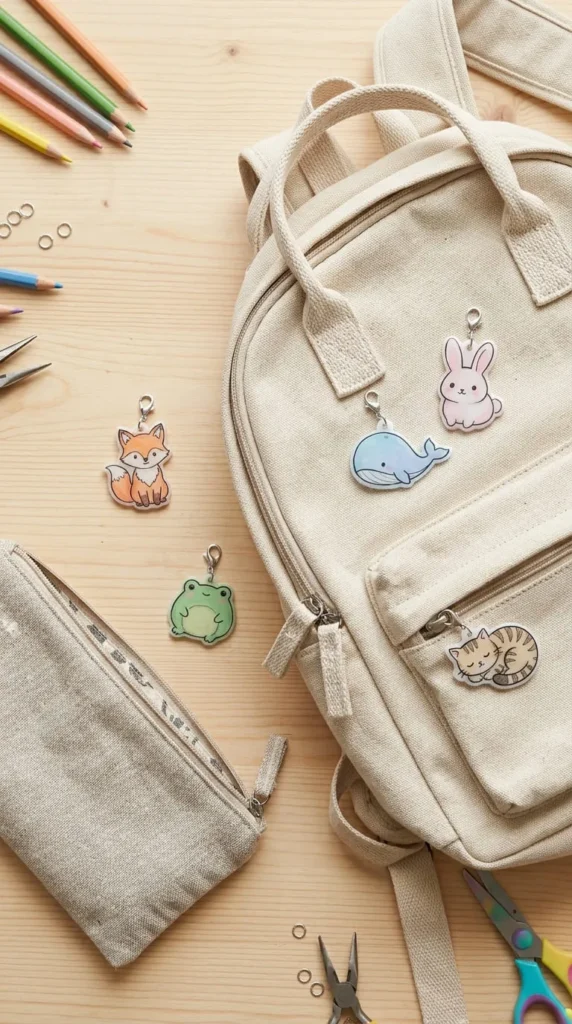
Animal charms are a fun choice for children, students, and anyone who enjoys playful accessories. You can make woodland animals, sea creatures, farm animals, or tiny pets with recognizable features and simple shapes.
Begin with animals that have clear silhouettes. A fox can be made from a rounded triangle face and pointed ears, while a whale works well as a curved oval with a small tail. Draw the eyes, nose, and other facial features with a fine permanent marker, then add color using materials approved for your shrink film.
Keep the details larger than you think they should be. Tiny whiskers and narrow lines may become difficult to see after shrinking. Thick outlines and simple color blocks usually produce clearer results.
Cut around each animal with smooth curves. If the charm will hang from a backpack zipper, punch a hole before baking and leave a sturdy border around it. Bake according to the package instructions and allow the pieces to cool before adding jump rings.
You can turn the project into a small craft activity by asking each participant to choose an animal and color palette. Adults should handle the oven and hot baking tray.
For a matching set, make a fox, mushroom, leaf, and acorn in coordinated earthy colors. Attach the finished pieces to zipper pulls or a bag strap for a personalized accessory.
4. Miniature Food Shrinky Dink Charms
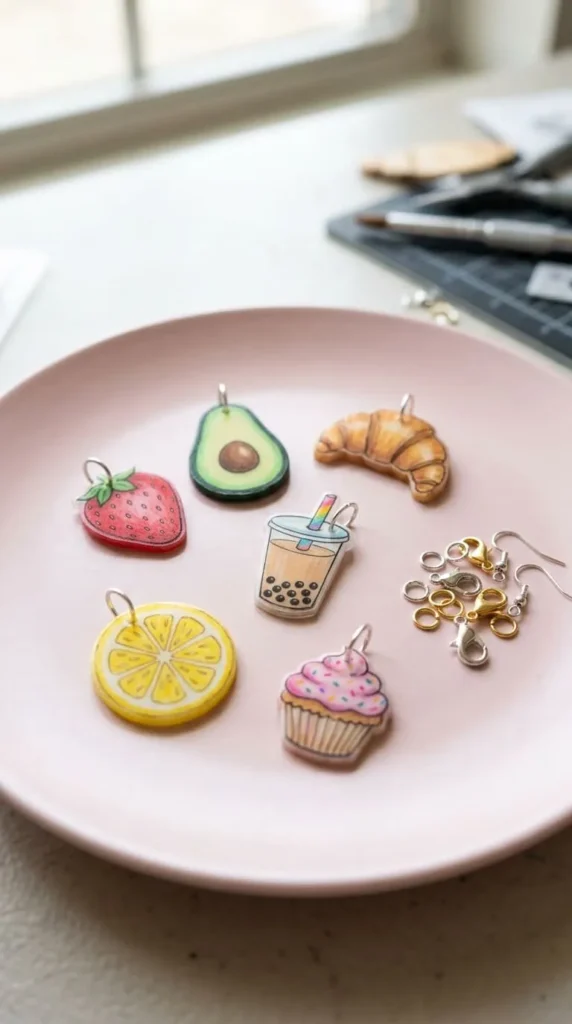
Tiny food illustrations are a charming way to create colorful accessories. Strawberries, cherries, pizza slices, doughnuts, iced drinks, and little slices of cake work particularly well because their shapes are easy to recognize.
Sketch each design on paper before tracing it onto the shrink film. For a strawberry, use a rounded triangular outline and a few dark seeds. For an avocado, draw a simple oval with a contrasting center. You can use pink, red, yellow, and green for a bright collection, or choose muted colors for a more understated style.
When planning your designs, leave enough room for the outlines and color areas to remain clear after shrinking. Very small decorations can merge visually, especially when several dark lines sit close together.
Cut out the shapes carefully, then punch holes if you plan to use the pieces as charms. Bake them on a parchment-lined tray according to the manufacturer’s instructions. Let them cool completely before adding key rings or necklace findings.
These miniature foods can become earrings, phone accessories, zipper pulls, or small gifts for a friend who loves baking. You can also create a themed set, such as breakfast foods, summer fruit, or café-inspired treats.
For a coordinated gift, place three matching charms on a card or in a small gift box. Handmade food charms are especially fun when each piece uses the same outline style and color palette.
5. Photo Memory Charms for Special Gifts
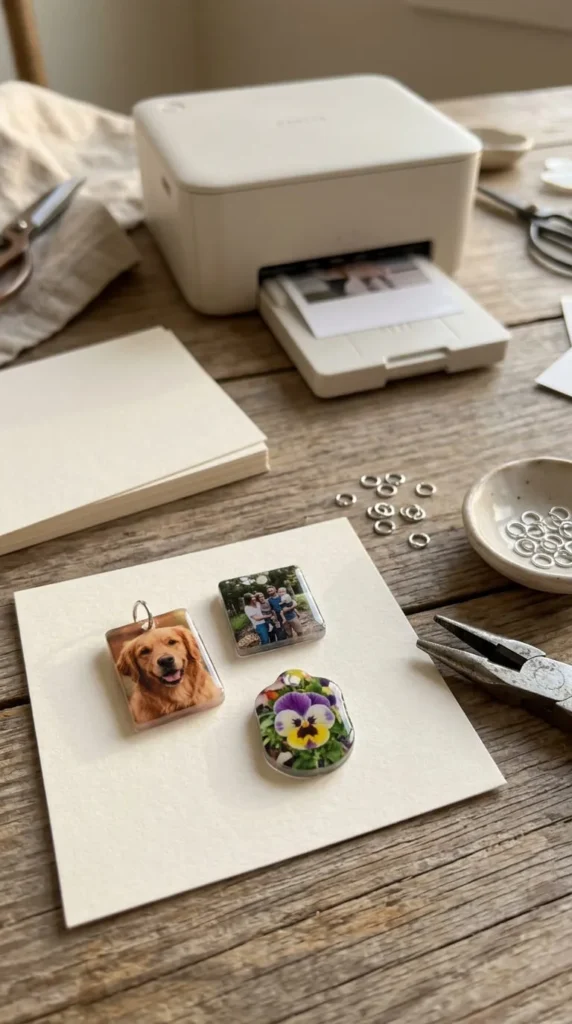
Photo charms can turn meaningful memories into small keepsakes for birthdays, anniversaries, graduations, or family celebrations. You might use a pet portrait, a favorite travel photo, or a picture of a beloved garden.
For this project, choose shrink film specifically designed for inkjet printing if you want to print photographs at home. Ordinary shrink plastic may not accept printer ink correctly, so check the packaging before printing. Follow the film’s directions for which side to print on and whether the image needs drying time.
Choose a photograph with a clear subject and a simple background. Since the image becomes much smaller, a close-up face or pet portrait often works better than a busy group photograph. Leave a border around the image if you want to cut it into a circle, oval, or rounded rectangle.
Print the image at a larger size than the finished charm. Make a small test piece first because shrink ratios and color changes vary by product.
Punch a hole before baking if you plan to attach a key ring. Follow the film’s heating instructions and allow the charm to cool completely.
You can finish the piece with a suitable protective coating if the product instructions allow it. Resin is another possible finish for experienced makers, but it requires separate safety precautions and careful application.
These charms work well as thoughtful gifts because they focus on a specific person, pet, or shared memory rather than a generic design.
6. Personalized Pet ID Tags with Shrink Plastic
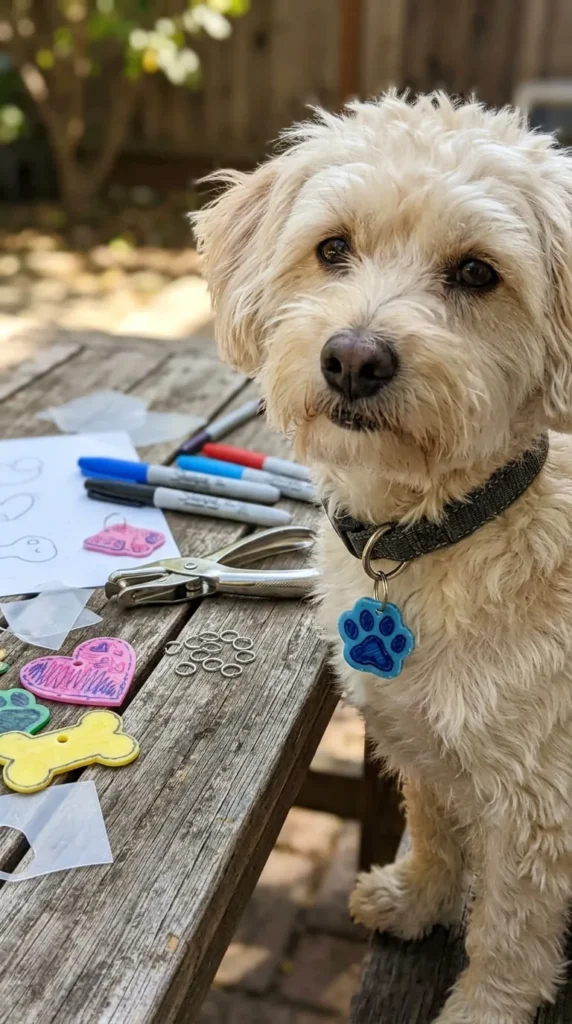
Pet-themed tags are practical craft projects, but they require careful planning. A shrink plastic charm can carry a paw print or decorative pet illustration, making it a sweet addition to a collar or carrier.
Start by drawing a bold paw print, bone, heart, or simple animal face. If you want to include your pet’s name and contact details, remember that the letters will become much smaller after baking. Use large, clear lettering and test a sample to see whether the information remains readable.
Do not rely on a decorative shrink plastic tag as your pet’s only identification unless the finished information is legible and the tag is securely attached. For everyday identification, a professionally made tag may be more suitable, particularly if the pet spends time outdoors.
Choose a design with enough plastic around the attachment hole. Punch the hole before baking, then follow the package directions for heating and cooling. After the piece cools, inspect the edges and hole for cracks or sharp points.
Attach it using a sturdy ring that fits the collar hardware. Check the charm regularly for damage, especially if your pet chews, scratches, or rubs its collar.
For a simple keepsake, create a matching paw-print charm for the pet owner and a decorative tag for the pet’s carrier. You can use the same color palette to make both pieces feel like part of a coordinated set.
7. Minimalist Shrinky Dink Necklace Pendants
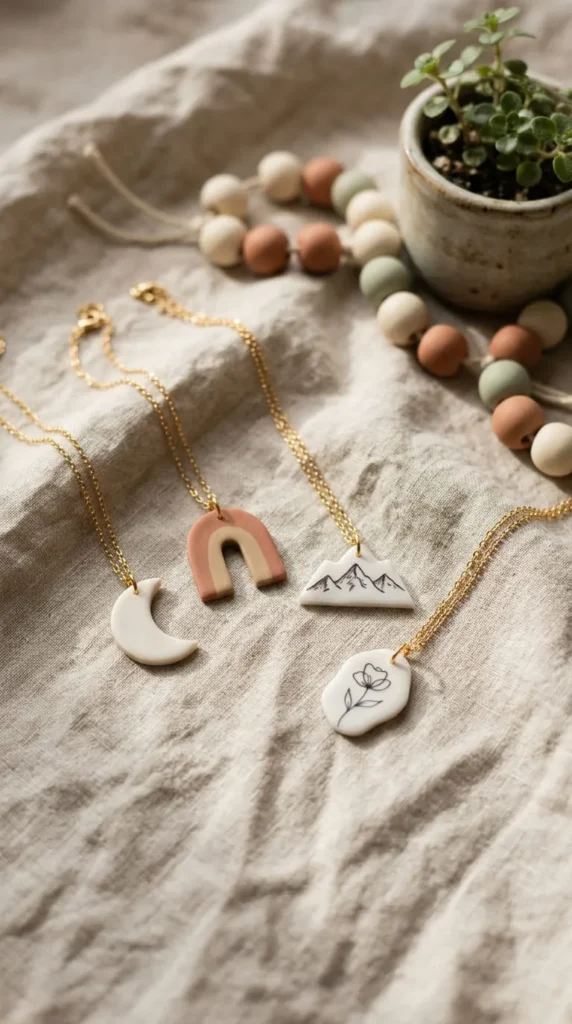
Minimalist pendants are a good option for adults who prefer subtle handmade jewelry. Instead of complicated illustrations, focus on simple silhouettes, clean lines, and a restrained palette.
Try a crescent moon, an abstract arch, a small mountain range, or a single outlined flower. Sketch each shape on paper first, then trace it onto shrink film. If you want a pendant with a smooth, modern appearance, keep the outline clean and avoid narrow points that could become fragile after shrinking.
Plan the finished dimensions before cutting. A pendant that looks large on the sheet may become much smaller in the oven. Make a test shape if the exact size matters, especially when designing a matching necklace and earring set.
Punch the attachment hole before baking. Keep it far enough from the edge to leave a strong connection point once the plastic contracts. Follow the manufacturer’s heating instructions, then allow the piece to cool fully before attaching a jump ring and chain.
Choose a chain length that suits the pendant and your intended style. A small charm can look lovely on a shorter chain, while a longer chain can work well with a larger geometric shape.
For an elegant finish, use cream, black, rust, sage, or muted blue. A single metallic accent in the chain or connector can complement the artwork without overwhelming it.
8. Colorful Shrinky Dink Charm Bracelets
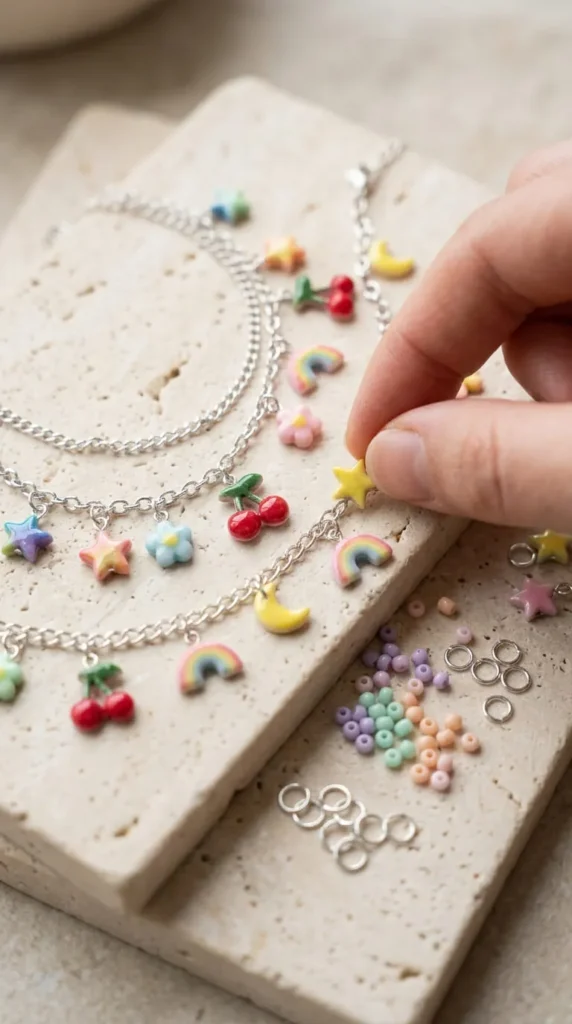
Charm bracelets let you combine several small designs into one personal accessory. You could create a bracelet based on a favorite color, a season, or a collection of symbols that mean something to you.
Begin by choosing four to six small shapes that look good together. For example, a summer bracelet might include a sun, shell, strawberry, and tiny wave. A botanical version could feature leaves, mushrooms, and flowers in green and terracotta shades.
Draw the charms on shrink plastic, leaving enough space for cutting and attachment holes. Because the pieces become smaller, avoid overly delicate stems or narrow sections. Punch each hole before baking and keep the hole positions consistent.
After baking and cooling, arrange the charms on a flat surface before attaching them to the bracelet chain. This lets you adjust the spacing and balance the colors. Use jump rings to connect the charms, and close each ring securely with jewelry pliers.
Keep the finished bracelet comfortable to wear. Too many large charms can make it heavy or cause the pieces to tangle. A few carefully selected designs often look better than a crowded chain.
This project also works as a personalized gift. Choose symbols related to someone’s hobbies, favorite animals, or birth month. You can make the bracelet even more coordinated by repeating one accent color across all the charms.
9. Whimsical Shrinky Dink Bookmarks
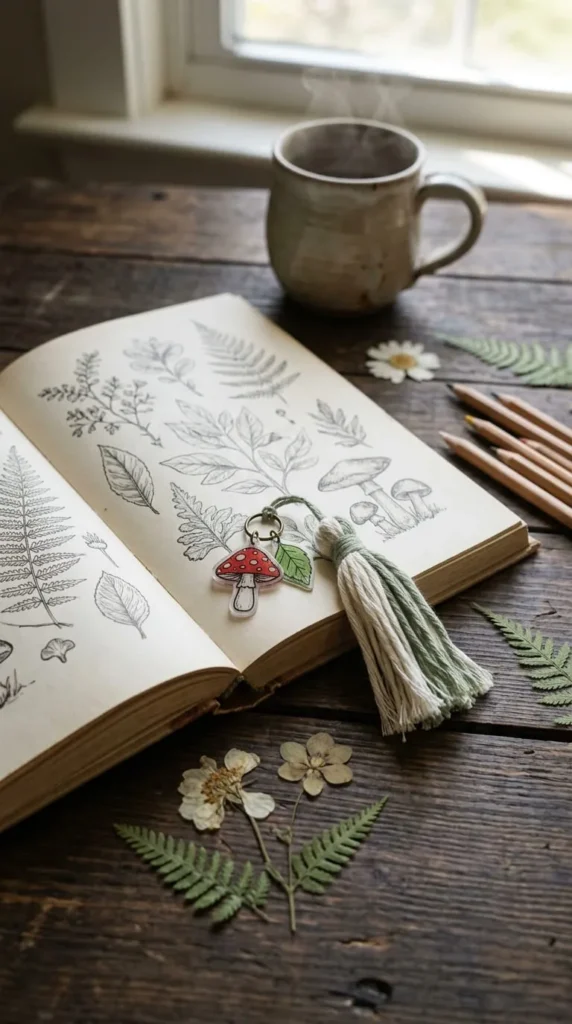
Bookmarks are a useful way to enjoy shrink plastic without making jewelry. A long decorative strip with a small charm at the top can help mark a page in a journal, novel, recipe book, or sketchbook.
Choose a simple motif such as a leafy branch, constellation, mushroom, cat, or tiny stack of books. Draw the main shape on shrink film, making it larger than your intended finished size. If you want a long bookmark, test the film first because long, narrow shapes can curl or distort differently from small round charms.
Cut the plastic with smooth edges. If you want to add a tassel or ribbon, punch a hole near the top before baking. Leave enough space around the opening to reduce the chance of cracking when you attach the cord.
Follow the manufacturer’s directions for temperature and baking time. Keep the piece on a parchment-lined tray, and let it cool completely before handling it further.
Once the bookmark is cool, add a soft tassel or a short length of ribbon. Avoid heavy decorations that could scratch the pages or make the bookmark awkward to store.
For a gift, match the artwork to the recipient’s interests. A flower design works well for a gardening enthusiast, while a tiny moon or star pattern suits someone who enjoys fantasy novels.
These bookmarks are also easy to personalize with colors that match a notebook or reading journal.
10. Decorative Shrinky Dink Fridge Magnets
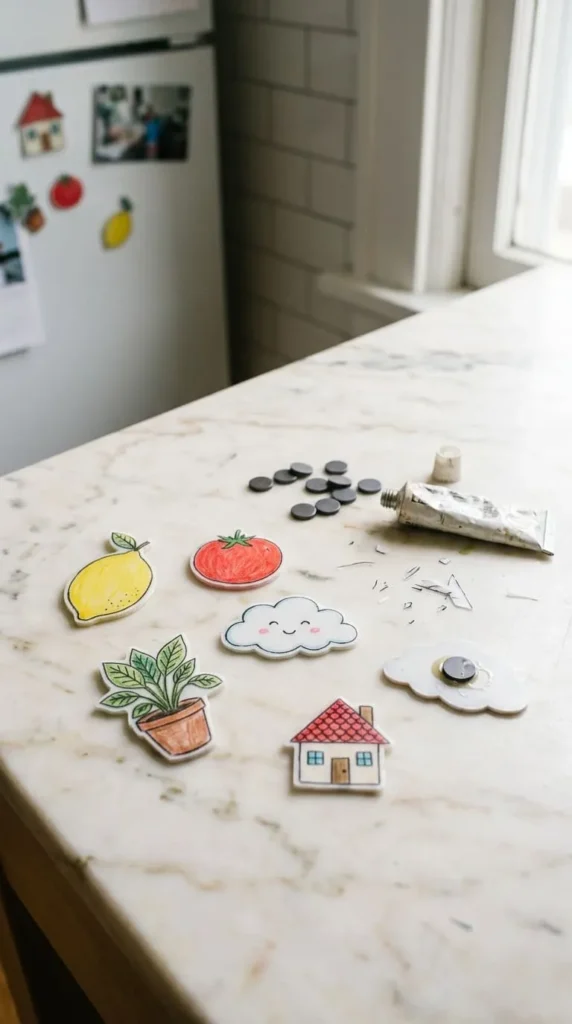
Fridge magnets are excellent for designs that do not need a hole for hanging. You can make small illustrations that brighten a kitchen, decorate a metal noticeboard, or hold a recipe card in place.
Choose sturdy shapes that have a reasonably flat back, such as fruit, flowers, stars, or simple geometric designs. Trace your artwork onto shrink film, color it, and cut around the outline. Smooth curves usually work better than extremely thin projections because narrow sections may be more delicate after shrinking.
Bake the pieces according to the instructions for your specific film. Once the charms have cooled completely, check that the backs are clean and reasonably flat. If a piece remains curved, follow the product’s recommended flattening method rather than forcing it while hot.
Attach a small craft magnet with an adhesive compatible with both materials. Follow the adhesive directions and allow it to cure fully before placing the magnet on a refrigerator.
Choose magnets that are appropriate for your household. Small magnetic parts can be dangerous if swallowed, so keep them away from young children and pets. For a child-friendly craft, an adult can attach the magnets and store the supplies safely.
You can make a themed collection of seasonal fruit, garden flowers, or cheerful animals. A set of three or four coordinated magnets also makes a simple handmade housewarming gift.
11. Personalized Shrinky Dink Gift Tags
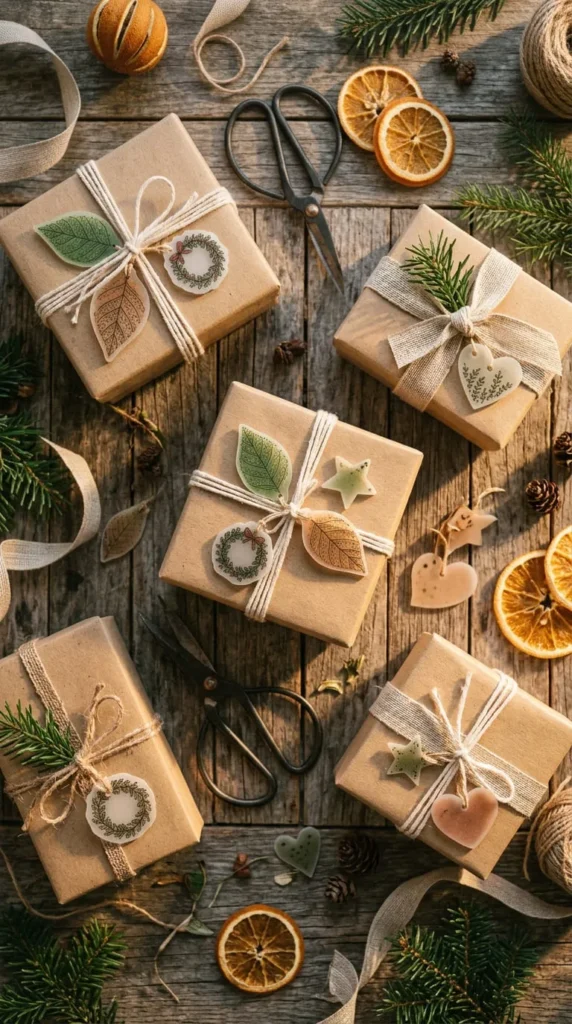
Reusable decorative gift tags can make a wrapped present feel more personal. Instead of using ordinary paper labels, create a small plastic charm that the recipient can keep on a key ring, ornament hook, or storage basket.
Draw simple designs such as leaves, stars, flowers, hearts, or miniature wreaths. If you want to include a name or short message, use lettering that will remain legible after shrinking. Test the size on a sample before writing on your final piece.
Cut out the design and punch a hole near the top. Make the hole larger than the finished opening you want because it shrinks during baking. Follow the film’s package directions and let the tag cool completely before tying it to a gift.
For a rustic appearance, use kraft paper, cotton string, and warm earthy colors. For a birthday present, try bright colors and a matching ribbon. For winter gifts, small evergreen branches and white stars can create a seasonal look.
A useful detail is to design the tag so it can be reused. Avoid attaching it permanently to the wrapping. Instead, tie it with a simple knot or loop that can be removed without damaging the charm.
These tags work well for handmade soap, baked goods, craft kits, or small birthday gifts. Make several at once and store them in a small box, ready for the next celebration.
12. Tiny Shrinky Dink Christmas Ornaments
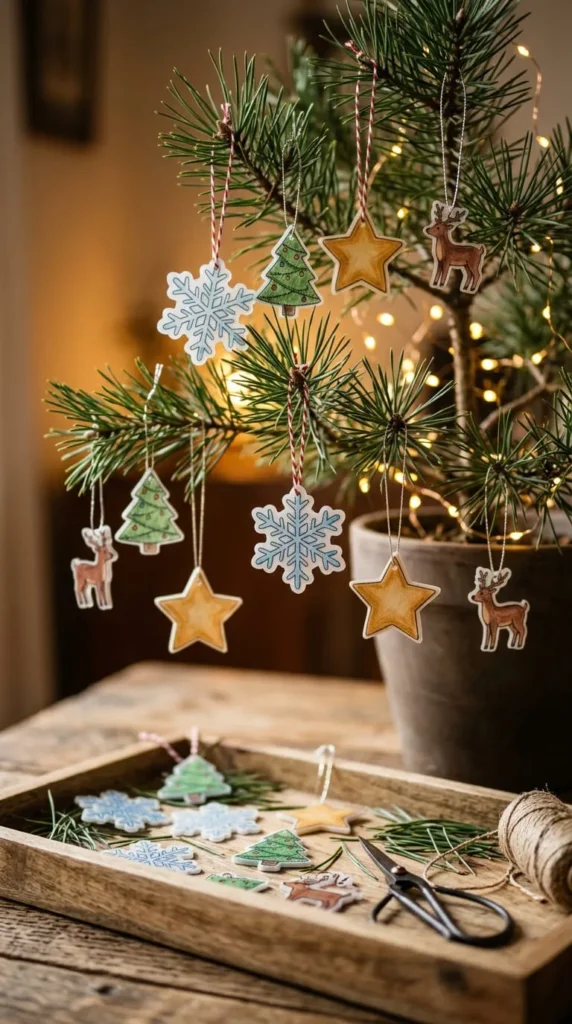
Miniature ornaments are a lovely way to create a personalized holiday collection. Because shrink plastic becomes smaller and thicker when heated, even a simple drawing can turn into a compact decoration for a tabletop tree, wreath, or gift package.
Start with easy seasonal shapes such as stars, snowflakes, fir trees, bells, or mittens. Use white, forest green, red, and gold-inspired colors to create a traditional palette, or choose soft pink and sage for a gentler look.
Draw each ornament at a larger size than you want it to be when finished. Cut around the shape and punch a hole for the hanging string before baking. For snowflakes and trees, avoid very narrow branches or thin points that could break during handling.
Place the pieces on parchment paper and follow the instructions supplied with your shrink film. Once baked, allow them to cool completely before threading ribbon or string through the holes.
For extra decoration, you can add suitable glitter or a protective finish if the materials are compatible with your film. Apply any coating according to its label and allow it to dry or cure fully before hanging the ornament.
Make the set more meaningful by drawing a different symbol for each family member or creating ornaments that reflect favorite hobbies. A small collection can become a yearly tradition, with a new charm added each holiday season.
13. Halloween Shrinky Dink Charms and Decorations
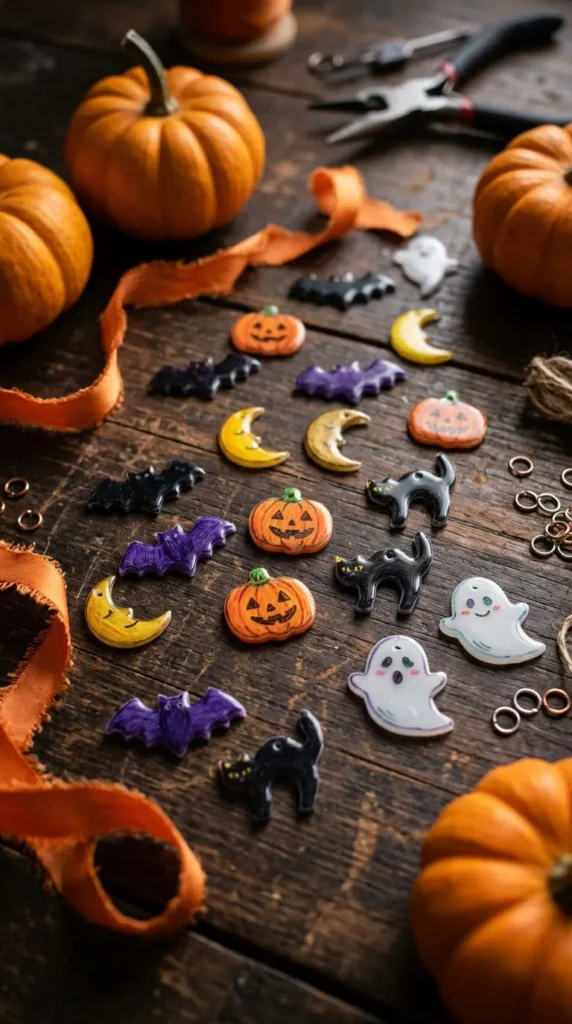
Halloween offers plenty of shapes that work well as shrink plastic decorations. Try tiny ghosts, bats, pumpkins, black cats, candy shapes, or little crescent moons. These designs can become earrings, zipper pulls, keychains, or small decorations for a seasonal display.
For a cohesive collection, choose a limited palette of black, orange, cream, purple, and green. Draw the outlines with a permanent marker, then fill the shapes with color using materials suited to your plastic. A simple ghost with dark eyes often looks clearer than a design with many tiny details.
If you are making charms, punch the holes before baking. Keep them away from narrow ears, wings, or other thin sections. After cutting, follow the manufacturer’s instructions for heating and allow the pieces to cool before attaching rings or string.
You can also turn the project into a family craft afternoon. Children can draw the designs on paper, while an adult checks the plastic, cuts the pieces where needed, and manages the oven. Keep hot trays and warm plastic away from small hands.
For a quick seasonal decoration, make several small shapes and attach them to a short length of ribbon. You can hang the finished strand on a craft display or use individual charms to decorate treat bags.
A mix of playful and spooky designs gives everyone room to choose a style they enjoy.
14. Valentine’s Day Heart and Love Charms
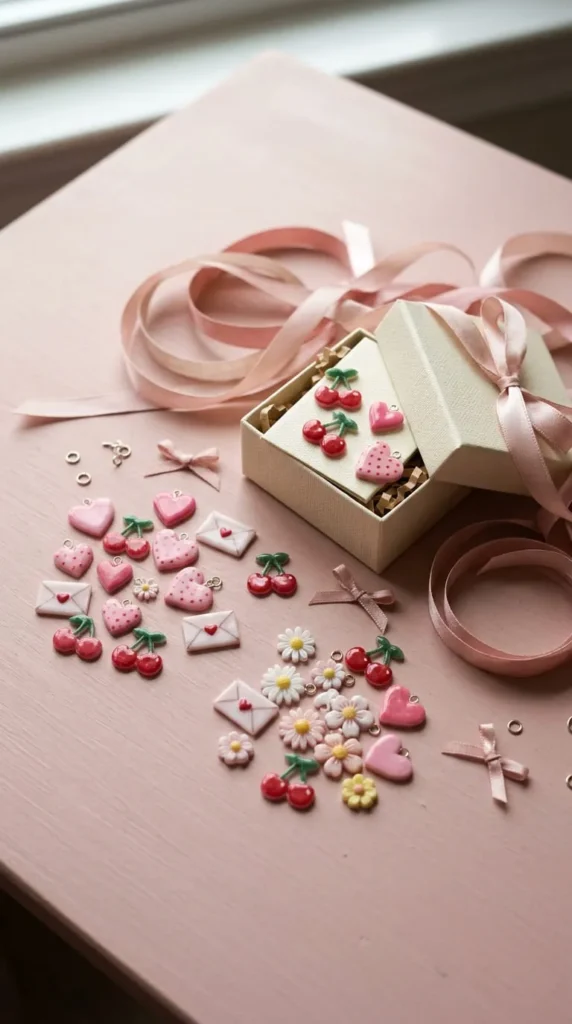
Heart-shaped charms are a classic choice for Valentine’s Day, but you can make them more personal by adding flowers, initials, stars, or symbols connected to the recipient. These pieces work well as keychains, bracelet charms, small ornaments, or decorations for wrapped gifts.
Start with a heart shape that has a broad outline rather than a very narrow point. Draw it on shrink film and add your chosen details. If you want to include initials, use bold lettering and allow enough space for the letters to remain readable after shrinking.
Try a coordinated color palette instead of using every shade available. Blush pink, red, cream, and a little sage green create a soft romantic style. For a brighter design, use red hearts with yellow or blue accents.
Cut out the shapes and punch any attachment holes before baking. Follow the directions for your film, then allow the pieces to cool fully before connecting them to chains, ribbon, or key rings.
A handmade gift feels more personal when the design reflects the recipient. For a friend, choose a shared hobby or favorite flower. For a family member, create matching heart charms in different colors. For a teacher, a heart paired with a small book or flower can make a sweet thank-you gift.
Place the finished charm in a small box or tie it to a card for a thoughtful presentation. The design can be simple; the personal choice of colors and symbols makes it special.
15. Spring Flower and Butterfly Shrinky Dinks
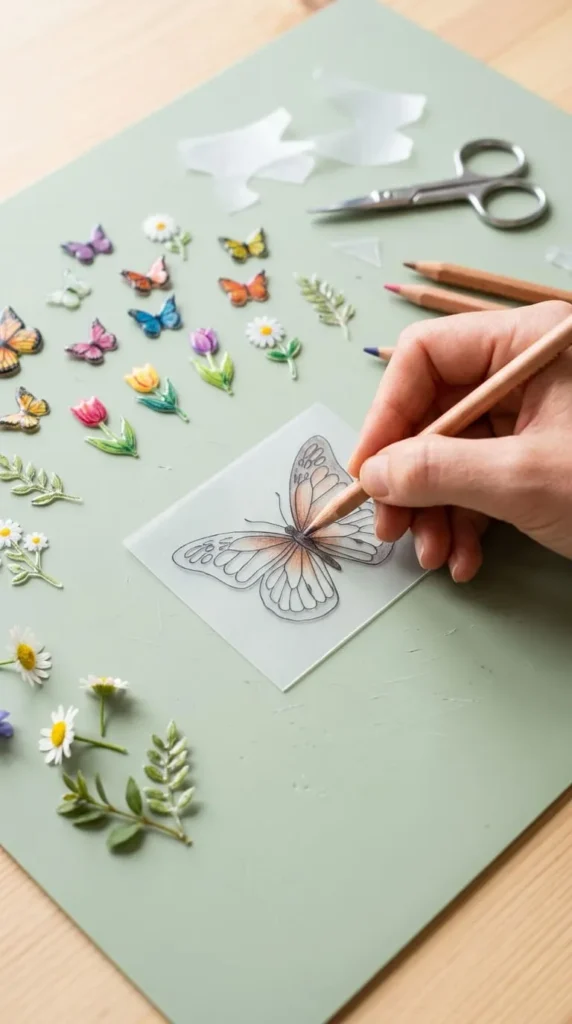
Spring-inspired designs are perfect for adding color to accessories, decorating gift packages, or creating a small collection of handmade jewelry. Butterflies, tulips, daisies, and leaves all have recognizable shapes that work well on shrink plastic.
For butterflies, draw two broad wings with a simple outline and a few large decorative markings. Avoid filling the wings with dozens of tiny dots because these may become difficult to distinguish after shrinking. Flowers can be just as simple: use five rounded petals around a contrasting center.
Try using colored pencils on compatible frosted or sanded shrink film and permanent markers where the manufacturer allows them. Each surface accepts color differently, so test your materials before making the full collection.
Cut the shapes carefully and punch holes if you plan to hang them. Bake according to the film’s instructions, keeping the pieces spaced apart on a lined tray. Let them cool completely before attaching jewelry findings or ribbon.
Butterflies can become earrings, while small flowers work nicely as necklace pendants or zipper pulls. You can also create a set of botanical charms to decorate a journal or craft storage box.
For a coordinated spring collection, repeat two or three colors across every piece. Pale pink, butter yellow, lilac, and soft green create a gentle garden-inspired palette.
If you are crafting with children, let them draw and color the designs while an adult handles cutting difficult shapes, baking, and hot equipment.
16. Ocean-Inspired Shells, Fish, and Sea Creatures
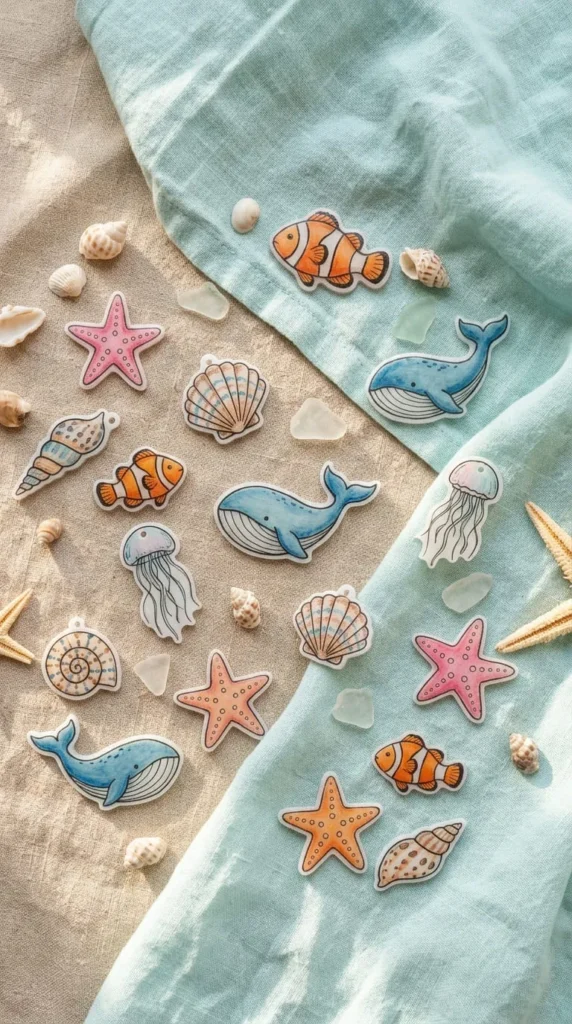
Ocean-themed shrink plastic crafts are ideal for summer accessories, beach-trip keepsakes, and gifts for anyone who loves marine life. You can create miniature whales, fish, jellyfish, shells, turtles, and starfish in shades of blue, turquoise, coral, and sandy beige.
Begin with designs that have strong outlines. A whale can use a rounded body and a simple tail, while a starfish can have five broad arms. For fish, draw a large body and a distinct tail so the shape remains recognizable after it shrinks.
Add a few details, such as large eyes, curved scales, or simple stripes. Clear shapes usually work better than tiny decorations when the finished piece is only a few centimeters wide.
Cut around each drawing and smooth any sharp corners. If you want to use the designs as charms, make the attachment holes before baking. Keep the holes away from narrow tails and thin arms, which can become weak points.
Follow the package instructions for baking and cooling. Once the pieces are completely cool, attach them to a key ring, necklace chain, or zipper pull. You could also use flat designs as decorations for a coastal-themed noticeboard.
For a beach-inspired gift, make three matching pieces: a shell, a starfish, and a tiny wave. Place them in a small box with blue tissue paper.
These crafts can also help children learn about sea creatures. Ask them to choose an animal, identify its main body shape, and draw a simplified version before transferring it to the plastic.
17. Personalized Teacher Appreciation Gifts
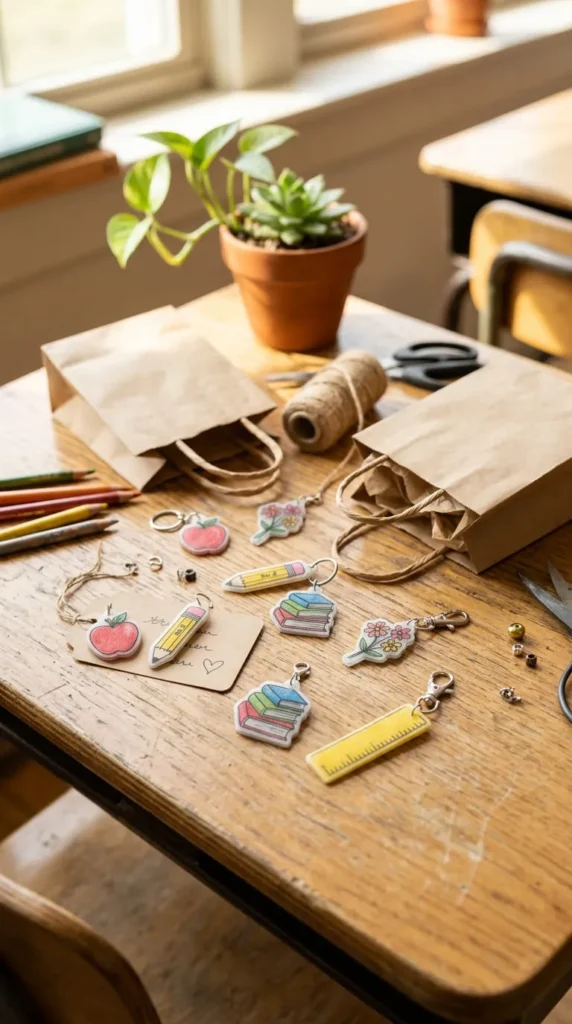
Small handmade gifts can be a thoughtful way to thank a teacher at the end of a school year or after a special classroom project. Shrink plastic makes it possible to create personalized charms without purchasing a large set of supplies.
Try making an apple keychain, a flower pendant, a little stack of books, or a colorful pencil-shaped charm. If you want the gift to reflect a particular subject, draw a tiny globe for geography, a paintbrush for art, or a simple star for a classroom reward theme.
Sketch your design first and check that it will still look clear at a smaller size. Bold outlines and large color areas help the finished charm remain recognizable. If you add a teacher’s initials, use lettering large enough to read after shrinking.
Cut the design from suitable shrink film and punch a hole before baking if you plan to attach a ring. Follow the manufacturer’s temperature and timing directions, then let the piece cool completely.
Attach the finished charm to a key ring, zipper pull, or ribbon tied around a notebook. You can also place several small designs in a gift box for a coordinated set.
Keep the gift personal rather than complicated. A favorite flower, a subject-related symbol, or a cheerful color combination can make a small project feel thoughtful.
If you are making gifts for several teachers, use one basic design and change the colors or symbols. This saves time while allowing each gift to feel a little different.
18. Handprint and Fingerprint Keepsake Charms
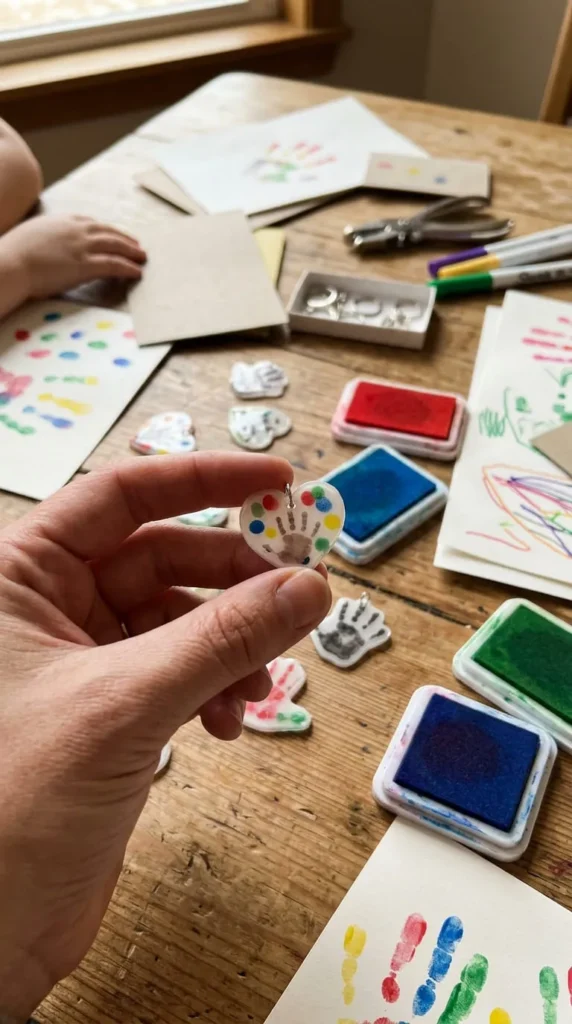
Handprint and fingerprint designs can turn a simple craft session into a family keepsake. You can use a traced hand shape, a row of fingerprint flowers, or small fingerprint animals to make ornaments, keychains, or decorative pieces for a memory box.
For a handprint design, trace the hand onto paper first. Simplify the outline if necessary, then transfer it to shrink film that suits your chosen coloring method. A handprint has narrow fingers, so leave enough material around the edges and avoid cutting too close to the shape.
Fingerprint art works well when each print becomes part of a larger drawing. A few colorful fingerprints can form flower petals, butterfly wings, or balloons. Use ink or coloring materials only when they are compatible with the shrink film and its heating process.
Test the design on a spare piece before using the final keepsake. Small details may change during shrinking, and different films can produce different results.
Punch an attachment hole before baking if the finished item will hang from a key ring or ornament hook. Follow the product’s baking directions and allow the plastic to cool fully before adding any hardware.
For a family gift, write the child’s name and date on a separate card and place it with the charm. This keeps the information readable without crowding the small design.
Adults should supervise children throughout the activity and handle the oven and hot tray. The drawing and decorating stages can be shared, making this a meaningful project for a rainy afternoon or a family celebration.
19. Shrinky Dink Suncatchers and Window Decorations
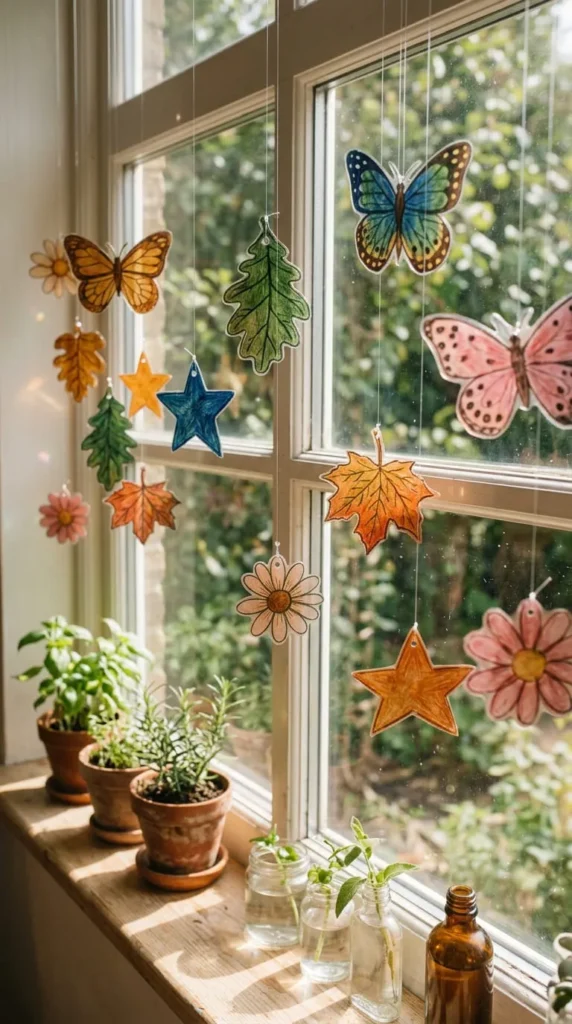
Window decorations offer a different way to display shrink plastic art. Transparent or translucent film can create attractive shapes that catch daylight, especially when the designs use simple outlines and clear color areas.
Choose shapes such as butterflies, leaves, flowers, stars, or raindrops. Use film specifically suitable for the effect you want, since some shrink sheets become opaque or frosted rather than remaining transparent. Read the product description before choosing your materials.
Draw the design larger than the finished decoration will be. Leave enough room around the edges for cutting, and add a hole near the top if you plan to hang the piece from thread or a small hook. Punch the hole before baking because it will shrink along with the design.
Follow the film’s package directions for oven temperature and timing. Let the finished piece cool completely before adding a cord. If it is meant to hang in direct sunlight, check that any extra coating or adhesive is suitable for the intended use.
You can make one large flower or several small shapes connected by clear thread. A group of leaves and butterflies can look especially attractive when the colors vary slightly from piece to piece.
For a child’s bedroom or craft corner, create a seasonal set and change it throughout the year. Flowers suit spring, shells work for summer, leaves fit autumn, and stars can decorate a winter window.
These decorations are best displayed where they will not obstruct the window or create a hazard around cords and small hanging parts.
20. Cricut-Cut Shrinky Dink Designs for Clean Shapes
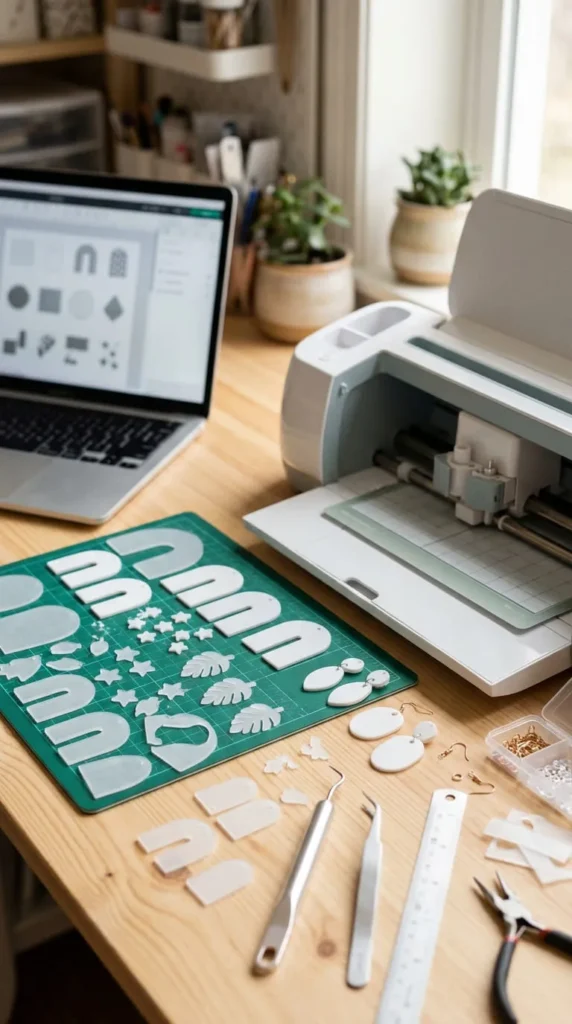
If you own a Cricut or another compatible cutting machine, you can use it to create consistent shapes for earrings, ornaments, and matching charm sets. Machine cutting is especially useful when you want several copies of the same design.
Start by checking whether your particular shrink film is suitable for machine cutting. The material, thickness, and cutting settings can vary, so test a small shape before cutting a full sheet. Follow both the film manufacturer’s advice and your machine’s material guidance.
Simple silhouettes are a good place to start. Try arches, circles, hearts, leaves, stars, or geometric earrings. Very intricate designs with narrow bridges or delicate points may become fragile after shrinking, so simplify them where possible.
Remember to size your design for the finished piece. Many shrink films reduce to roughly one-third of their original dimensions, but you should test the exact material you are using. A small test circle can help you estimate the final width.
Add attachment holes in the design file or punch them before baking. Check that each hole is large enough to remain useful after shrinking and does not sit too close to the edge.
After cutting, bake the shapes according to the product instructions and allow them to cool completely. Then assemble the pieces with suitable jewelry findings or ornament hardware.
Machine-cut designs are helpful for small-batch gifts, coordinated accessories, and craft fairs. Even with precise cutting, hand-drawn color or a simple painted detail can give each finished piece its own character.
21. Shrinky Dink Gift Sets for Birthdays and Holidays
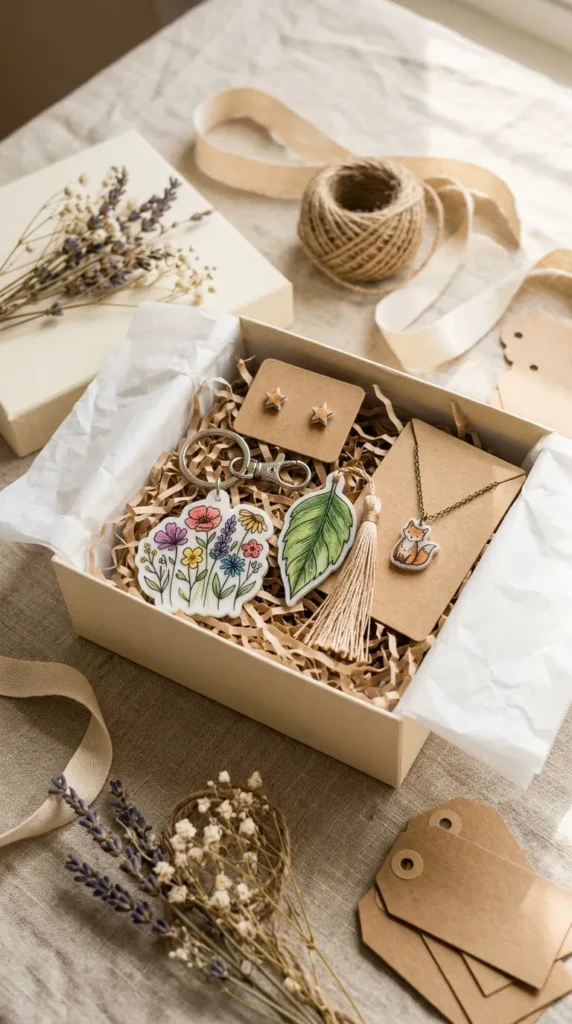
A coordinated gift set can turn several small shrink plastic projects into one thoughtful present. Instead of making a single charm, create two or three pieces that share a theme, color palette, or personal connection.
For a birthday gift, you could combine a favorite animal keychain with matching earrings or a bookmark. For a holiday present, try a small ornament paired with a decorative gift tag. A garden lover might appreciate a leaf pendant, flower charm, and botanical bookmark.
Plan the set before you begin. Sketch each design on paper and decide which colors will repeat across the pieces. This helps the collection feel connected even when the shapes are different.
Prepare each piece using compatible shrink film and coloring materials. Remember to make attachment holes before baking any piece that will hang from a ring or string. Follow the product’s instructions for heating and cooling, and inspect every finished charm for rough edges or weak attachment points.
Once the pieces are cool, assemble the jewelry or keychains and arrange everything on a small card or inside a gift box. Use tissue paper, cotton ribbon, or a simple kraft-paper wrap for a handmade presentation.
Make the gift fit the recipient. A book lover may enjoy a bookmark and star charm, while someone who loves pets may prefer a matching animal keychain and pendant.
You do not need many pieces to create a lovely set. Two well-matched projects can feel more personal than a large collection with no shared theme.
Conclusion
Shrinky Dink crafts offer plenty of ways to turn simple drawings into personalized accessories, useful decorations, and meaningful handmade gifts. From floral earrings and miniature food charms to pet tags, holiday ornaments, and photo keepsakes, you can choose a project that fits your skill level and available supplies.
Start with one or two simple designs before trying more detailed artwork. Test your shrink plastic, plan the original drawing size, and punch any attachment holes before baking. Always follow the instructions for your specific film, and let the finished pieces cool completely before assembling them.
For an extra-personal touch, use favorite colors, meaningful symbols, or illustrations inspired by someone you love. You can also combine several matching charms to create a coordinated gift set.
Which of these Shrinky Dink ideas will you try first? Pick your favorite design, gather your craft supplies, and make something uniquely yours.