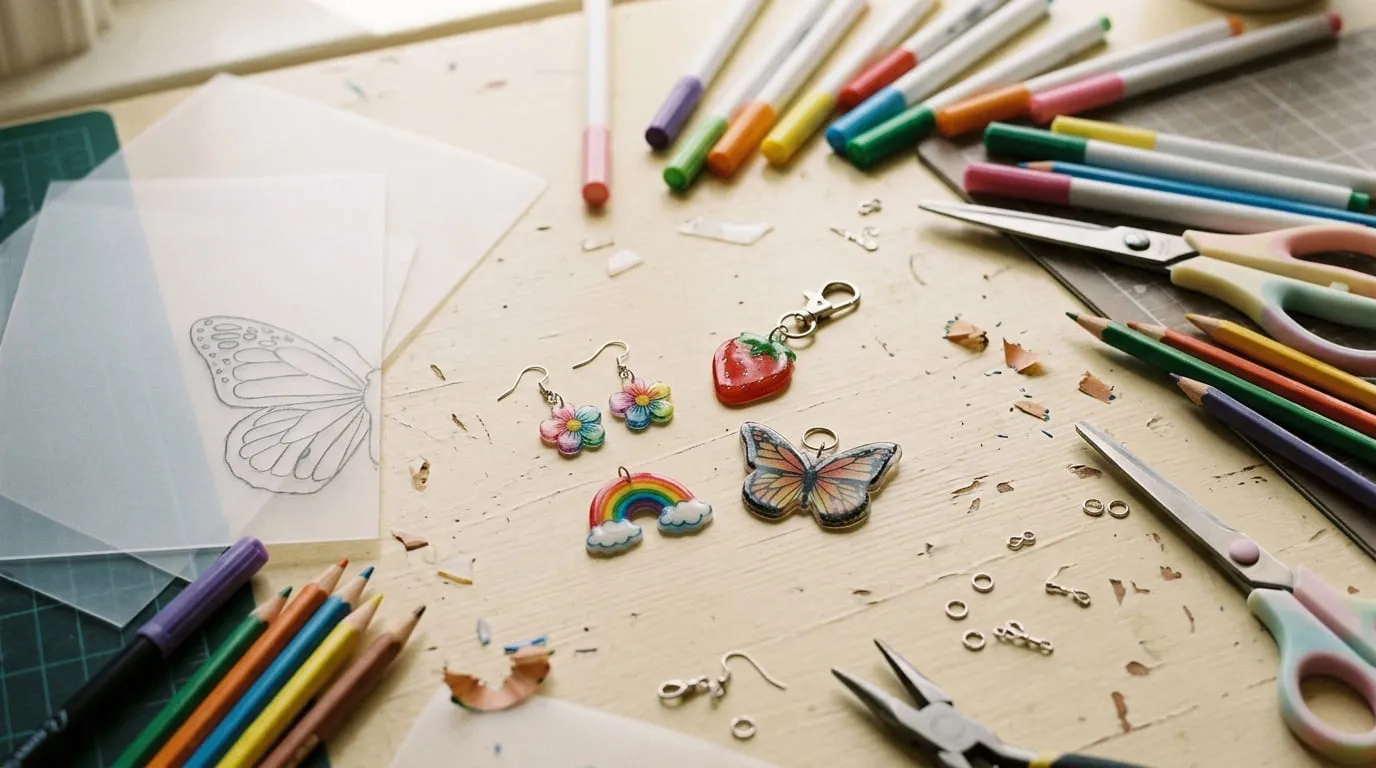
Have you ever wanted to turn a simple drawing into a tiny flower charm, a cute keychain, or a pair of handmade earrings? Shrinky Dink crafts make it possible with just a few supplies and a little creativity. These fun shrink plastic projects are beginner-friendly, customizable, and perfect for making personalized gifts, accessories, and decorations.
The process is easier than it looks. You draw or trace a design, color it, cut it out, and heat it according to the plastic’s instructions. The design shrinks into a smaller, thicker piece that you can turn into something special.
What Are Shrinky Dink Crafts?
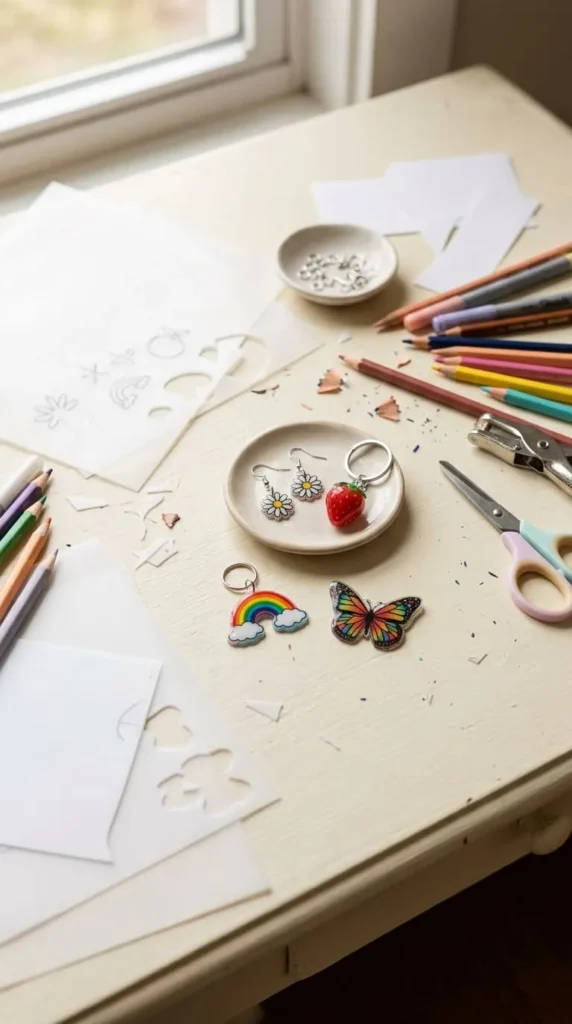
Shrinky Dinks are made using special plastic sheets that shrink when heated. You can draw, trace, stamp, or color designs onto the sheets before baking them in an oven.
These DIY shrink plastic crafts are popular because they are:
- Easy for beginners: Start with simple hearts, stars, flowers, or animals.
- Budget-friendly: One pack of shrink film can make several small projects.
- Personalized: Create initials, pet charms, favorite characters, or meaningful keepsakes.
- Versatile: Make keychains, earrings, pendants, gift tags, magnets, and seasonal ornaments.
The key is choosing the right plastic and following its specific instructions.
Supplies You Need to Get Started
Gather your materials before starting your first Shrinky Dink project. Having everything ready makes crafting easier and helps prevent mistakes.
You will usually need:
- Shrink plastic sheets suitable for your coloring method
- Permanent markers or colored pencils
- Scissors
- A hole punch for charms and jewelry
- Parchment paper
- A baking sheet
- Oven mitts and a heat-safe spatula
Colored pencils generally work well on frosted or rough shrink plastic, while permanent markers are often suitable for smooth sheets. Check the packaging to confirm which materials are compatible.
How to Make Shrinky Dink Crafts Step by Step
Follow these simple steps to create your first handmade shrink plastic charm.
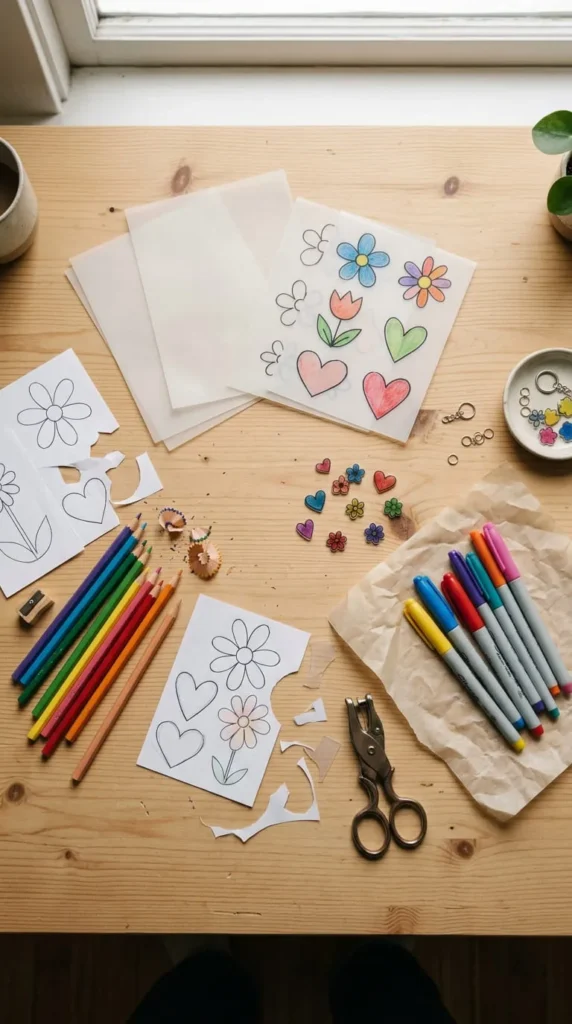
Step 1: Draw or Trace Your Design
Choose a simple shape, such as a flower, butterfly, smiley face, or tiny fruit. You can draw freehand or trace a design onto compatible shrink film.
Remember that shrink plastic usually becomes about one-third of its original size, although the exact result depends on the material. If you want a charm around one inch wide, start with a design roughly three inches wide and adjust after checking the package guidance.
Step 2: Add Color and Details
Color your design using materials recommended for your sheet. Use clear outlines and simple details so the finished piece remains easy to recognize.
Colors often appear more intense after shrinking, so avoid making every area too dark. If you are using colored pencils, make sure you are working on the correct side of the plastic.
Step 3: Cut Out the Shape
Carefully cut around your design, leaving a small border if you like that look. Round off sharp corners and avoid thin, delicate points that could become fragile.
If you plan to make a keychain, necklace, or earrings, punch the attachment hole before baking. The hole shrinks along with the plastic, so make it slightly larger than the finished hole needs to be.
Step 4: Bake According to the Instructions
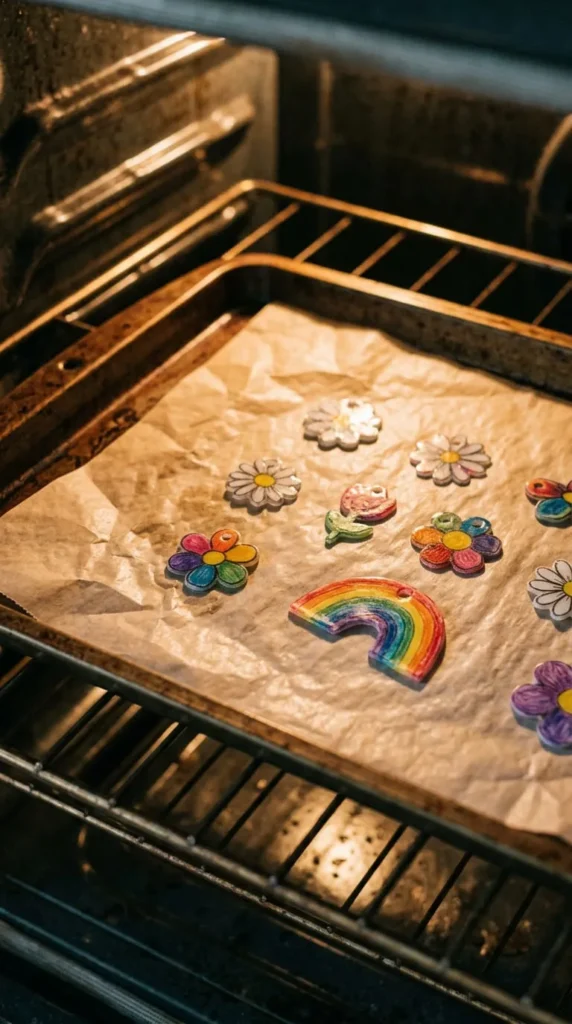
Preheat a conventional oven or toaster oven to the temperature specified on your shrink plastic packaging. Many commercial shrink sheets use approximately 325°F (163°C), but instructions vary.
Place the pieces on parchment paper on a baking sheet, leaving space between them. Watch them through the oven window as they curl and then flatten. Curling is usually a normal part of the process.
Remove the pieces when they have flattened and completed the recommended heating time. Never use a microwave for shrink plastic.
Step 5: Flatten and Let Them Cool
Using oven mitts, carefully remove the baking sheet. If a piece remains slightly curled, follow the product instructions for gently pressing it flat with a heat-safe tool while it is still warm.
Let each piece cool completely before handling or assembling it. Hot shrink plastic can burn your fingers.
Cute Shrinky Dink Ideas to Try
Once you understand the basic process, experiment with designs that match your style or make thoughtful handmade gifts.
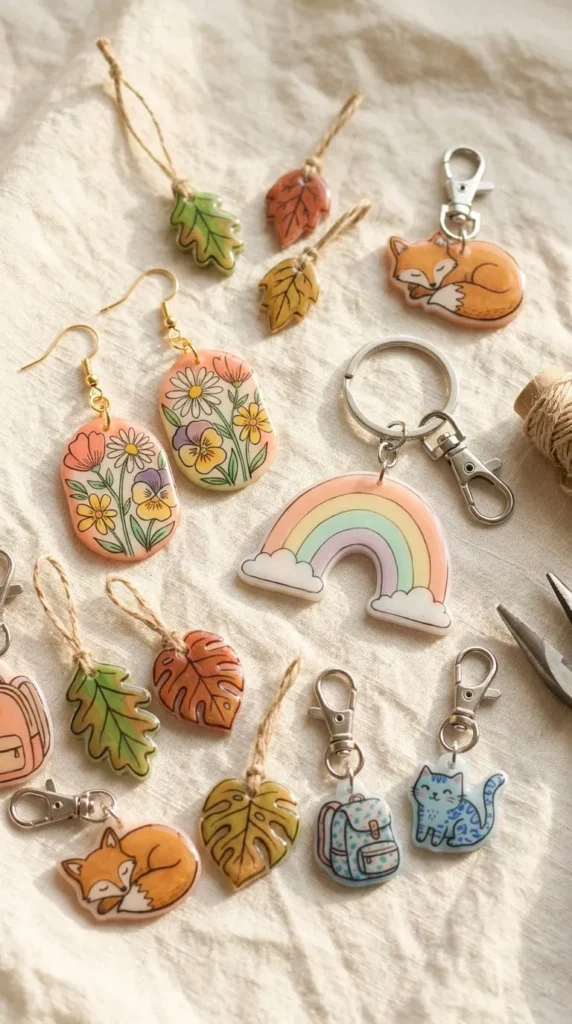
- Personalized keychains: Make initials, names, hearts, or cute fruit shapes.
- Handmade jewelry: Create flower earrings, colorful pendants, or small charm bracelets.
- Seasonal ornaments: Design snowflakes, pumpkins, stars, or holiday shapes.
- Backpack tags: Make animal charms, rainbows, or hobby-themed accessories.
- Gift tags: Add a small handmade charm to a birthday present or gift bag.
- Mini magnets: Turn finished designs into decorative magnets using suitable adhesive and hardware.
Common Shrinky Dink Mistakes to Avoid
A few small adjustments can help your projects turn out better.
- The design is too small: Draw it larger because shrink plastic reduces significantly in size.
- The hole is too tiny: Punch it before baking and allow for shrinkage.
- The piece stays curled: Check the oven temperature, spacing, and package directions before trying again.
- The colors look too dark: Use lighter coloring and test a small sample first.
- The edges break easily: Avoid very thin sections and sharp points.
For your first attempt, test your markers, coloring method, and design on a small scrap piece if possible.
Safety Tips for Shrink Plastic Crafts
Always follow the manufacturer’s heating instructions and use good ventilation. An adult should handle the oven and hot baking sheet, especially when children are crafting. Do not use unknown plastics as substitutes for commercial shrink sheets unless their material and suitability are confirmed.
Finished shrink plastic pieces are not food-safe, even if sealed, so keep them away from direct food contact. If you add a clear sealant for jewelry or charms, let it dry according to its label before use.
Conclusion
Making Shrinky Dink crafts is a fun way to turn simple drawings into colorful handmade accessories, gifts, and decorations. Start with an easy shape, remember to punch holes before baking, and follow the instructions for your specific shrink plastic. As you gain confidence, you can experiment with more detailed designs and personalized projects.
Save this guide for later and try these ideas when you’re ready!