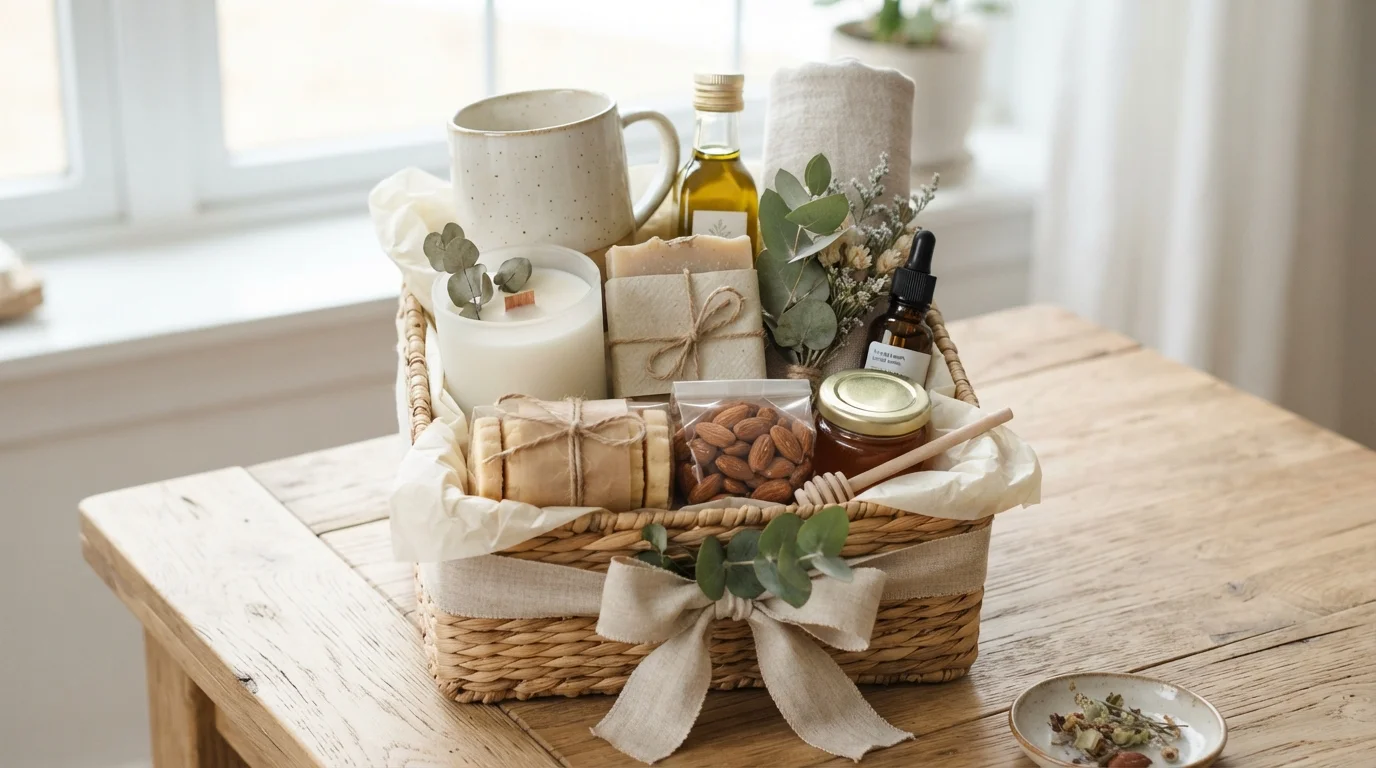
A beautiful gift basket does not have to cost a lot. The secret is not filling a container with as many things as possible. It is choosing a clear theme, mixing different heights and textures, and giving every item a place. A $25 basket can look far more polished than an expensive one when the arrangement feels intentional.
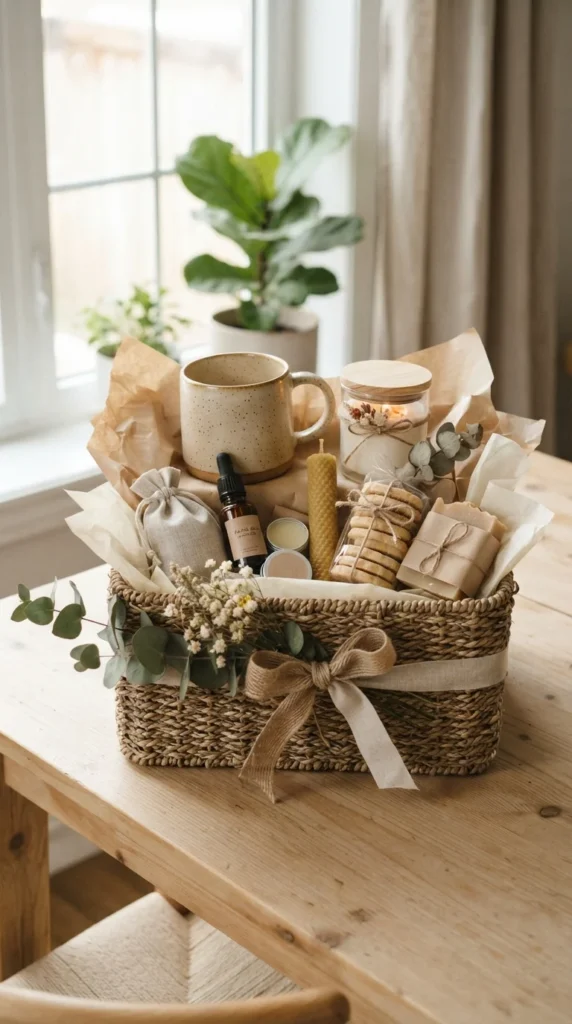
Whether you are making a birthday gift, Mother’s Day basket, housewarming gift, thank-you present, or cozy care package, the same basic method works. Here is how to build one that looks thoughtful, balanced, and much more expensive than it actually is.
Start With One Clear Theme
Before buying anything, decide what the basket is supposed to feel like.
A theme keeps you from collecting random products that look unrelated once they are placed together. Start with the recipient’s personality, favorite activity, or the experience you want them to enjoy.
Try ideas such as:
- Coffee morning
- Cozy movie night
- Home spa
- Baking afternoon
- Tea lover
- Chocolate tasting
- Gardening
- New home
- Reading night
Then choose one hero item that represents the theme. For a coffee basket, it could be a pretty mug. For a baking basket, use a mixing bowl. For a reading basket, a book or soft throw can take center stage.
A simple formula is one hero item + three to five supporting items + one personal detail. This creates a more intentional gift without forcing you to spend money on unnecessary extras.
Choose a Container That Becomes Part of the Gift
You do not have to use a traditional wicker basket. In fact, a useful container can make the whole gift feel more thoughtful.
Consider:
- A mixing bowl for a baker
- A tote bag for a busy friend
- A cutting board for a food lover
- A flowerpot for a gardener
- A storage box for a homebody
- A serving tray for a host
Look around your home before buying something new. A container the recipient can reuse gives the basket a second purpose after the treats and gifts are gone.
For a more expensive appearance, choose a container in a simple color such as cream, white, natural wood, black, or soft gray. Too many competing colors can make the arrangement look cluttered.
Build Height With Filler
One of the biggest mistakes people make is placing everything directly inside an empty basket. The products sink down, the basket looks sparse, and smaller gifts disappear.
Start by adding bulk filler to the bottom. Crumpled kraft paper, plain packing paper, or another clean packing material can provide structure. Cover it with decorative shredded paper, tissue, a tea towel, or fabric so the practical filler stays hidden.
The goal is to create a raised surface rather than a deep hole.
You can also place a small sturdy box underneath a shorter item to give it extra height. Just make sure the support is stable and completely hidden.
Think of filler as having two jobs: supporting the contents and improving the finished appearance.
Arrange Items From Tall to Short
Now comes the part that makes the biggest visual difference.
Put your tallest item toward the back, preferably near the center. Place medium-sized products around it, then bring the smallest items toward the front. This creates a natural triangle shape and helps every item remain visible.
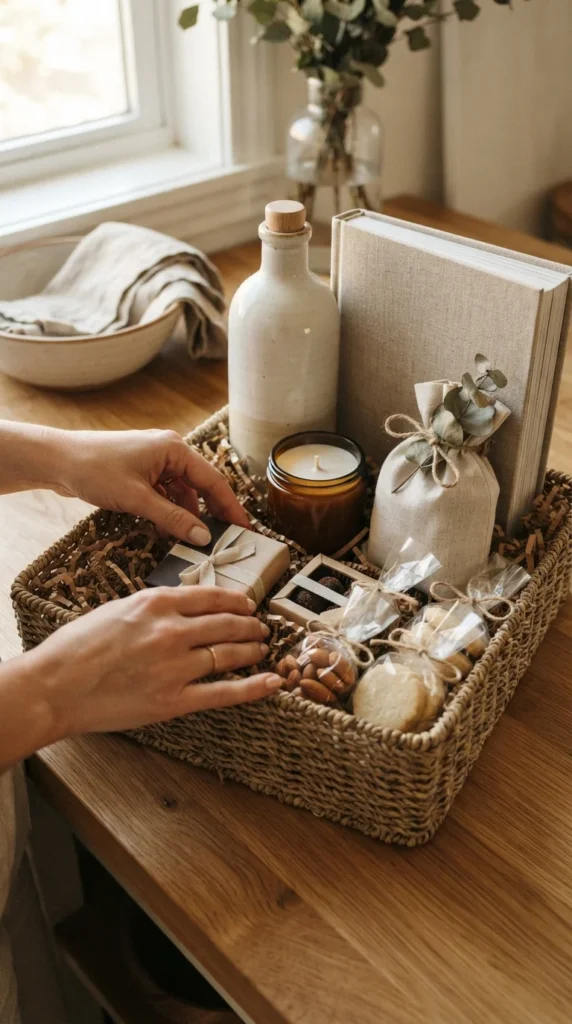
Do not hide attractive packaging behind larger products. If something is especially pretty or meaningful, make sure the recipient can see it immediately.
Step back and look at the basket from the front. If everything sits at the same height, add a hidden riser or rearrange the products.
Keep the Colors Simple
A limited color palette can make inexpensive items look coordinated.
Choose two or three main colors and repeat them throughout the basket. For example:
- Cream + sage green + natural wood
- Blush + white + gold
- Navy + beige + brown
- Soft blue + white + silver
You can carry the colors through the tissue paper, ribbon, container, packaging, and one or two products.
You do not need every item to match perfectly. Similar tones are enough to make the finished basket feel planned.
Add One Personal Detail
This is where a DIY gift basket becomes more meaningful than a generic pre-made one.
Add something that could only have been chosen for that person. It might be their favorite chocolate, a handwritten recipe, a small framed photo, a favorite tea flavor, a book connected to an inside joke, or a handmade card.
For someone who loves experiences, include a handwritten note with an activity: “Movie night together,” “Coffee date,” or “Homemade brunch.”
The personal detail does not have to cost anything. Often, it is the smallest part of the basket that gets remembered.
Secure Everything Before Wrapping
A basket can look perfect on the table and fall apart five minutes later in the car.
Use small glue dots, removable tape, tissue wedges, ribbon, or other suitable fasteners to keep lightweight products upright. Keep heavier items toward the bottom and avoid placing fragile objects where they can knock against one another.
Before wrapping, gently move the basket from side to side. If something shifts, fix it now.
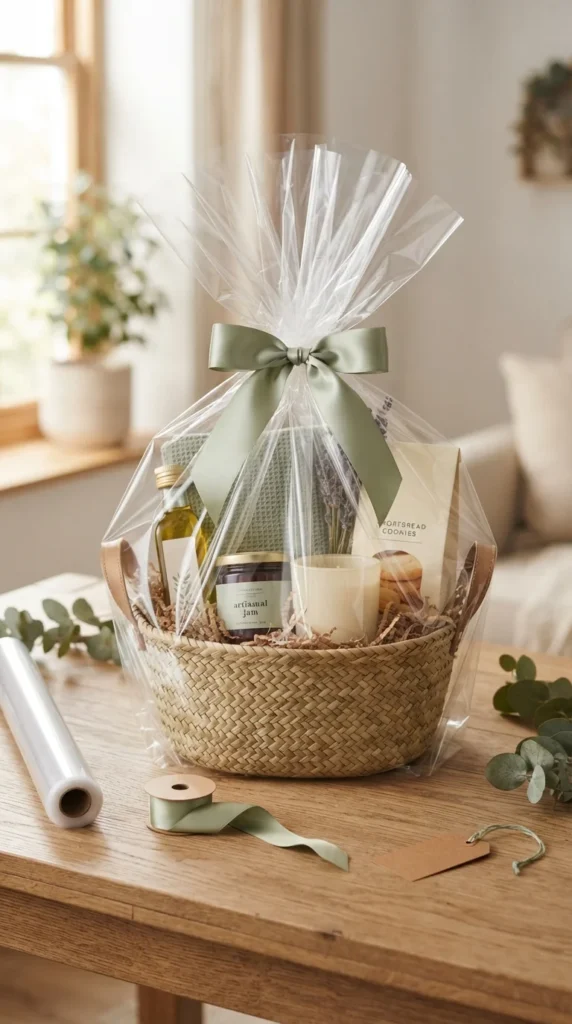
Finish It Like a Boutique Gift
Clear cellophane is a classic option because it protects the contents while keeping everything visible. Place the basket in the center of a large sheet, bring the sides upward, gather the material above the tallest item, and secure it with a twist tie or rubber band. Finish the gathered section with ribbon or a bow.
If you do not have cellophane, try brown kraft paper, a pretty scarf, fabric, tulle, or a reusable tote. These alternatives can look just as attractive while creating less disposable packaging.
For the final check, look for four things: balanced height, visible contents, coordinated colors, and a clean finish.
Make It Look Expensive Without Spending More
You do not need luxury products to create a luxury-looking basket. Spend your money on fewer, better-chosen pieces instead of filling every empty space.
A simple budget could include one attractive hero item, a few affordable consumables, homemade treats or a handwritten card, inexpensive filler, and one quality ribbon.
A reusable container can also make the gift feel more valuable because it becomes useful after the basket has been unpacked.
The final trick is restraint. If the basket already looks full and balanced, stop adding things.
Final Thoughts
The best DIY gift baskets are not about how much you put inside them. They are about how thoughtfully everything works together. Choose a theme, select one memorable focal item, build height with filler, arrange tall pieces behind shorter ones, secure anything that can shift, and finish with simple wrapping.
Then add one detail that reminds the recipient you chose the basket specifically for them.
Save this guide for later and try these ideas when you’re ready to make a gift basket that looks beautiful, personal, and far more expensive than its actual cost.