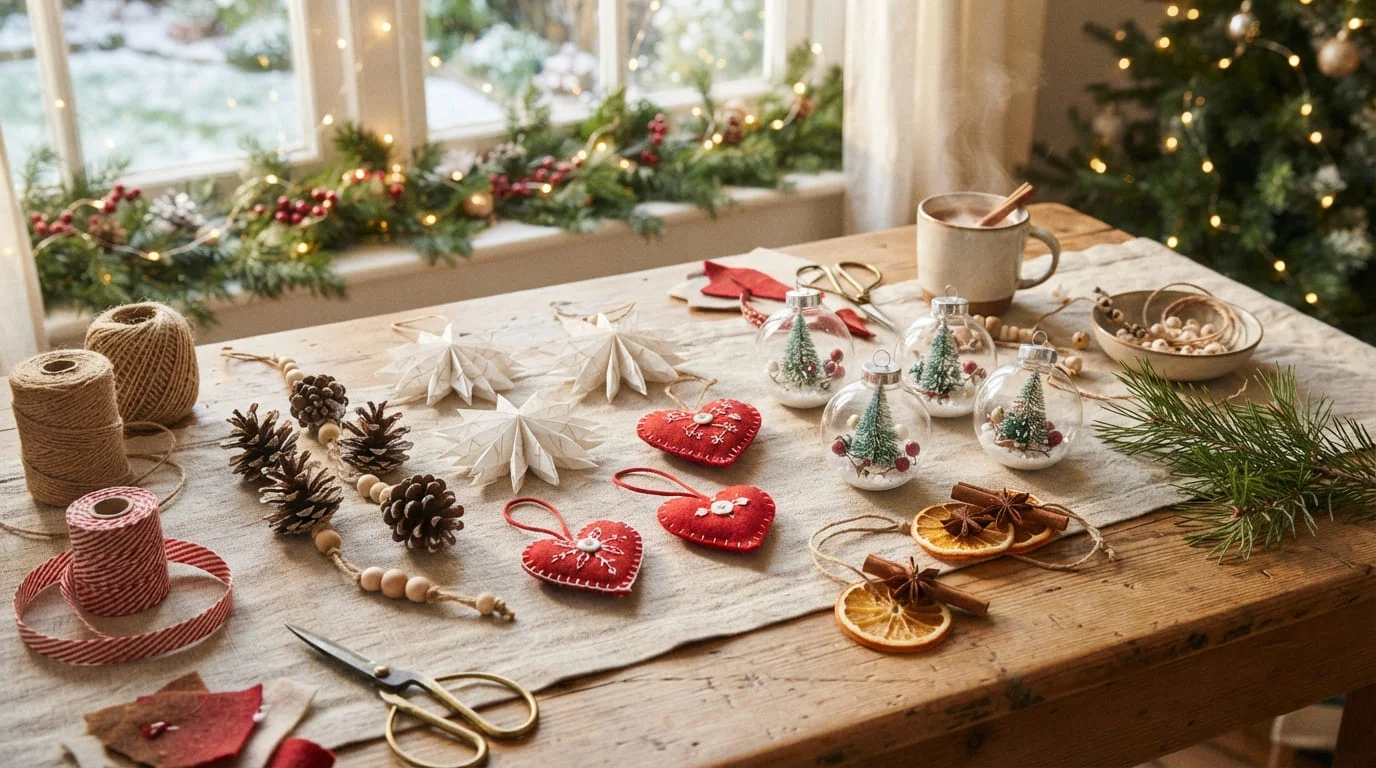
Making your own Christmas ornaments is a wonderful way to add personality, warmth, and creativity to your holiday decorations. Whether you love rustic farmhouse details, colorful handmade crafts, or elegant minimalist designs, you can create beautiful DIY Christmas ornaments with simple materials you may already have at home.
The best part? Homemade ornaments can become meaningful keepsakes, thoughtful gifts, and fun projects for the whole family. From sparkling clear baubles to natural pinecone decorations, there is an idea for every skill level and decorating style.
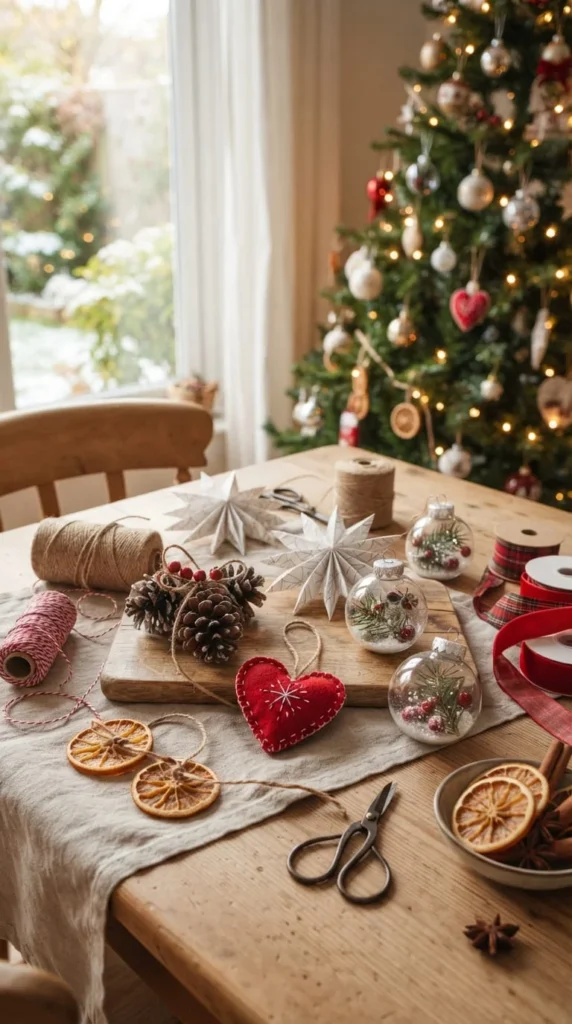
1. Choose an Ornament Style That Matches Your Home
Before gathering supplies, think about how you want your Christmas tree to look. Choosing a consistent style and color palette helps homemade decorations look coordinated rather than mismatched.
Here are a few styles to inspire you:
- Rustic farmhouse: Use pinecones, twine, wood slices, cinnamon sticks, and dried orange slices.
- Modern minimalist: Choose white paper stars, simple wooden shapes, neutral ribbons, and clean geometric designs.
- Traditional Christmas: Combine red and green felt, gold ribbon, candy-cane patterns, and miniature wreaths.
- Scandinavian-inspired: Try wooden beads, white salt dough stars, natural string, and simple shapes.
- Colorful and playful: Use bright pom-poms, patterned paper, felt animals, and multicolored beads.
- Sentimental and personalized: Add family photos, handwritten dates, pet-inspired designs, or tiny keepsakes.
You can also mix styles by repeating two or three colors throughout your decorations. For example, cream, green, and natural wood create a calm woodland look, while red, gold, and white feel classic and festive.
2. Make Simple Paper Christmas Ornaments
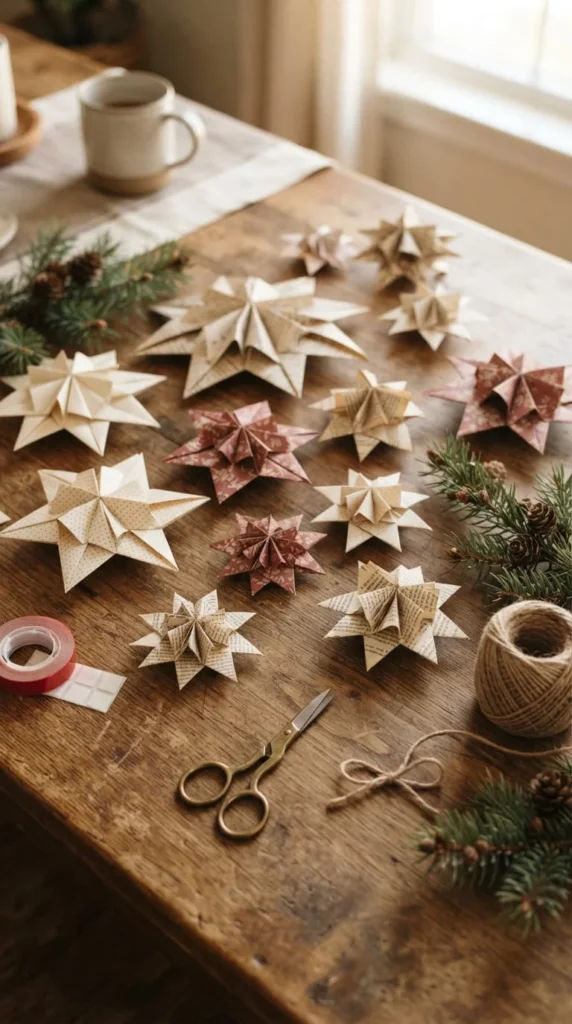
Paper ornaments are ideal for beginners because they are affordable, lightweight, and easy to customize. You can use cardstock, scrapbook paper, old book pages, or leftover wrapping paper.
How to Make a Folded Paper Star
Materials:
- Two sheets of sturdy paper
- Scissors
- Glue or double-sided tape
- Ribbon or string
- A pencil and ruler
Steps:
- Cut two matching squares from your chosen paper.
- Fold each square in half in both directions, then unfold it.
- Fold the corners or edges to create a star-like shape, depending on your chosen template.
- Secure the folded sections with glue.
- Attach the two pieces together if your design uses separate layers.
- Add a small ribbon loop so you can hang the star on your tree.
For an elegant finish, use cream cardstock or metallic paper. Patterned scrapbook paper works well for colorful trees, while recycled book pages create a vintage-inspired look.
Helpful tip: Choose thicker paper for ornaments that need to hold their shape. Thin paper may bend or tear during storage.
3. Create Rustic Ornaments With Natural Materials
Natural Christmas ornaments bring texture and a cozy woodland feeling to your holiday décor. They work especially well with neutral-colored decorations, greenery, wooden beads, and warm lights.
Pinecone Ornaments
Collect clean, dry pinecones and inspect them for insects or loose debris. Attach a ribbon or twine loop near the top using a suitable adhesive. For extra decoration, lightly brush the tips with white paint to create a snowy effect.
You can leave the pinecones natural for a minimalist look or add small wooden beads and greenery for a rustic farmhouse finish.
Dried Orange Slice Ornaments
Dried orange slices add a warm color and traditional seasonal charm.
- Slice an orange into thin, even rounds.
- Blot away excess moisture with a paper towel.
- Arrange the slices in a single layer on a baking tray.
- Dry them in a low-temperature oven, checking regularly and turning as needed.
- Allow them to cool completely before threading twine through a small hole near the edge.
Drying time varies with slice thickness and oven temperature, so watch for browning and remove the slices when they are dry.
Safety tip: Keep natural ornaments away from damp areas, and discard any that develop mold during storage.
4. Make Personalized Clear Christmas Ornaments
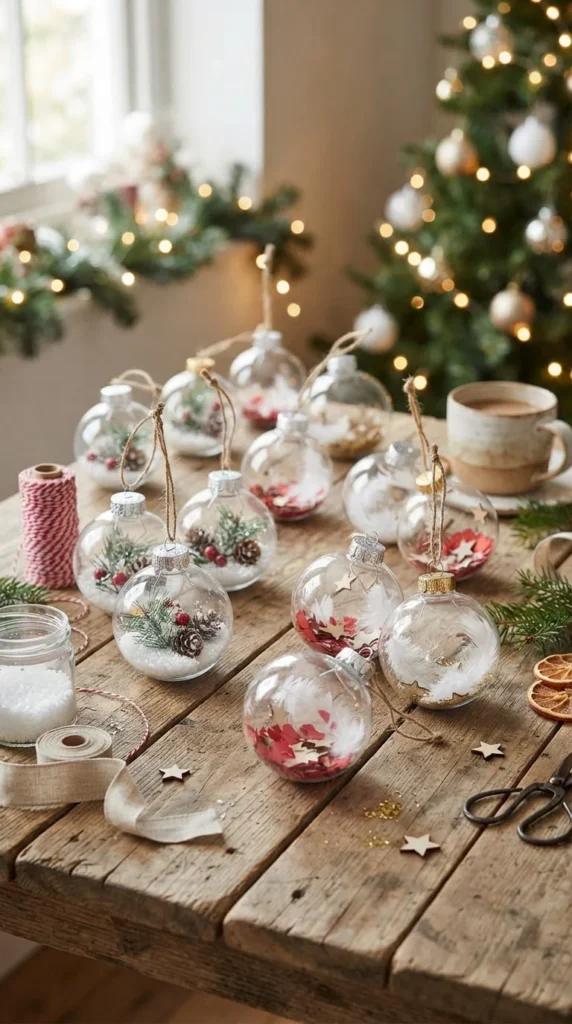
Clear fillable ornaments are a simple way to create decorations that reflect your family, hobbies, or favorite memories. Choose shatter-resistant plastic baubles if you have young children or pets.
What Can You Put Inside Clear Ornaments?
Try these creative fillings:
- Artificial snow and miniature evergreen sprigs
- Red and white paper confetti
- Small wooden stars
- Lightweight yarn scraps
- Tiny shells from a memorable holiday
- Dried flowers or petals that are completely dry
- Small fabric pieces in your favorite colors
To make one, carefully remove the ornament cap, add your chosen lightweight materials, and replace the cap securely. Attach a ribbon loop if the ornament does not already have a suitable hanger.
For a sentimental version, include a small photograph or a rolled-up note with a special memory. Make sure the contents fit comfortably without forcing the opening or damaging the ornament.
Avoid wet materials and anything that could leak, spoil, or create excess weight. If using glitter or tiny decorative pieces, keep them away from small children and pets.
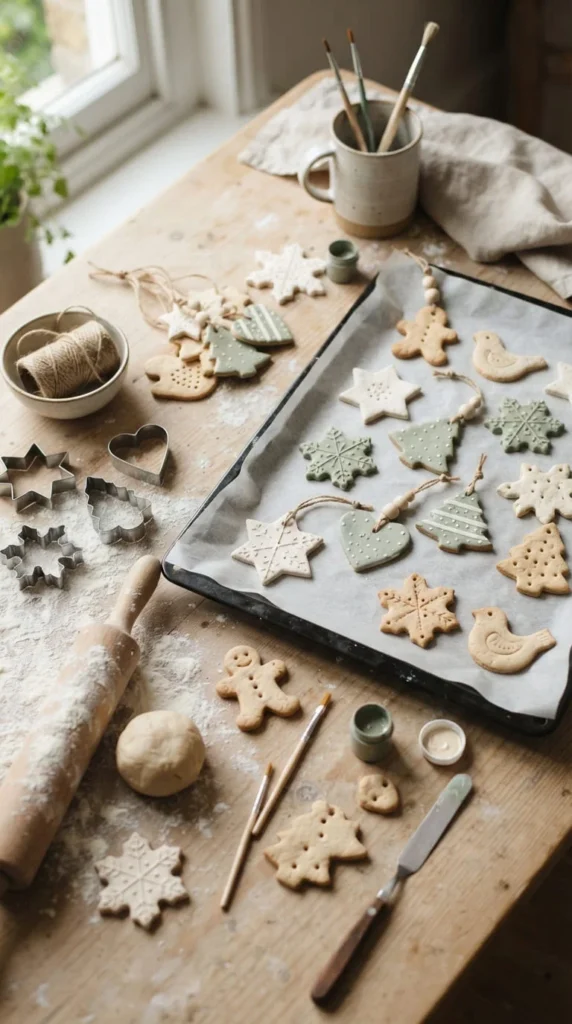
5. Make Easy Salt Dough Christmas Ornaments
Salt dough is an inexpensive material for creating stars, hearts, trees, and other classic Christmas shapes. It is especially useful for making matching ornaments as gifts or family keepsakes.
Ingredients and Materials
- 2 cups all-purpose flour
- 1 cup table salt
- About ¾ cup water
- A mixing bowl
- A rolling pin
- Cookie cutters
- A straw
- Paint and ribbon
Step-by-Step Instructions
- Mix the flour and salt in a bowl.
- Gradually add water, stirring until a workable dough forms.
- Knead the dough until smooth. Add a little flour if it feels too sticky.
- Roll it out to roughly ¼ inch thick.
- Cut out your shapes with cookie cutters.
- Use a straw to make a hanging hole near the top of each ornament.
- Place the shapes on a lined baking tray and dry them in a low-temperature oven until firm, checking regularly to prevent browning.
- Let them cool completely before painting or decorating.
- Once the paint is fully dry, apply a suitable clear sealer if desired.
- Thread ribbon through the holes and hang your finished ornaments.
Drying time depends on the thickness of the dough and oven temperature. Thick pieces may need longer, and ornaments must be completely dry before storage.
Important: These ornaments are decorative, not edible. Young children should be supervised, especially around ovens, paints, sealants, and small craft supplies.
6. Make No-Sew Felt and Fabric Ornaments
If you enjoy soft textures but do not want to sew, felt ornaments are an excellent option. Felt is lightweight, comes in many colors, and is less likely to break if it falls from the tree.
Cut two matching shapes from felt, such as a heart, star, or Christmas tree. Decorate the front with smaller felt pieces, ribbon, or fabric scraps. Glue the decorated pieces together around the edges, leaving a small gap if you want to add a little stuffing. Close the gap, then attach a ribbon loop.
You can also wrap fabric strips around plain lightweight baubles for a textured finish.
For a coordinated collection, repeat the same shape in different colors. Use fabric glue or craft glue suitable for felt, and allow the adhesive to dry completely before hanging.
7. Make Your Handmade Ornaments Look Professional
A few finishing touches can make simple crafts look polished and intentional.
- Repeat your colors: Choose two to four main colors for a coordinated tree.
- Hide visible glue: Apply adhesive sparingly and remove excess before it dries.
- Use matching ribbons: Similar ribbon widths and finishes create a more consistent appearance.
- Make ornaments in batches: Creating several of the same design saves time and helps your decorations match.
- Check hanging loops: Make sure strings, ribbons, and attachments are secure before placing ornaments on the tree.
- Consider durability: Use sturdy cardstock, shatter-resistant plastic, or felt when breakage is a concern.
Store finished ornaments in a dry place after the holiday season. Wrap delicate pieces individually, keep paper crafts away from moisture, and avoid crushing natural or fabric decorations.
Conclusion
Learning how to make Christmas ornaments is an easy way to create holiday decorations that reflect your personality without spending a fortune. Paper stars, rustic pinecones, personalized clear baubles, salt dough shapes, and no-sew felt designs all offer different ways to make your Christmas tree feel special.
Start with one project that matches your available materials, time, and decorating style. Once you find a design you enjoy, make a few extras for friends, family, or holiday gift wrapping.
Save this guide for later and try these DIY Christmas ornament ideas when you’re ready to make your holiday décor more personal!