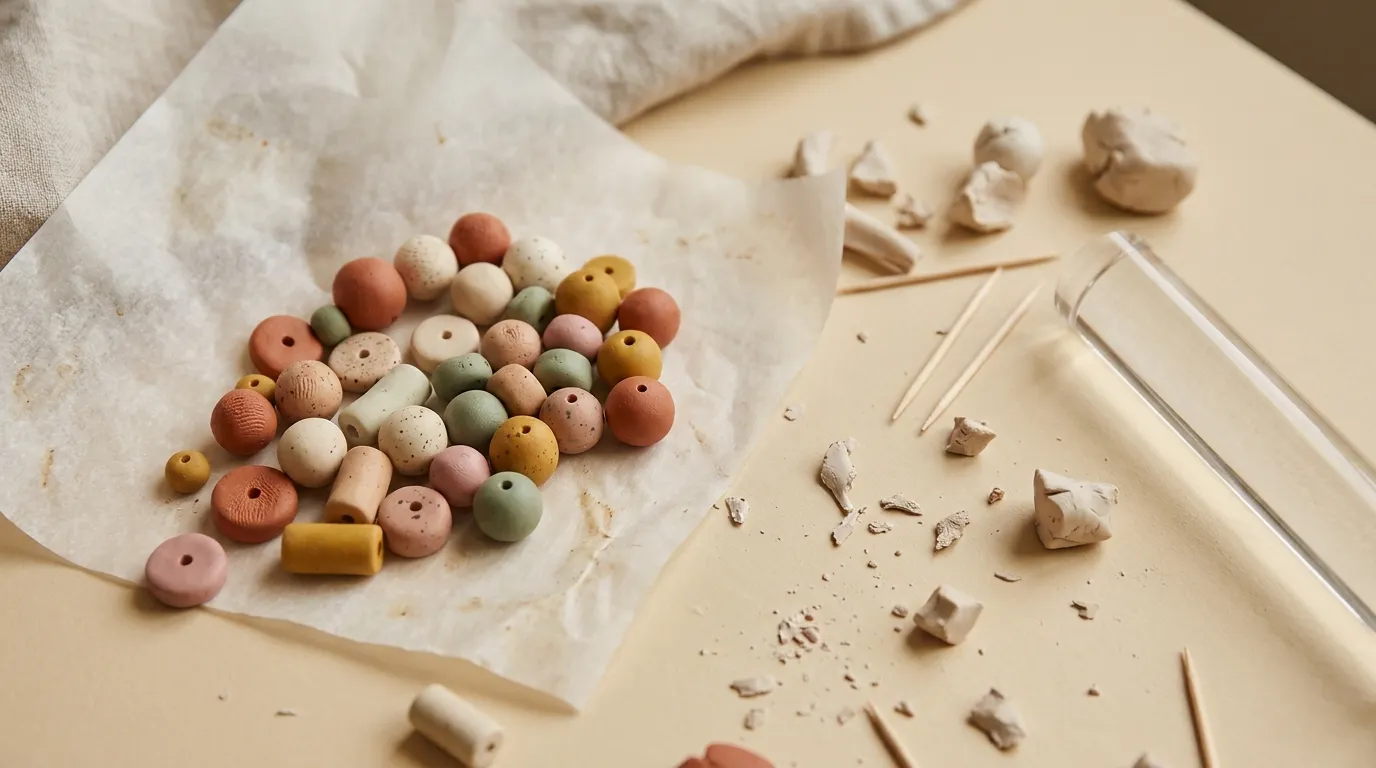
Want to make beautiful handmade beads without buying expensive tools or molds? Polymer clay beads are a fun, beginner-friendly craft that you can turn into bracelets, necklaces, keychains, and colorful accessories. With a few basic supplies and some simple techniques, you can create smooth, professional-looking beads right at home.
In this guide, you’ll learn how to make polymer clay beads step by step, create evenly sized shapes, make clean holes, and bake your beads properly. You’ll also discover easy ways to prevent fingerprints, cracks, and unwanted flat spots.
Supplies You Need to Make Polymer Clay Beads
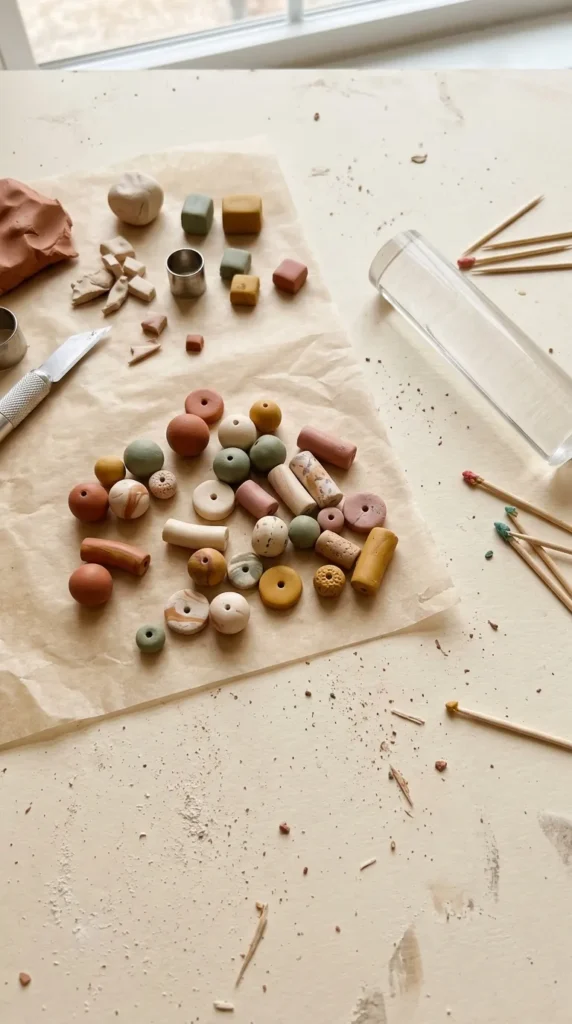
You don’t need a professional studio to get started. Most beginners can make attractive beads with a few affordable supplies.
Gather these items before you begin:
- Polymer clay in your favorite colors
- Acrylic roller or smooth rolling tool
- Toothpick, needle tool, or small skewer for holes
- Craft blade for cutting clay
- Parchment paper and a baking tray
- Oven thermometer for checking temperature
- Fine-grit sandpaper for optional finishing
- Jewelry cord, elastic, or headpins for assembling your beads
A pasta machine can help you condition clay and create even sheets, but it isn’t essential. A smooth acrylic roller works well for small projects.
Use tools reserved for crafting rather than food preparation, and follow the clay manufacturer’s safety and baking instructions.
Step 1: Condition the Polymer Clay
Conditioning means kneading and working the clay until it becomes soft, smooth, and flexible. This step helps the clay shape more evenly and reduces problems caused by poorly prepared material.
Cut off a small piece and knead it between your fingers. Roll, fold, and press it gently until it feels pliable without crumbling or splitting.
If the clay feels very hard, warm it slightly with your hands and work it gradually. Avoid adding random oils or household products, which may affect the finished clay.
Before shaping, check for trapped air bubbles. Fold the clay carefully rather than trapping air inside, and smooth any visible seams. If bubbles appear on the surface, gently release them with a needle tool.
Beginner tip: Clean your hands and work surface before using light-colored clay. Dust, lint, and darker clay residue can easily show up on cream or white beads.
Step 2: Shape Smooth, Even Beads
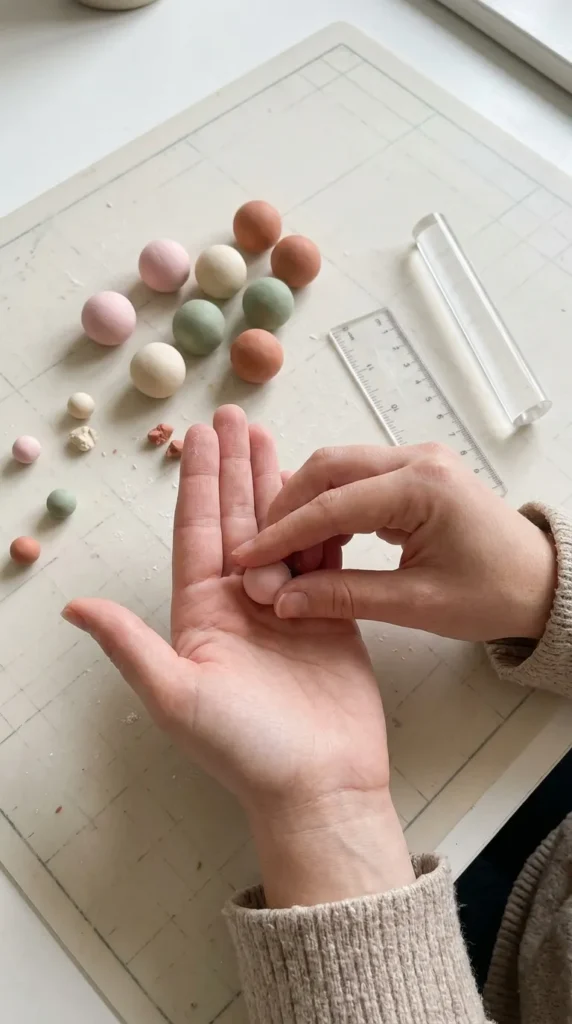
Round beads are the easiest shape to practice first. Take a small piece of conditioned clay and roll it between your palms using gentle, even pressure until it forms a smooth ball.
For a matching set, try this simple method:
- Roll the clay into an even log.
- Use a ruler to mark equal sections.
- Cut the sections with a craft blade.
- Roll each piece into a ball.
- Compare the beads and adjust any obvious size differences.
Once you’re comfortable with round beads, experiment with ovals, flattened lentil shapes, short tubes, or discs. You can also create larger beads by wrapping a thin layer of clay around a small, suitable core.
To avoid fingerprints, handle the clay as little as possible. If the beads become too soft from warmth, place them in the refrigerator for around 15 minutes before piercing or moving them. Always handle chilled beads gently.
Step 3: Make Clean Holes Without Cracking the Beads
Creating a neat hole is one of the most important parts of making usable polymer clay beads. The hole must be large enough for your chosen cord or jewelry finding, but not so wide that the bead becomes weak.
For most beginners, a toothpick or needle tool is sufficient.
- Hold the bead gently without squeezing it.
- Position the tool through the center.
- Twist slowly while pushing through the clay.
- If possible, approach from one side, then finish from the other to help keep the opening centered.
- Rotate the tool gently to make the hole slightly wider if needed.
For elastic cord or thicker string, test the hole size using a small piece of the actual cord before baking. Headpins and thin jewelry wire generally require much smaller openings.
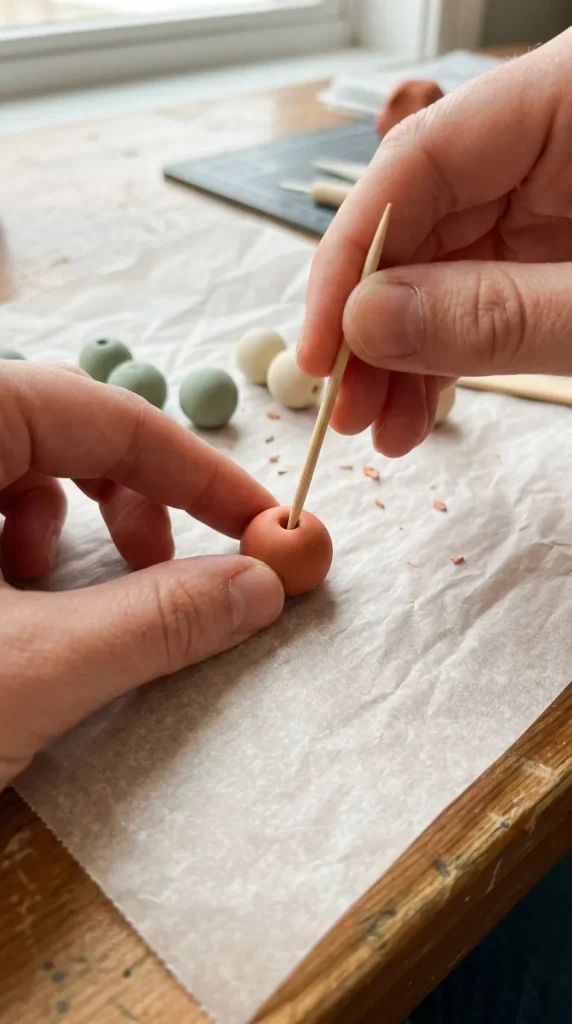
If a bead is too soft to hold its shape, chill it briefly before piercing. Avoid forcing the tool through quickly, as this can distort the bead or create cracks.
You can also drill holes after baking with a suitable small hand drill. Secure the cooled bead, work slowly, and control the dust. For small beginner projects, piercing before baking is usually simpler.
Step 4: Bake the Beads Correctly
Place your finished beads on a suitable baking support. A bead baking rack helps round beads keep their shape, while folded parchment-paper channels or carefully arranged supports can help reduce flat spots. Check that any support you use is safe for your clay’s baking temperature.
Always follow the instructions on your specific polymer clay package. Many brands use temperatures around 265–275°F (130–135°C), but the correct setting and baking time depend on the product and bead thickness. An oven thermometer helps you check the actual temperature.
Remember these tips:
- Preheat the oven before adding the beads.
- Bake for the full time specified by the manufacturer.
- Avoid opening the oven repeatedly.
- Keep the clay away from direct heating elements.
- Let the beads cool completely before handling them.
Never guess the baking time based only on color or appearance. Underbaked clay may remain weak, while excessive heat can darken or scorch it.
Step 5: Finish and Decorate Your Beads
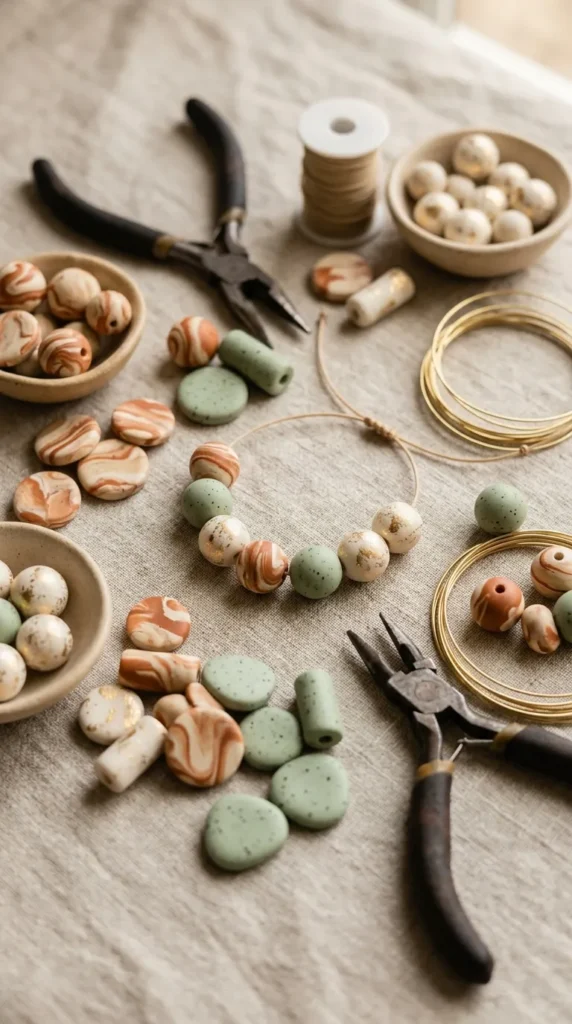
Once the beads have cooled, check their surfaces, holes, and edges. Remove minor roughness with suitable fine-grit sandpaper, keeping the work controlled and avoiding inhalation of sanding dust. Wet-sanding may help control dust when appropriate for the material and technique.
You can decorate your beads in several simple ways:
- Marbling: Twist two clay colors together and fold them a few times. Stop before the colors blend completely.
- Speckled effects: Add tiny pieces of contrasting clay to a base color.
- Textured beads: Press a suitable texture tool or patterned surface gently into the clay.
- Cane patterns: Apply thin slices from a patterned clay cane to create repeating flowers, stripes, or geometric designs.
- Faux gemstones: Combine carefully layered colors and suitable inclusions for a stone-inspired look.
Use a compatible finish if you want extra shine, and follow its product directions. Polymer clay does not always require glaze; a smooth, well-finished matte bead can look just as attractive.
Common Problems and How to Fix Them
| Problem | Possible cause | What to try |
|---|---|---|
| Cracked beads | Poor conditioning, trapped air, or incorrect baking | Condition thoroughly, check for air pockets, and follow package instructions |
| Fingerprints | Soft clay or excessive handling | Use light pressure and handle the beads less |
| Flat spots | Beads resting on a flat surface | Use a bead rack or suitable baking support |
| Uneven sizes | Inconsistent amounts of clay | Measure equal sections from a clay log |
| Brittle beads | Incomplete curing or incorrect temperature | Check the manufacturer’s baking guidance and oven temperature |
| Off-center holes | Bead movement during piercing | Chill soft beads and twist the tool gently |
If a bead has a serious crack or a weak hole, it is often better to remake it than rely on a repair for jewelry that will be worn or handled frequently.
Conclusion
Learning how to make polymer clay beads is easier when you focus on the basics: condition the clay, shape it evenly, create clean holes, bake it correctly, and finish each bead carefully. You can begin with simple round beads and gradually explore marbling, textures, patterned canes, and gemstone-inspired designs.
You don’t need expensive molds or specialized equipment to create beautiful results. Practice with small batches, test your hole sizes before baking, and take your time with finishing.
Save this guide for later and try these ideas when you’re ready!