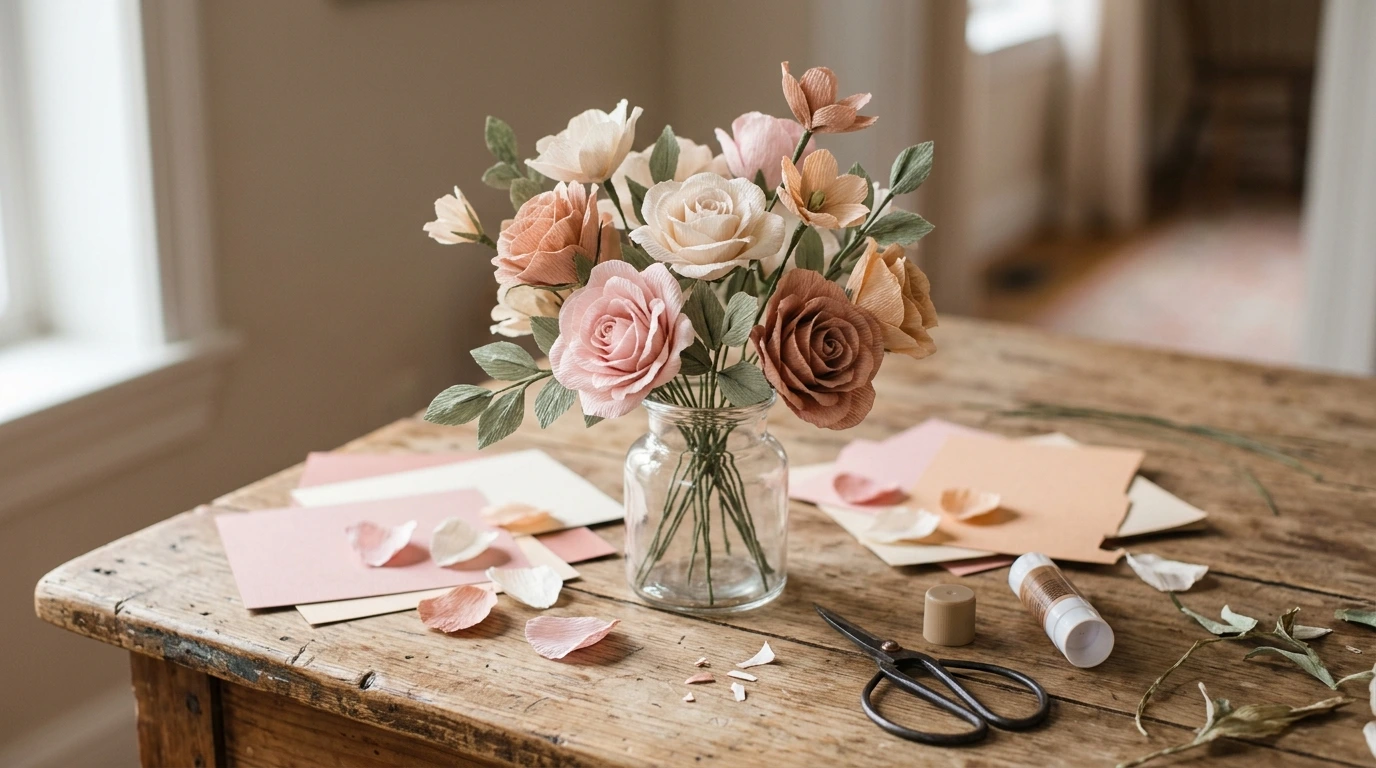
Paper flowers can bring color and charm to a room without the cost or care that fresh flowers require. With a few sheets of colored paper, scissors, and glue, you can create beautiful blooms for gift wrapping, party decorations, handmade cards, and home décor. You can even turn leftover scrapbook paper into a small bouquet that stays colorful throughout the year.
Learning how to make paper flowers is easier when you start with simple shapes and build each flower one layer at a time. In this guide, you will learn which materials to use, how to make an easy layered flower, and how to customize paper blooms for different occasions. These beginner-friendly techniques work with construction paper, cardstock, and other suitable craft papers.
What You Need to Make Paper Flowers
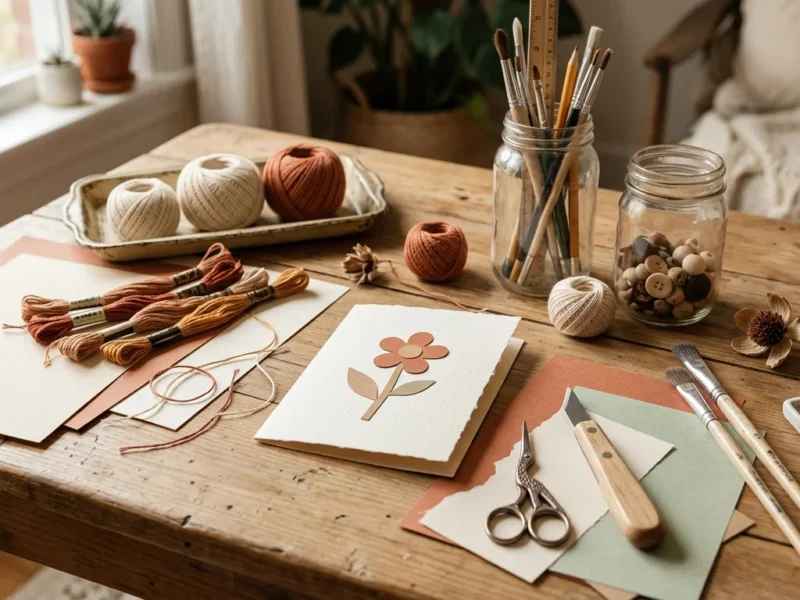
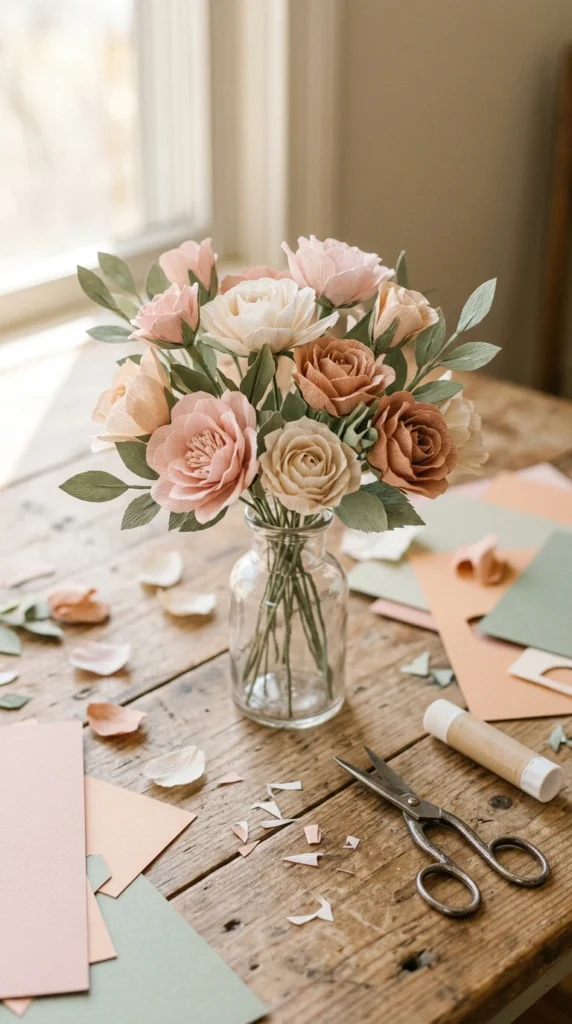
One advantage of paper flower crafts is that you can begin with supplies you probably already have. You do not need specialized equipment to create attractive flowers.
Gather these materials before starting:
- Colored paper: Construction paper is easy to cut and fold, while cardstock holds its shape better.
- Scissors: Small craft scissors help you cut rounded petals and narrow details.
- Glue stick or craft glue: Use a glue stick for flat layers and suitable craft glue for thicker pieces.
- Pencil: Draw petal outlines and circles before cutting.
- Ruler: Helpful for measuring strips and keeping repeated shapes consistent.
- Wooden skewers or paper straws: Optional, for making flower stems.
- Green paper: Useful for leaves and wrapping stems.
Choose paper according to the flower design. Lightweight paper creates soft, flexible petals, while cardstock produces firmer blooms that work well for wall decorations and gift toppers.
If you are a beginner, start with two complementary colors and one green shade. A small color palette makes it easier to create a coordinated arrangement without buying lots of supplies.
How to Make Simple Layered Paper Flowers
A layered flower is one of the easiest designs to try because it uses repeated petal shapes rather than complicated folding techniques.
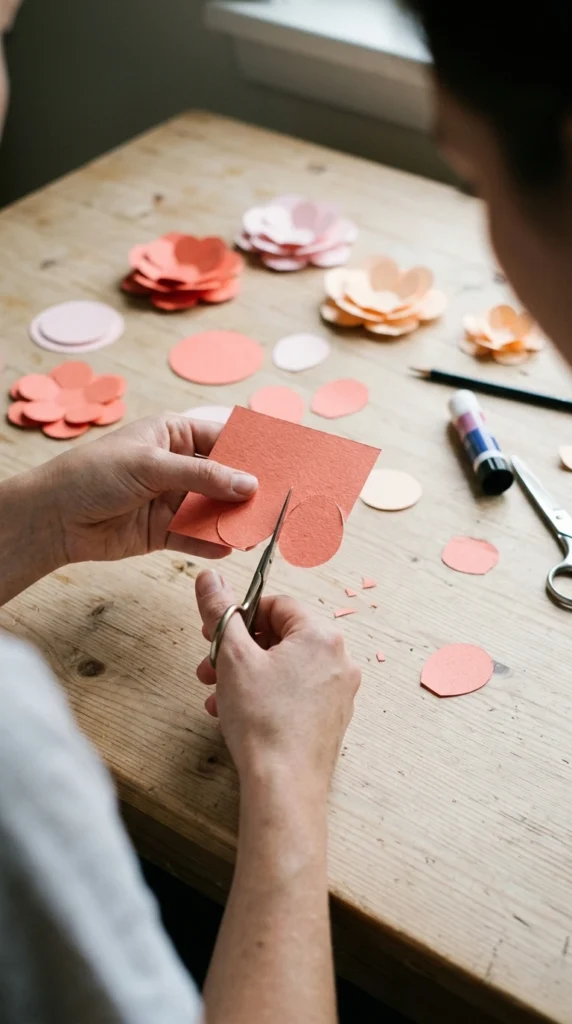
Step 1: Draw and Cut the Petals
Choose a sheet of colored paper and draw six to eight rounded petals. Each petal can resemble a narrow oval with a slightly wider outer end.
Cut out the shapes carefully. They do not have to be perfectly identical, but keeping them close in size will help the flower look balanced.
For a fuller flower, prepare a second set of slightly smaller petals in another shade.
Step 2: Arrange the First Layer
Place the petals in a circle, overlapping their narrow ends near the center. Adjust the spacing until the flower looks even.
Apply a small amount of glue where the petals overlap. Press them gently against a flat surface and allow the adhesive to set.
Step 3: Add the Center and Second Layer
Cut a small circle from contrasting paper. Glue it over the joined ends to cover the center.
If you prepared smaller petals, attach them above the first layer, placing them between the larger petals. This creates depth and makes the flower look fuller.
Step 4: Shape the Petals
Gently curl the outer edges around a pencil or the handle of a paintbrush. Use light pressure, especially with thin paper, to avoid tearing it.
Helpful tip: Make one flower using scrap paper before cutting your final materials. This lets you test the petal size and arrangement without wasting decorative cardstock.
Try Different Paper Flower Styles
Once you have made a basic layered flower, experiment with different shapes and techniques. Small changes in the petals can create a completely different look.
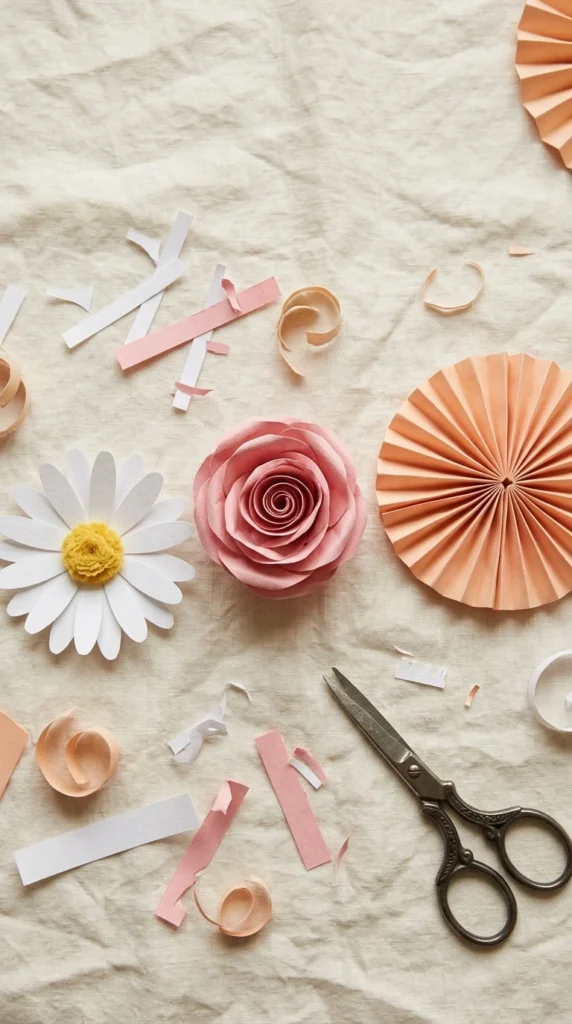
- Paper daisies: Cut long, narrow petals and arrange them around a yellow circle. These simple flowers are suitable for greeting cards and spring decorations.
- Rolled paper roses: Cut a spiral from a paper circle, then roll it inward from the outer edge. Loosen the coil slightly and glue the bottom to hold the rose together.
- Accordion flowers: Fold a long paper strip back and forth into equal pleats. Join the ends to form a circle, then secure the center with cardstock circles.
- Tissue paper flowers: Stack several sheets of tissue paper, fold them accordion-style, tie the middle with string, and gently separate the layers. Tissue paper tears easily, so open each layer slowly.
- Layered cardstock blooms: Combine large outer petals with smaller inner petals for a fuller decorative flower.
Choose a style that matches your project. Rolled roses suit gift boxes, while flat daisies are easy to attach to cards. Accordion flowers work well as larger party decorations because their wide shape stands out on a wall.
How to Turn Paper Flowers Into Decorations
Handmade flowers can be used in more ways than a simple bouquet. Their lightweight construction makes them suitable for many small DIY projects.
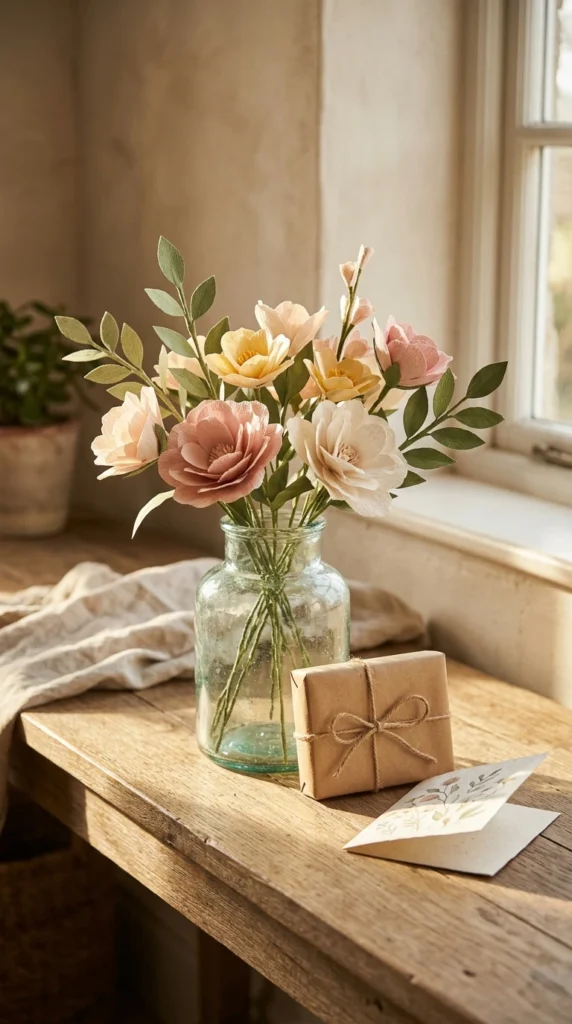
Here are a few practical ways to use your finished blooms:
- Create a paper bouquet: Attach flowers to wooden skewers or sturdy paper straws. Wrap the stems with green paper and arrange them in a vase.
- Decorate a gift: Glue one small flower to a gift tag or ribbon for handmade packaging.
- Make a flower wall: Attach lightweight blooms to a backing board using removable adhesive suitable for the surface.
- Personalize greeting cards: Add one or two flat flowers to the front of a folded cardstock card.
- Dress up a party table: Place paper daisies around a centerpiece or arrange larger accordion flowers behind the table.
For a coordinated display, repeat two or three colors throughout your decorations. You can use leftover paper to make matching leaves, small buds, or filler flowers.
If you are creating decorations for an event, make a test piece first. Check how it looks from a distance and whether the adhesive holds the flower securely before making the rest.
Common Paper Flower Mistakes and How to Avoid Them
A few small adjustments can make your DIY paper flowers neater and easier to assemble.
Using paper that is too thick: Heavy cardstock can be difficult to curl into small petals. Choose thinner paper for rolled roses and curved details.
Applying too much glue: Excess adhesive can wrinkle paper or leave visible marks. Start with a small amount and add more only where the layers separate.
Cutting petals in different sizes: Slight variation can look natural, but large differences may make a flower appear unbalanced. Use your first petal as a guide for the others.
Making every layer the same color: Contrasting shades help individual petals stand out. Try a darker center with lighter outer petals, or use two similar shades for a subtle effect.
Rushing the drying time: Moving a flower before the glue sets can shift the petals. Leave each layer undisturbed for the time recommended on the adhesive packaging.
Store finished paper flowers in a dry place away from direct sunlight and moisture. This helps preserve their color and shape.
Final thoughts
Making paper flowers is an enjoyable way to turn simple craft supplies into personalized decorations. Start with a basic layered flower, practice cutting and shaping the petals, and then experiment with daisies, rolled roses, and accordion designs. With a little patience, you can create paper bouquets, handmade cards, gift toppers, and party decorations that suit your own style.
Save this guide for later and try these ideas when you’re ready! Gather your favorite paper colors, make your first flower, and see how a few simple shapes can become a beautiful handmade decoration.