Have you ever seen a handmade gift, a beautiful paper flower, or a cozy crochet project and thought, “I wish I could make something like that”? You can start crafting without an expensive setup or years of experience. All you need is one simple idea, a few basic supplies, and the willingness to learn as you go.
Crafting can give you a screen-free way to relax, explore your creativity, and make useful things for your home or loved ones. From paper crafts and embroidery to clay charms and DIY decorations, there is a beginner-friendly project for almost every budget and lifestyle.
1. Choose a Craft That Matches Your Interests
The easiest way to start crafting is to choose one activity that genuinely interests you. You do not have to try every DIY hobby at once. Think about what you enjoy making and how much time, space, and money you can set aside.
Here are a few beginner-friendly options:
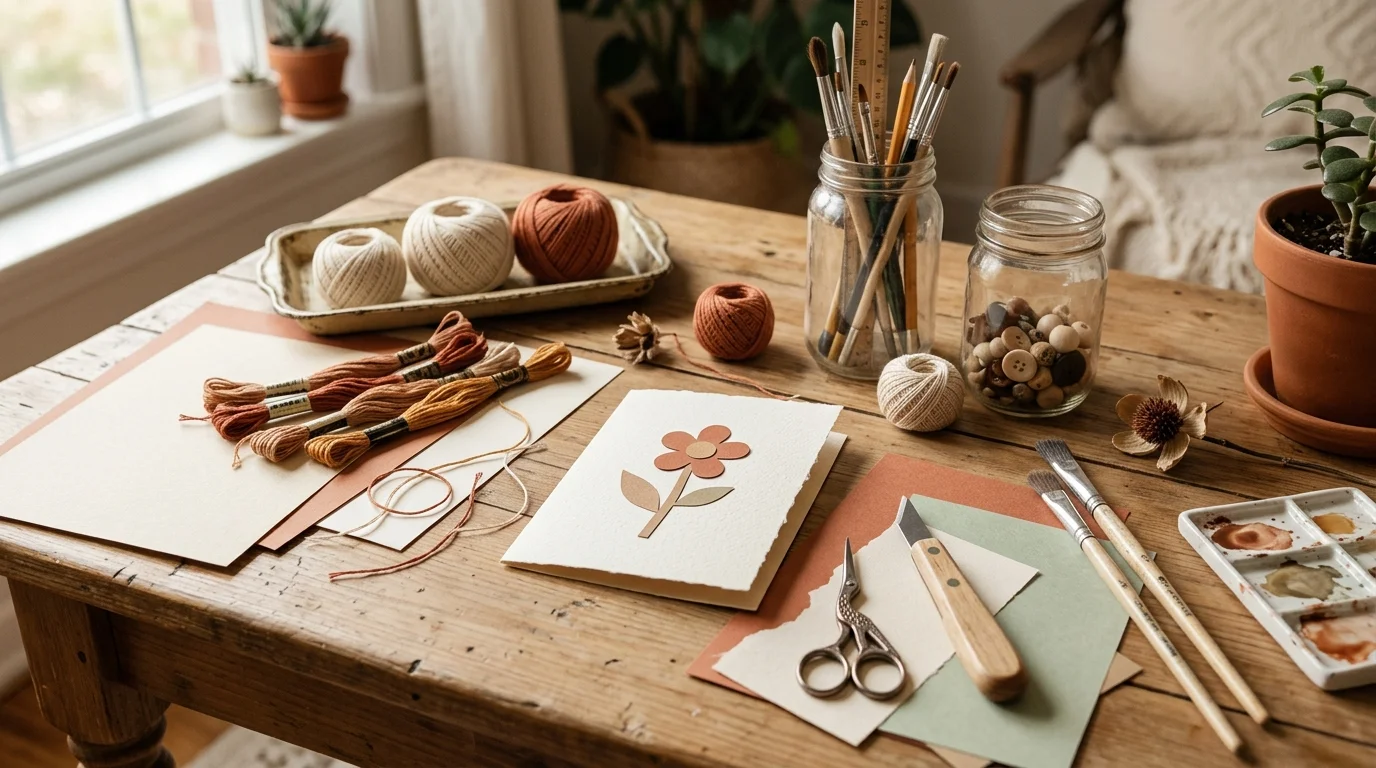
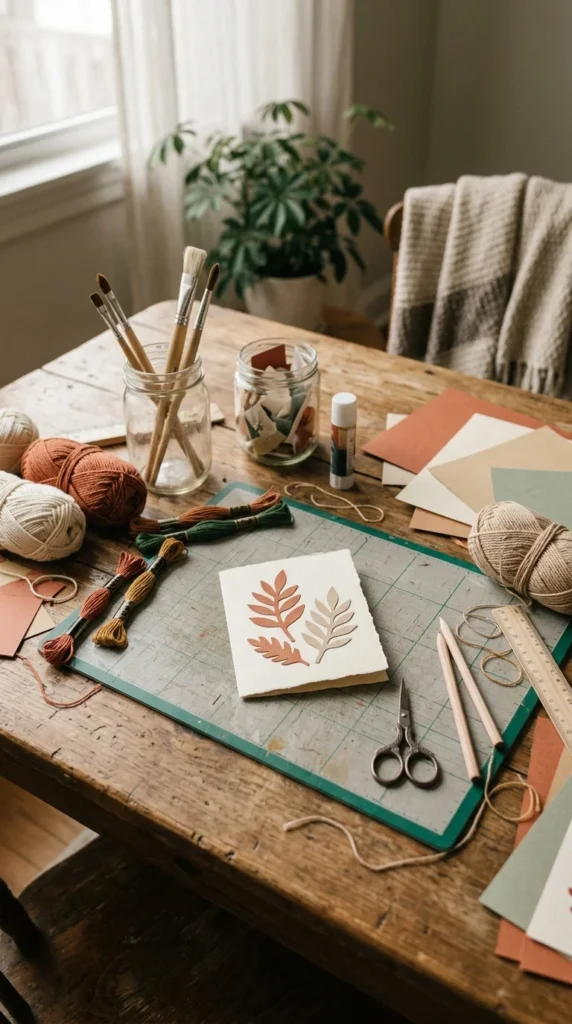
- Paper crafting: Make greeting cards, paper flowers, bookmarks, or collages using inexpensive materials.
- Crochet and knitting: Create coasters, simple scarves, or small squares with yarn and basic tools.
- Embroidery: Decorate fabric with flowers, leaves, and simple patterns using a needle and thread.
- Polymer clay: Shape small charms, magnets, and decorative trinkets.
- Diamond art: Place tiny colored resin pieces onto a printed adhesive design.
- Upcycling: Turn cardboard boxes, glass jars, and fabric scraps into useful home accessories.
If you prefer a tidy workspace, paper crafts or diamond art may suit you. If you enjoy working with your hands and learning new techniques, crochet or clay modeling could be a better fit.
Choose one craft to try for the next week. You can explore other creative hobbies later, once you understand what you enjoy.
2. Gather Only the Essential Craft Supplies
Buying too many craft supplies before starting can waste money and leave you with materials you never use. Begin with the items required for your first project rather than filling a cupboard with tools.
For basic paper crafts, you may only need:
- Paper or cardstock
- Scissors
- A pencil and ruler
- A glue stick
- Colored pencils or markers
For crochet, start with one suitable crochet hook and a ball of beginner-friendly yarn. For embroidery, choose a small hoop, embroidery floss, a blunt-ended practice fabric, and an appropriate needle.
A beginner craft kit can also be a sensible choice because it often includes the main materials and instructions for one project. Check the contents before buying to see whether any tools must be purchased separately.
What can you skip at first? Expensive cutting machines, large specialty tool sets, premium storage boxes, and bulk packs of materials are rarely necessary for a first project.
Use clean household materials when suitable. Old greeting cards, cardboard packaging, leftover ribbon, and fabric offcuts can provide plenty of opportunities to experiment.
3. Start With a Small, Easy DIY Project
Your first project should be simple enough to finish in one sitting or across two short sessions. Completing something gives you a clear sense of progress and helps you understand whether you want to continue with that craft.
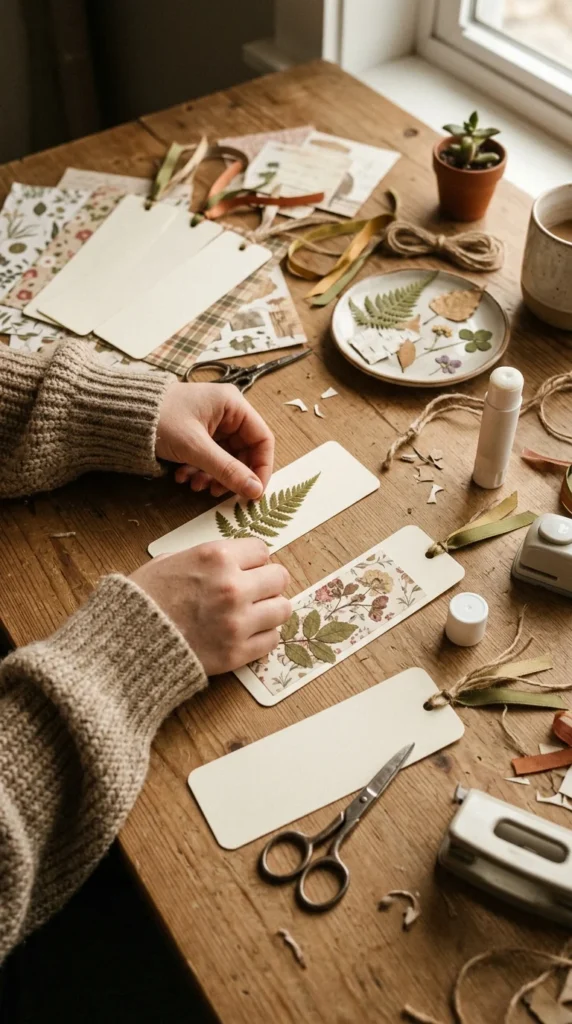
Try one of these small projects:
- Create a handmade bookmark using cardstock and ribbon.
- Decorate a recycled jar to hold pencils or paintbrushes.
- Make a greeting card with paper shapes and simple drawings.
- Crochet a small practice square.
- Paint a few smooth stones for indoor plant decoration.
Read the instructions before beginning and lay out your materials. This helps you spot missing supplies before you have started.
Do not worry if the result looks different from the tutorial. Your paper flower may have uneven petals, or your first crochet stitches may vary in size. These are normal parts of learning a new skill.
Aim to finish, not to make a perfect result. Once you complete one project, you will have a better idea of which tools and techniques deserve more attention.
4. Learn Basic Techniques With Free Tutorials
You do not have to pay for a course to learn the foundations of a craft. Free video tutorials, beginner patterns, library activities, and local craft groups can help you understand unfamiliar techniques.
YouTube can be especially useful because you can pause a demonstration, replay a difficult step, and follow along at your own pace. Search for a specific task, such as “how to make a paper flower for beginners” or “basic crochet chain stitch.”
Keep your first learning goal narrow. If you are learning crochet, practice making a slip knot and chain before moving to more complex stitches. If you are learning embroidery, begin with a straight stitch and backstitch rather than a detailed floral design.
For paper crafts, learn how to measure, fold, cut, and attach materials neatly before attempting layered decorations.
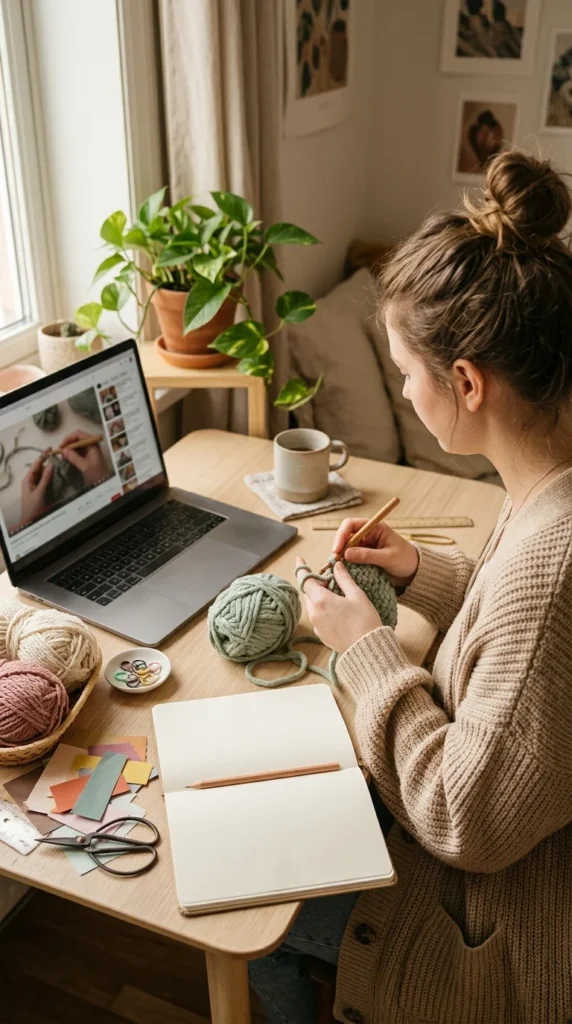
Save useful tutorials in a folder or notebook so you can find them again. When a step feels difficult, repeat it slowly instead of starting a completely different project.
5. Create a Simple Crafting Space at Home
You do not need a dedicated craft room to enjoy DIY projects. A small desk, kitchen table, or portable storage box can provide enough space for many beginner activities.
Choose a spot with good lighting and a surface that can handle your materials. Keep your active project together in one container, such as a shoebox, zip bag, or small plastic bin.
Store similar supplies together:
- Keep paper, cards, and envelopes in one folder.
- Store yarn and crochet tools in a project bag.
- Place needles, beads, and small accessories in secure containers.
- Keep paints, adhesives, and sharp tools stored according to their safety instructions.
A simple storage system makes it easier to return to a project without spending half your crafting time searching for supplies.
Safety matters, too. Use scissors and craft knives carefully, work in suitable ventilation when product instructions require it, and choose materials appropriate for your project. Follow package directions for paints, adhesives, candle-making supplies, and clay.
After each session, spend a few minutes tidying your work area. A manageable setup makes it easier to enjoy crafting regularly, even when you have limited free time.
6. Build a Crafting Habit Without Pressure
You do not have to spend an entire weekend making something. Fifteen minutes of practice can be enough to learn a stitch, cut paper shapes, sort supplies, or complete one small part of a project.
Choose a realistic time that fits your daily routine. You might craft after dinner, during a quiet afternoon, or while spending time with a friend.
Keep a small record of what you make and what you learn. A photograph of your first project can help you see your progress when you compare it with later work.
If you lose interest in a project, decide whether to finish it, pause it, or set it aside. Not every craft will become a favorite, and that is perfectly fine.
You can also join a local craft group or arrange a crafting session with a friend. Sharing ideas and learning together can make the experience more enjoyable.
7. Follow a Simple Seven-Day Beginner Crafting Plan
If you are unsure where to begin, use this short plan to turn your interest into action.
| Day | What to do |
|---|---|
| Day 1 | Choose one craft based on your interests and budget. |
| Day 2 | Gather essential supplies or select a beginner kit. |
| Day 3 | Watch a tutorial and practice one basic technique. |
| Day 4 | Start your first small project. |
| Day 5 | Continue making and correct any mistakes you notice. |
| Day 6 | Finish the project and tidy the edges or details. |
| Day 7 | Photograph your work and choose what you would like to try next. |
Adjust the plan to suit your schedule. Some projects take longer than a week, and there is no need to rush.
If you eventually want to sell handmade products, first make a few pieces and learn how long they take to produce. You can then research potential customers, material costs, packaging, and selling options before investing in larger quantities of supplies.
For now, give yourself room to explore without turning every project into a business goal.
Conclusion
Learning how to start crafting is easier when you keep your first steps small. Choose one creative hobby, gather only the essential supplies, learn a basic technique, and complete a project that fits your current skill level. You can use free tutorials, recycled materials, and a simple storage box to keep the experience affordable and manageable.
Your first handmade creation may not look exactly as you imagined, but every project gives you a chance to learn something new. As your confidence grows, you can explore more advanced DIY projects, make personalized gifts, or develop a style of your own.
Save this guide for later and try your first crafting project when you’re ready!